· Home Maintenance · 18 min read
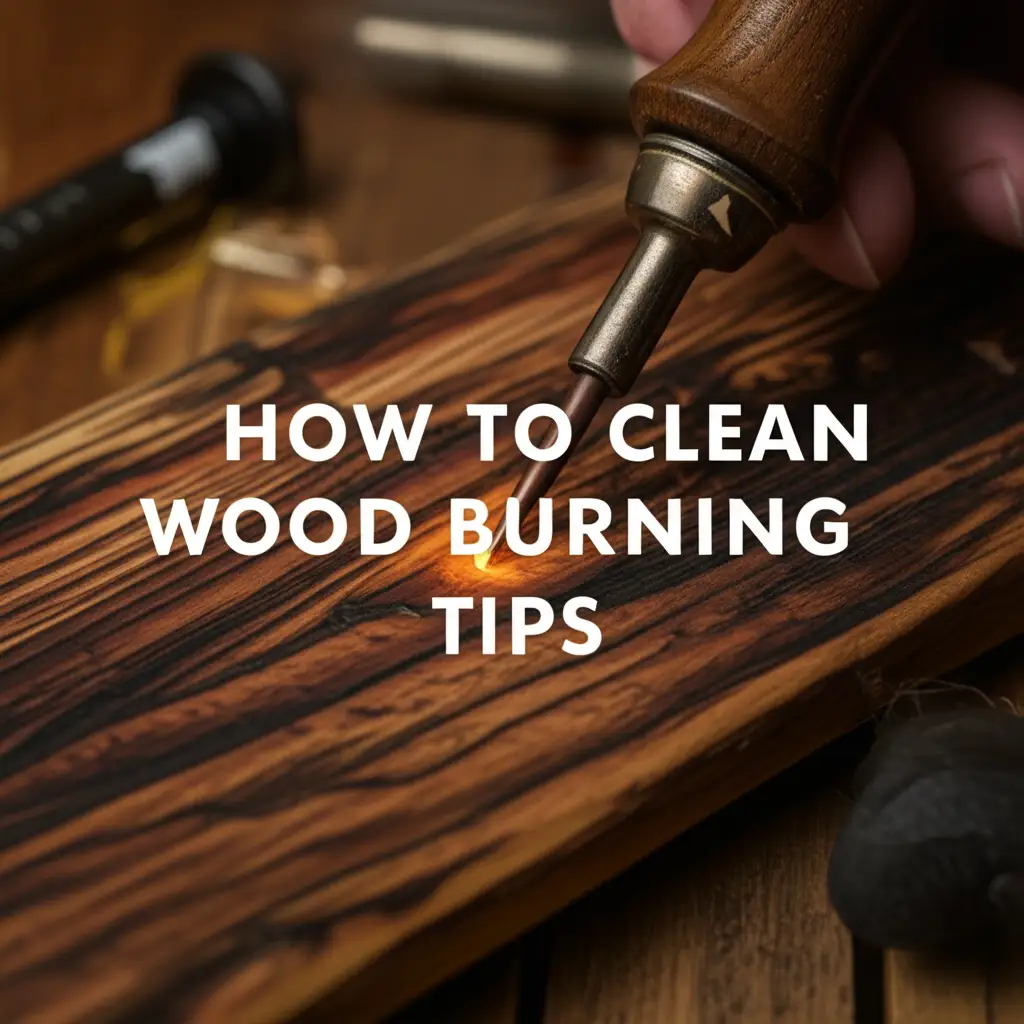
How To Clean Wood Burning Tips

Restore Your Pyrography Precision: How To Clean Wood Burning Tips
Have you noticed your wood-burning lines becoming less sharp? Does your pyrography tool feel sluggish, or are your artistic details losing their crispness? The culprit might be carbon buildup on your wood burning tips. Over time, wood sap, resins, and char accumulate on the metal tips, hindering heat transfer and impacting your artistic precision. Keeping these tips clean is crucial for consistent performance and beautiful results in your wood burning projects.
I know the frustration of a dull tip. It can turn a relaxing hobby into a chore. That is why I want to share simple, effective methods for maintaining your tools. This comprehensive guide will walk you through everything from understanding why cleaning is necessary to specific techniques and common mistakes to avoid. You will learn the right tools for the job and how to make cleaning a quick, easy part of your artistic routine. By the end, you will know exactly how to clean wood burning tips, ensuring they perform their best every time.
Takeaway:
- Regular cleaning prevents carbon buildup and maintains tip performance.
- Use specific tools like brass brushes or specialized compounds for effective cleaning.
- Always clean tips when cool and handle them with care to avoid damage.
- Proper maintenance extends tool lifespan and improves artistic quality.
To clean wood burning tips, allow them to cool completely. Gently rub away carbon buildup using a fine-grit abrasive like a brass brush, fine-grit sandpaper, or a specialized tip cleaning compound. This process restores the tip’s conductive properties and sharp edge, ensuring consistent heat and precise lines for your pyrography projects.
Why Cleaning Wood Burning Tips Matters for Your Art
Your wood burning tips are the direct interface between your artistic vision and the wood surface. When these tips accumulate carbon, they lose their efficiency. This buildup acts as an insulator, blocking the tip’s ability to transfer heat evenly to the wood. Uneven heat transfer leads to inconsistent burns, spotty lines, and a frustrating experience. You want your art to be clean and precise, and dirty tips make that difficult.
Carbon buildup on wood burning tips is a natural result of the burning process. As you work, tiny particles of wood and resin adhere to the hot metal, charring and forming a hard, black crust. This crust can quickly dull the tip’s fine point, making it impossible to create crisp lines or intricate details. Imagine trying to draw a thin line with a blunt pencil; it simply does not work well. Your wood burning art deserves the sharpest tools.
Impact on Pyrography Quality
A dirty tip directly degrades the quality of your pyrography work. When carbon builds up, the tip’s effective temperature drops. This means you must apply more pressure or hold the tip on the wood longer to achieve the desired burn. Both actions can lead to imprecise lines, accidental scorching, and a loss of fine detail. You might also notice a smoky residue or dark streaks appearing on your wood project.
Achieving smooth, consistent lines and shading is key to professional-looking pyrography. A clean tip ensures predictable heat, allowing you to control your burns with greater accuracy. This precision helps you create clean edges and consistent tones. Dirty tips can also transfer grime to your wood surface, causing unwanted marks that are hard to remove. I always make sure my tips are spotless before starting a new piece to guarantee the best artistic output.
Extending Tool Lifespan
Cleaning your wood burning tips also plays a crucial role in the longevity of your tools. Carbon buildup can cause the metal of the tip to overheat in specific spots, leading to premature wear and tear. Overheating weakens the tip, making it more prone to bending or breaking. Regular maintenance prevents this damage and saves you money in the long run.
Think of it like any other precision tool; proper care extends its working life. Neglecting to clean your wood burning tips means you will need to replace them more often. This is an unnecessary expense for something easily preventable. By dedicating a few minutes to cleaning after each use, you can significantly prolong the life of your entire wood burning kit. A well-maintained tool performs better and lasts longer, giving you more time to create beautiful art. Just as you might regularly maintain a wood burning stove for optimal performance and longevity, your burning tips need similar attention.
Essential Tools for Cleaning Wood Burning Tips
Having the right tools makes cleaning your wood burning tips simple and effective. You do not need a vast collection of specialized items. A few key supplies can handle most carbon buildup. These tools range from simple abrasive materials to more targeted cleaning compounds. Gathering them before you start will make the process much smoother. I keep a dedicated cleaning kit ready for my pyrography sessions.
The primary goal is to gently remove the carbon without damaging the delicate metal of the tip. Avoid overly harsh materials or strong chemicals that could corrode or pit the tip’s surface. The right tools help you achieve a clean finish, restoring your tip’s original performance. Let’s look at the basic items you will want to have on hand for proper wood burning tool maintenance.
Abrasive Cleaning Methods
Abrasive materials are your first line of defense against carbon buildup. These items gently scrape or rub away the charred residue. The key is to use materials that are softer than the tip’s metal but firm enough to remove the carbon. Using anything too hard, like steel wool, can scratch or damage the tip’s surface, which can negatively affect its heat transfer and lifespan.
Here are some common abrasive tools I use:
- Brass Brush or Brass Wool: These are perhaps the most popular choices. Brass is softer than the steel or nickel-chrome alloy of most wood burning tips. This allows it to remove carbon effectively without scratching the tip. You can find small brass brushes specifically designed for cleaning soldering irons or wood burning tools. Brass wool, similar to steel wool but made of brass, also works very well.
- Fine-Grit Sandpaper (600-grit or higher): For more stubborn spots, a very fine-grit sandpaper can be effective. I only use it carefully and sparingly. Wrap a small piece around a flat surface, like a craft stick, for better control. The goal is to lightly abrade the carbon, not to reshape the tip.
- Stropping Leather with Polishing Compound: Some artists use a piece of leather (like a leather strop for knives) with a fine polishing compound applied to it. This method not only removes carbon but also polishes the tip, giving it a very smooth finish. It is a gentler option that also helps to maintain the tip’s luster.
Chemical Cleaning Solutions
While abrasives handle most routine cleaning, certain chemical solutions can help with very stubborn carbon buildup or for occasional deep cleaning. These solutions are often pastes or gels specifically formulated for cleaning metal tools like soldering irons or wood burning tips. They work by reacting with the carbon, making it easier to wipe away.
When using chemical cleaners, always follow the manufacturer’s instructions carefully. Ensure you work in a well-ventilated area and wear appropriate personal protective equipment, such as gloves and eye protection.
Here are examples of chemical solutions:
- Specialized Tip Cleaner Compound: These usually come in small tins or jars as a paste. You simply dip the hot tip into the compound, and the chemical reaction helps to loosen and dissolve the carbon. Then, you wipe the tip clean on a damp sponge or cloth. This is a very effective method for quick cleaning during a burning session.
- Soldering Iron Tip Cleaner/Re-tinning Paste: Many wood burning tips are similar in material to soldering iron tips. Therefore, products designed for soldering irons, particularly re-tinning pastes, can also work for wood burning tips. These pastes often contain mild abrasives and a fluxing agent to help clean and “re-tin” the tip, which helps improve heat conduction.
Remember, the best approach often combines these methods. Start with abrasives for routine cleaning, and use chemical solutions for more challenging carbon deposits. Always ensure your tips are cool before handling them with abrasive materials, and follow safety precautions with any chemical products.
Step-by-Step Guide: Basic Cleaning of Wood Burning Tips
Cleaning your wood burning tips does not need to be a complex task. With a systematic approach, you can maintain your tools efficiently and ensure they are always ready for your next project. I find that a routine cleaning process prevents minor issues from becoming major problems. This guide will walk you through the simple steps for basic, everyday cleaning, focusing on safety and effectiveness.
The key is consistency. Make cleaning a habit after each significant burning session, or even periodically during a long one. This keeps the carbon from building up too much, making future cleaning faster and easier. You want to remove fresh carbon before it bakes onto the tip.
Pre-Cleaning Preparations
Before you start any cleaning, safety comes first. Wood burning tips get very hot, and trying to clean them while hot can be dangerous and ineffective for some methods. Always allow your tool to cool down completely before touching the tips directly with cleaning tools or your hands.
Here are the essential preparations:
- Unplug the Tool: Disconnect your wood burning tool from the power source. This eliminates any risk of electric shock or accidental heating during cleaning. Safety is paramount when working with electrical tools.
- Allow to Cool: Let the tip cool down to room temperature. This can take several minutes, depending on the tool. Never try to force cool a tip with water, as rapid temperature changes can warp or damage the metal.
- Gather Supplies: Have your chosen cleaning tools ready. This includes a brass brush or brass wool, a piece of fine-grit sandpaper (if using), and a clean, dry cloth or paper towel. I always have everything within reach before I begin.
Gentle Abrasive Cleaning
Once your tip is cool, you can begin the gentle abrasive cleaning process. The goal here is to carefully rub off the carbon without applying excessive force or damaging the tip’s delicate surface. Remember, you are removing buildup, not trying to grind down the tip.
Follow these steps for effective abrasive cleaning:
- Use Brass Brush/Wool: Take your brass brush or a small piece of brass wool. Gently rub the tip from all sides. Focus on the very end and the areas where carbon is visible. The brass will scrape away the charred residue. Rotate the tip as you clean to ensure you get all surfaces.
- For Stubborn Spots (Optional): If some carbon remains, carefully use a small piece of fine-grit sandpaper (600-grit or higher). Gently rub the affected areas. Do not press hard. A few light passes are usually enough. Avoid sanding the fine point of the tip excessively, as this can dull it.
- Wipe Clean: After brushing or sanding, use a clean, dry cloth or paper towel to wipe off any loose carbon dust. Ensure the tip is free of debris before storage or next use. This prevents residue from transferring to your wood project.
Polishing for Best Results
After removing the bulk of the carbon, a quick polish can restore the tip’s shine and improve its overall performance. Polishing helps create a smooth surface that resists future carbon buildup more effectively. This step is optional but highly recommended for optimal results and tip longevity.
Here is how to polish your tips:
- Stropping (Optional but Recommended): If you have a leather strop and polishing compound (like jewelers rouge or a very fine buffing compound), apply a small amount of compound to the strop. Gently rub the tip back and forth across the compounded leather. This will further refine the tip’s surface and remove any remaining micro-residue.
- Final Wipe: Use a fresh, clean cloth to wipe the tip one last time. This removes any polishing compound residue and ensures the tip is perfectly clean and ready for use. I always do this to make sure my tips are pristine. Just like you might clean off dirt buildup on wood surfaces, you are effectively cleaning dirt buildup off your tips.
By following these simple steps, you can keep your wood burning tips in excellent condition. Regular basic cleaning makes deep cleaning less frequent and ensures your tool is always ready for precision work.
Deep Cleaning Stubborn Carbon Buildup on Pyrography Tips
Sometimes, basic abrasive cleaning is not enough. If you have neglected your wood burning tips for a while, or if you are working with particularly sappy wood, stubborn carbon buildup can become baked onto the metal. This kind of heavy buildup significantly impairs performance and requires a more intensive approach. Do not worry; even deeply caked-on carbon can be removed with the right techniques.
The key to deep cleaning is often a combination of heat and specialized compounds that help break down the carbon. Remember to prioritize safety throughout this process, as some methods involve working with a hot tool. I always make sure to have proper ventilation and safety gear on hand for these deeper cleaning sessions.
Using Specialized Cleaning Compounds
For tough carbon, specialized tip cleaning compounds are invaluable. These compounds are designed to react with the hot carbon, breaking it down chemically and making it easy to wipe away. Many pyrography enthusiasts and professionals rely on these products for effective deep cleaning. These compounds often come as a paste in a small tin or jar.
Here is how to use them:
- Heat the Tip: Plug in your wood burning tool and allow the tip to reach its operating temperature. The heat is crucial for activating the cleaning compound.
- Dip the Hot Tip: Carefully dip the hot tip directly into the specialized cleaning compound. You will often see a slight bubbling or smoking action, which indicates the compound is working. Roll the tip around in the paste for a few seconds to coat it thoroughly.
- Wipe Clean: Immediately after dipping, wipe the tip firmly on a damp cellulose sponge or a dedicated “wet-dry” tip cleaner pad. The carbon should come off easily with a few wipes. The steam from the damp sponge also helps to carry away the residue.
- Repeat if Necessary: For very heavy buildup, you might need to repeat the heating, dipping, and wiping process several times. Continue until the tip appears clean and shiny.
- Final Polish: Once the carbon is removed, allow the tip to cool and then perform a quick polish with a brass brush or stropping leather to ensure a perfectly smooth surface. This step is important for long-term performance.
When to Consider Tip Replacement
Despite your best cleaning efforts, there comes a time when a wood burning tip is beyond repair. Sometimes, the metal itself becomes pitted, warped, or significantly eroded due to prolonged use or extreme carbon buildup. No amount of cleaning will restore a physically damaged tip. Recognizing when to replace a tip saves you time and frustration, allowing you to maintain your artistic quality.
Signs that a tip needs replacement include:
- Pitting or Corrosion: If the tip surface develops small holes or a rough, uneven texture that cannot be polished smooth, it is time for a new one. This pitting affects heat transfer and line quality.
- Warping or Bending: If the tip has visibly bent or warped out of its original shape, it will be difficult to create accurate lines. Continued use can also stress the connection to the tool’s handle.
- Inconsistent Heat Even After Cleaning: If, even after thorough deep cleaning, your tip still does not hold or transfer heat consistently, it indicates internal damage or material fatigue. This means the tip’s internal structure might be compromised.
- Excessive Wear: Over time, tips naturally wear down, especially the fine points. If your detailing tip has become blunt and cannot be sharpened, a replacement is necessary.
Replacing a worn-out tip is a simple solution that immediately restores your tool’s performance. Investing in new tips when needed ensures your pyrography work remains precise and enjoyable. A clean and functional tip is essential for consistent results. If your wood burning projects begin to show signs of irregular burn marks or stains on wood from residue, it is a strong indicator that your tips need attention or replacement.
Maintaining Your Wood Burning Tips for Longevity
Cleaning your wood burning tips is just one part of their overall care. Proper maintenance involves establishing habits that prevent excessive buildup and protect your tools over time. By incorporating simple routines, you can significantly extend the lifespan of your tips and ensure they always perform at their peak. This dedication to maintenance benefits both your tools and your art.
I have found that a little consistent effort goes a long way. It is far easier to prevent heavy carbon buildup than to remove it. These ongoing practices contribute to a smoother workflow and better creative outcomes. Let’s explore how to keep your tips in top shape between and during your pyrography projects.
Cleaning Frequency
How often should you clean your wood burning tips? The answer depends on several factors: how frequently you use your tool, the type of wood you are burning, and the intricacy of your projects. Sapier woods tend to cause more rapid carbon buildup than drier, harder woods. For detailed work, you might need to clean more often.
Here are some guidelines for cleaning frequency:
- During Long Sessions: If you are working on a large project for several hours, consider a quick, mid-session clean. A quick wipe on a brass brush or dip in a cleaning compound can refresh your tip and maintain consistent heat. This prevents heavy buildup during the session itself.
- After Each Use: For optimal results, I recommend a basic clean after every wood burning session. Once the tip has cooled, use a brass brush or fine-grit sandpaper to remove any fresh carbon before it hardens. This ensures your tip is ready for the next project.
- Deep Clean as Needed: Reserve deep cleaning with chemical compounds for when stubborn carbon is visibly affecting performance and basic cleaning isn’t enough. This might be every few sessions or once a month, depending on your usage. You are essentially removing dirt buildup on wood surfaces, but in this case, it is carbon buildup on the metal tips.
Consistency is key. Making cleaning a habit ensures your tips remain in excellent condition.
Proper Storage
How you store your wood burning tips also impacts their longevity and cleanliness. Improper storage can lead to physical damage, such as bending or dulling of fine points, or even corrosion if stored in a humid environment. A little thought about storage can protect your investment.
Consider these tips for proper storage:
- Protective Cases or Stands: Many wood burning kits come with a stand or a case. Always use them. A stand keeps the hot tip safely elevated during use and provides a stable place for it to cool down. A case protects the tips from accidental impacts and dust when not in use.
- Individual Compartments: If your kit has multiple tips, store them in individual compartments or small, labeled bags. This prevents them from rubbing against each other, which can dull edges or scratch surfaces. It also makes it easier to find the specific tip you need.
- Dry Environment: Store your tips in a dry, room-temperature environment. Humidity can lead to rust or corrosion on metal tools. If you live in a humid climate, consider using a desiccant pack in your storage case.
- Clean Before Storing: Always clean your tips thoroughly before putting them away. Storing dirty tips allows carbon to harden and makes future cleaning much more difficult. It also prevents the transfer of carbon residue to your storage case or other tips.
By diligently maintaining your wood burning tips and storing them properly, you ensure they are always sharp, clean, and ready for your next creative endeavor. This care extends their life and keeps your pyrography looking professional.
Common Mistakes to Avoid When Cleaning Wood Burning Tips
Cleaning wood burning tips seems straightforward, but certain practices can actually do more harm than good. Avoiding common mistakes is as important as knowing the right techniques. Incorrect cleaning methods can damage your tips, shorten their lifespan, or even pose safety risks. I have learned these lessons over time and want to share them so you can keep your tools safe and effective.
Being mindful of what not to do will save you frustration and the cost of premature tip replacement. The goal is to clean gently and effectively without causing any stress or erosion to the delicate metal. Let’s go over some of the pitfalls to steer clear of.
Avoiding Water Damage and Thermal Shock
Water is generally not your friend when cleaning hot wood burning tips. While a damp sponge is useful for wiping a hot tip after using a cleaning compound, submerging a hot tip in water or trying to cool it rapidly with water is a major mistake. This can cause significant damage.
Here’s why and what to avoid:
- Thermal Shock: Rapid cooling from extreme heat (like dipping a hot tip in cold water) causes thermal shock. This sudden temperature change can stress the metal, leading to microscopic cracks, warping, or even outright breaking of the tip. It severely shortens the tip’s lifespan and can make it unusable.
- Rust and Corrosion: While tips are often made of durable alloys, prolonged exposure to moisture, especially in storage, can lead to rust and corrosion. Always ensure your tips are completely dry before storing them.
- Electrical Hazard: Never use water near the electrical components of your wood burning tool or if the tip is still connected to power. This creates a serious electrical hazard. Always unplug your tool and allow tips to cool naturally before any water-based cleaning (like wiping with a damp sponge after compound use).
- wood burning tips
- pyrography maintenance
- tool cleaning
- carbon removal
- wood burner care


