· Computer Maintenance · 17 min read
How To Clean Graphics Card

Keeping Your PC Cool: How to Clean Your Graphics Card
Is your computer running slower than before? Do your games stutter or crash without warning? Many times, the culprit is not failing hardware but a simple issue: dust. Over time, dust and debris build up inside your PC, especially on vital components like the graphics card. Knowing how to clean graphics card effectively can bring your system back to life.
A dusty graphics card, or GPU, struggles to cool itself. This leads to higher temperatures, reduced performance, and a shorter lifespan for the component. Cleaning your GPU is a straightforward process that anyone can do with the right tools and precautions. We will explore why cleaning is vital, what tools you need, and a step-by-step guide to make your graphics card sparkle. Get ready to boost your PC’s power again.
Takeaway: Restore Your GPU’s Peak Performance
- Gather tools: Get compressed air, isopropyl alcohol, microfibers, and small screwdrivers.
- Power down safely: Disconnect all cables and ensure no electricity flows to the PC.
- Remove the GPU: Carefully unclip and unscrew the graphics card from the motherboard.
- Clean thoroughly: Use compressed air for dust, then alcohol for grime on fans, heatsink, and PCB.
- Reapply thermal paste: This is crucial for optimal heat transfer after deep cleaning.
- Reassemble and test: Put everything back, boot your PC, and monitor GPU temperatures.
- Maintain regularly: Schedule routine cleanings to prevent future dust buildup.
Cleaning your graphics card involves carefully removing it from your PC, using compressed air and isopropyl alcohol to clear dust and grime from fans, heatsink, and the circuit board, and then reapplying thermal paste for efficient cooling. This process restores optimal performance, reduces noise, and extends the lifespan of your valuable component.
Why Your Graphics Card Needs Regular Cleaning
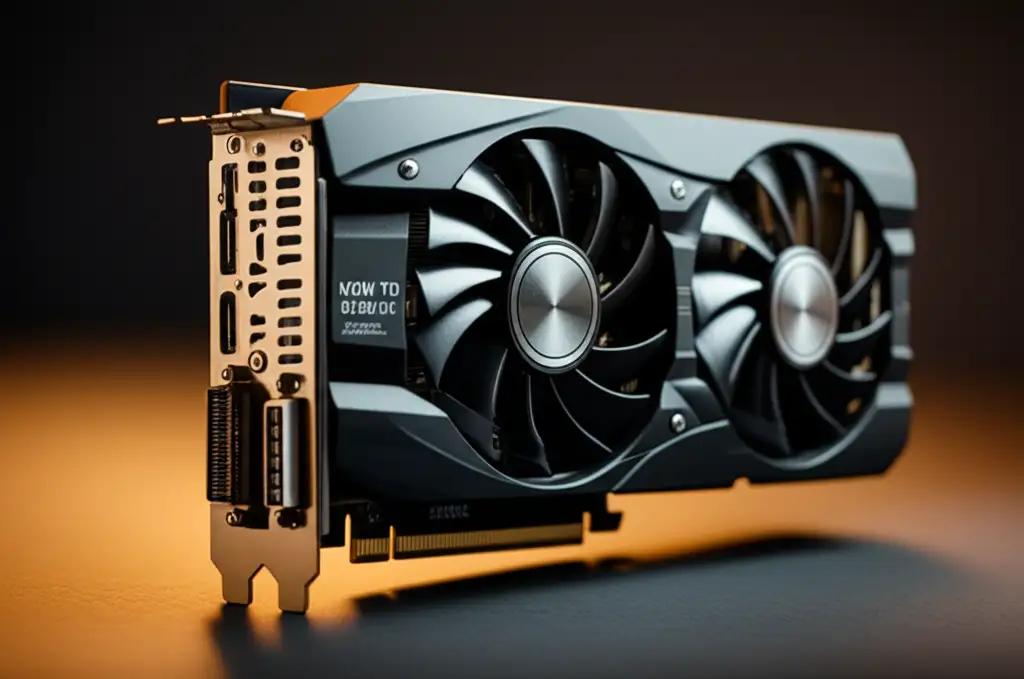
Your graphics card is the powerhouse for visuals in your computer. It handles everything from displaying your desktop to rendering complex 3D graphics in games. Because it works so hard, it generates a lot of heat. To manage this heat, graphics cards use fans and heatsinks. These parts pull in air to cool the internal components.
Over time, this airflow pulls in dust, pet hair, and other airborne particles. This debris collects on the fan blades and clogs the heatsink fins. When dust blocks the heatsink, heat cannot escape efficiently. This causes the graphics card to run hotter than it should. High temperatures force the GPU to slow down, a process called “thermal throttling,” to prevent damage. You might notice your games performing worse or your PC crashing. Cleaning helps prevent these issues. Just like dust and debris can accumulate in unseen places, such as under a refrigerator, your GPU’s heatsink can become a hidden trap for performance-killing grime.
A dirty graphics card also makes more noise. The fans spin faster and harder to try and push air through clogged fins. This creates a loud, irritating hum. Regular cleaning keeps the fans running at lower, quieter speeds because they do not have to work as hard. This makes your computing experience more pleasant.
More importantly, consistently high temperatures can permanently damage your graphics card. Heat degrades electronic components over time, shortening their lifespan. By cleaning your GPU, you keep its operating temperatures lower. This extends the life of your graphics card, saving you money on costly replacements. Think of it as preventative maintenance for a vital part of your PC. It ensures your system remains reliable and performs its best for many years.
Essential Tools and Safety Preparations for GPU Cleaning
Before you begin cleaning your graphics card, gather all the necessary tools. Having everything ready saves time and ensures a smooth process. You will need a clean, well-lit workspace. A stable table provides a good surface. This project involves small parts and delicate electronics. Always work slowly and carefully.
Here is a list of what you need:
- Compressed Air: Use this to blow away loose dust. Choose an electronics-safe can, not a regular air compressor, which might contain moisture.
- Isopropyl Alcohol (90% or higher): This is for cleaning sticky grime and old thermal paste. It evaporates quickly and leaves no residue.
- Microfiber Cloths/Lint-Free Wipes: Use these with isopropyl alcohol. They will not scratch surfaces or leave fibers behind.
- Small Screwdrivers (Philips head, sometimes Torx): You will need these to remove the GPU from the PC and to disassemble the cooler from the GPU. A magnetic tip helps prevent losing tiny screws.
- Anti-Static Wrist Strap: This is crucial for preventing electrostatic discharge (ESD). ESD can damage sensitive electronics. Attach the strap to an unpainted metal part of your PC case.
- Non-Conductive Spudger/Plastic Opening Tool (optional but helpful): Useful for gently prying apart plastic clips or separating components.
- Thermal Paste: You will need to reapply this after cleaning the heatsink. Choose a high-quality thermal paste. Brands like Arctic MX-4 or Noctua NT-H1 work well.
Safety is paramount when working with electronics. Always disconnect your PC from the power outlet before opening the case. This removes all electricity from the system. Touch an unpainted metal part of your PC case before touching any components. This helps discharge any static electricity built up in your body. Wearing an anti-static wrist strap throughout the process offers continuous protection. Static electricity can be invisible and silent, but it can destroy your components instantly. Taking these precautions protects your hardware investment. Just as you ensure a clean and safe environment when tackling a large project like cleaning a ceiling, preparing your workspace properly for GPU cleaning is vital.
Disassembly: Removing Your Graphics Card Safely
Removing your graphics card from your computer case is the first hands-on step. This allows you to access it for thorough cleaning. First, make sure your computer is completely turned off. Unplug the power cable from the wall outlet and the back of your PC. Do not just turn it off; physically disconnect it. This prevents any accidental power surges or shocks.
Move your computer to your prepared, clean workspace. Remove the side panel of your PC case. This usually involves unscrewing a few thumbscrews or regular screws at the back. Lay the case on its side to make it easier to work. Once inside, locate your graphics card. It is a large board usually plugged into the longest slot on your motherboard. It will have display ports like HDMI or DisplayPort sticking out the back of your PC.
Before you touch anything inside, put on your anti-static wrist strap. Clip the other end to an unpainted metal part of your PC case. This grounds you and prevents static damage. Now, look at the graphics card’s power cables. Most modern GPUs need separate power cables from the power supply unit (PSU). These cables typically have 6-pin or 8-pin connectors. Gently unclip and pull these connectors straight out from the GPU. Do not yank them.
Next, you need to unsecure the card from the motherboard slot. Look at the end of the PCIe slot where the graphics card connects. There is a small plastic latch or clip. This latch holds the card firmly in place. Push this latch open. Sometimes it is a lever you push down, or a clip you push away. Be gentle; these can be fragile. Finally, look at the back of your PC case, near where the display ports are. The graphics card is usually held in place by one or two screws on the case’s bracket. Unscrew these. Once unscrewed and the latch is open, you can gently pull the graphics card straight up and out of its slot. Store it safely on an anti-static bag or a clean, non-static surface. Do not force anything during this process. If it feels stuck, recheck for any forgotten clips or screws.
Deep Cleaning the GPU: Fans, Heatsink, and PCB Components
With the graphics card safely removed, it is time for the deep cleaning process. This step requires precision and care. You will clean the fans, the heatsink, and the main circuit board (PCB). Start by addressing the most obvious problem: dust on the fan blades. Use compressed air to blow away loose dust from the fans and heatsink. Hold the can upright and use short bursts. Make sure to hold the fan blades in place while blowing air. If the fans spin too fast, it can damage the bearings. This is a common mistake.
Next, you will need to separate the heatsink assembly from the main PCB. This is where thermal paste cleaning comes in. Look at the back of the graphics card. You will see several screws holding the cooling shroud and heatsink onto the PCB. Carefully unscrew these. There might be different sizes of screws, so keep them organized. A good tip is to draw a diagram on a piece of paper and place the screws on their corresponding spots. Once all screws are out, gently wiggle the heatsink assembly away from the PCB. They might stick a bit because of the old thermal paste. Do not force it. Once separated, you will see the GPU chip itself, covered in old, dried thermal paste.
Now, clean the old thermal paste off both the GPU chip and the heatsink contact plate. Apply a small amount of 90% or higher isopropyl alcohol to a lint-free microfiber cloth or wipe. Gently rub the old paste away. Keep rubbing until both surfaces are perfectly clean and shiny. This ensures proper contact for the new thermal paste. For the heatsink fins, use compressed air again to clear any trapped dust. A soft brush, like a clean, dry paintbrush, can help loosen stubborn dirt between the fins. Just as careful cleaning is needed for delicate surfaces like stainless steel, the GPU’s metal components require a gentle but effective approach.
Finally, clean the rest of the PCB. Use compressed air for general dust. For any grime or residue on the board, lightly dampen a microfiber cloth with isopropyl alcohol and gently wipe the affected areas. Pay attention to the areas around the power delivery components. Ensure everything is completely dry before moving to the next step. Alcohol evaporates quickly, so this usually takes only a few minutes. Avoid spraying liquid directly onto the PCB. This detailed cleaning ensures your graphics card functions at its best.
Thermal Paste Application: Optimizing GPU Cooling
After deep cleaning the heatsink and the GPU chip, reapplying thermal paste is a critical step. Thermal paste acts as a bridge. It fills microscopic gaps between the GPU chip surface and the heatsink’s base plate. These tiny gaps, invisible to the eye, trap air. Air is a poor conductor of heat. Without thermal paste, the heat generated by the GPU cannot efficiently transfer to the heatsink. This leads to very high temperatures, even with clean fans and heatsink fins.
Applying thermal paste correctly ensures maximum heat transfer. This means the GPU can shed its heat effectively. Start by ensuring both the GPU chip surface and the heatsink contact area are spotless. Use isopropyl alcohol one last time to wipe them clean. Let them dry completely, which happens almost instantly. Do not touch these surfaces with your fingers. Finger oils can hinder heat transfer.
Now, apply a small amount of new thermal paste to the center of the GPU die. The GPU die is the small, shiny square chip in the middle of the PCB. A small dot, roughly the size of a pea or a grain of rice, is usually enough. Some people prefer a thin line or an “X” pattern. For GPUs, a simple dot in the center works well. The pressure from the heatsink will spread the paste evenly. Do not use too much paste. Excess paste can squeeze out and potentially cause issues if it gets onto other components (though most modern pastes are non-conductive). Less is often more.
Carefully align the heatsink assembly with the GPU chip and gently lower it back into place. Ensure all the screw holes line up. Once the heatsink is in position, begin tightening the screws. Do not tighten one screw all the way down at once. Instead, tighten them in a diagonal pattern, a little bit at a time. This ensures even pressure distribution. For example, if you have four screws, tighten screw 1 a little, then screw 3 a little, then screw 2 a little, then screw 4 a little. Repeat this pattern until all screws are snug. Do not overtighten them, as this can damage the PCB or the heatsink mounting. This methodical approach to tightening is key to optimal thermal contact and, therefore, optimal cooling.
Reassembly and Initial Testing of Your Clean GPU
After applying fresh thermal paste and reattaching the heatsink, it is time to put your graphics card back into your computer. This step is a reverse of the disassembly process. Take your clean graphics card and carefully align it with the PCIe slot on your motherboard. Push it gently but firmly straight down into the slot until it clicks into place. You should hear a distinct click from the PCIe latch. If it does not click, re-check the latch and try again. Ensure the card is fully seated in the slot.
Once the card is in the slot, secure it to the PC case. Screw in the one or two screws that hold the GPU’s bracket to the back of the case. These screws prevent the card from sagging or coming loose. Then, reconnect the power cables from your power supply unit to the graphics card. Make sure these connectors are fully seated and clicked into place. If your GPU requires multiple power cables, connect all of them. An unpowered or partially powered GPU will not work correctly.
With the graphics card reinstalled, put the side panel back on your PC case. Secure it with its thumbscrews or regular screws. Now, reconnect all your external cables: power cord, monitor cables (HDMI, DisplayPort), keyboard, mouse, and any other peripherals. Double-check all connections to make sure they are secure.
Finally, power on your computer. Listen for any unusual noises. Your PC should boot up normally. Once you are in Windows or your operating system, the first thing to do is monitor your GPU temperatures. Use a monitoring software like HWMonitor, MSI Afterburner, or GPU-Z. Run a demanding task, like a game or a benchmark. Observe the temperatures. You should see a noticeable drop in temperatures compared to before the cleaning. The fans should also run quieter. If your computer does not boot, or if temperatures are unusually high, power it down immediately. Recheck all connections, especially the power cables and how the GPU is seated in the PCIe slot. Sometimes, reseating the card solves the problem. A successful boot and lower temperatures mean you have done a great job.
Ongoing Maintenance for a Healthier Graphics Card
Cleaning your graphics card is not a one-time event. Like any part of your computer, it benefits from regular attention. Implementing an ongoing maintenance routine can prevent major dust buildup. This keeps your GPU performing well without needing a full disassembly as often. Think of it as a routine check-up, much like checking the health of other critical systems.
A good starting point for routine maintenance is external cleaning. Every few months, open your PC case and visually inspect the graphics card. Use compressed air to blow out any visible dust from the GPU fans and heatsink fins. You do not need to remove the card from the PC for this quick clean. Just make sure to hold the fan blades steady so they do not overspin. This quick blast of air can prevent significant dust accumulation. It keeps the surface dust from packing into dense layers inside the heatsink.
Consider the environment where your PC operates. Dust, pet hair, and smoke are major contributors to internal PC grime. If you have pets, make sure to regularly clean the area around your computer. Use a vacuum cleaner to remove dust from the floor and surfaces. This reduces the amount of airborne particles your PC sucks in. Placing your PC on a desk rather than directly on the floor can also help. Floors accumulate more dust.
Another effective strategy is to improve your PC case’s airflow. Ensure your case fans are working correctly and are oriented to create positive or neutral air pressure. Positive pressure means more air is coming in than going out. This forces air out through small gaps, reducing dust entry. Regularly clean your case’s dust filters. Many modern PC cases have removable dust filters on the front, top, and bottom. These filters catch dust before it enters the case. Cleaning these filters every month or two significantly reduces the amount of dust reaching your graphics card. This proactive approach saves you from more intensive cleaning later. A clean external environment reduces how often you need to perform deep internal cleaning.
FAQ Section
How often should I clean my graphics card?
You should typically perform a light cleaning of your graphics card every 3-6 months. This means blowing out dust with compressed air. A deep cleaning, which involves disassembling the heatsink and reapplying thermal paste, is usually needed every 1-2 years. This depends on your environment. If you have pets or a dusty home, you may need to clean it more often.
Can I use water to clean my graphics card?
No, never use water or other conductive liquids to clean your graphics card. Water can cause short circuits and permanently damage the electronic components. Always use electronics-safe cleaners like 90% or higher isopropyl alcohol, which evaporates quickly and leaves no residue. Ensure all components are completely dry before reassembling.
Is it hard to clean a graphics card?
Cleaning a graphics card is not overly difficult, but it requires patience and careful handling. The most challenging parts are safely removing the card and disassembling its cooler. Following clear instructions and taking anti-static precautions makes the process manageable. Anyone can do it with a steady hand.
What if I accidentally break something during cleaning?
If you break a small plastic clip or strip a screw, do not panic. Small clips can sometimes be glued back or tied with zip ties. Stripped screws are harder; you might need specialized tools to remove them. If a major component breaks, like a fan blade or part of the PCB, you might need professional repair or a replacement part. Always work gently.
Do I always need to reapply thermal paste when cleaning?
If you only blow dust off the fans and heatsink without separating the heatsink from the GPU chip, you do not need to reapply thermal paste. However, if you disassemble the heatsink from the GPU chip to clean between them, reapplying thermal paste is absolutely necessary. The old paste will be disturbed and no longer provide effective thermal transfer.
Conclusion
A clean graphics card is a happy graphics card, and a happy graphics card means a smoother, faster, and quieter computing experience for you. You have learned that regular cleaning is not just about aesthetics; it is about maintaining optimal performance, preventing overheating, and significantly extending the lifespan of one of your PC’s most critical components. By following the steps outlined, from gathering the right tools to safely reassembling your system, you empower yourself to tackle this essential maintenance task.
We covered the importance of understanding why dust harms your GPU, the specific tools needed for a safe cleaning, and a detailed guide on how to clean graphics card components like fans, heatsinks, and PCBs. The crucial step of reapplying thermal paste ensures efficient heat transfer. Remember, consistency in maintenance pays off. Make routine visual inspections and external dust removal part of your PC care regimen. Your games will run better, your applications will be more responsive, and you will save money on potential repairs or replacements down the line. Take action today and give your graphics card the clean it deserves. Your PC will thank you.
- graphics card cleaning
- GPU maintenance
- computer cleaning
- PC optimization
- dust removal


