· Computer Maintenance · 17 min read
How To Clean Pc Dust Filters
Clean PC Dust Filters: Boost Performance Now
Have you ever noticed your computer running slower or making more noise than usual? Often, the culprit is hidden in plain sight: clogged dust filters. Keeping your PC dust filters clean is a simple yet vital task. This article will show you exactly how to clean PC dust filters, helping your computer breathe easier and perform better.
Dust buildup inside a computer system acts like a blanket, trapping heat and making components work harder. Over time, this can lead to reduced performance, system crashes, and even shorten the lifespan of your valuable hardware. Dust filters are your PC’s first line of defense, but they need regular cleaning to do their job effectively. I will guide you through the process, covering different filter types, necessary tools, and step-by-step cleaning methods. You will learn how to maintain optimal airflow and protect your computer.
Takeaway
- Regularly inspect PC dust filters for buildup.
- Use appropriate tools like compressed air or a soft brush.
- Dry clean filters for light dust or non-washable types.
- Wet clean washable filters for deep dust removal.
- Ensure filters are completely dry before reinstallation.
- Consistent cleaning prevents overheating and extends PC life.
Cleaning PC dust filters involves carefully removing them from your computer case, then using compressed air, a soft brush, or water (for washable types) to remove accumulated dust and debris. This process improves airflow, reduces heat buildup, and maintains optimal system performance.
Why PC Dust Filters Matter for Your Computer’s Health
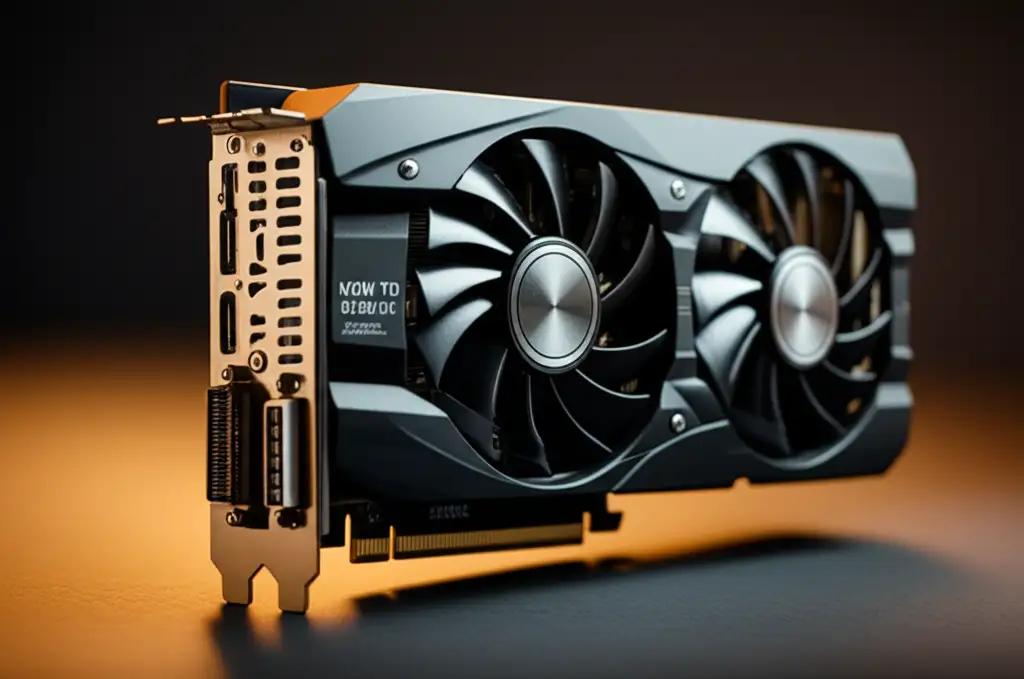
Dust is the silent enemy of any computer. It sneaks into every crevice, settling on sensitive electronic components and impeding performance. PC dust filters play a crucial role in preventing this infiltration. They act as barriers, catching airborne particles before they can reach your motherboard, CPU, GPU, and other internal parts. This protection is key to maintaining a healthy system.
When dust collects on your PC’s internal components, it creates an insulating layer. This layer traps heat generated by the components, preventing proper heat dissipation. Your PC’s fans then have to spin faster to compensate, leading to increased noise and reduced fan lifespan. Over time, excessive heat can lead to thermal throttling, where your CPU or GPU automatically reduces its speed to prevent damage. This directly impacts your computer’s performance, making tasks slower and less responsive.
Clean PC dust filters ensure that air flows freely through your system. Good airflow is essential for cooling. It helps move hot air out of the case and brings in cooler air from the outside. Filters protect this vital cooling system from being compromised by dust. Neglecting filter cleaning can turn your computer into a dust magnet, leading to frequent performance issues. Keeping these filters clean directly translates to a cooler, quieter, and more efficient computer. Remember, a well-maintained PC lasts longer and provides a better user experience. Regularly check them for buildup.
Understanding Different Types of PC Dust Filters
Not all PC dust filters are the same. Computer cases use various types, each with its own design and cleaning considerations. Knowing what kind of filter your PC has helps you choose the best cleaning method. Most filters fit into a few main categories: mesh, magnetic, and foam. Each type offers different levels of filtration and ease of maintenance.
Mesh Filters
Mesh filters are very common. They often consist of a fine plastic or metal mesh material. Manufacturers usually integrate these into the PC case design, often at the front, top, or bottom intake points. Mesh filters are effective at stopping larger dust particles. They allow good airflow but can accumulate dust quickly.
- Location: Often fixed or slide-out trays at intake fan locations.
- Appearance: Fine, woven screen-like material.
- Cleaning: Many mesh filters are washable. Some are simple screens that need a quick brush.
Magnetic Filters
Magnetic dust filters are popular for their convenience. They feature a fine mesh material, similar to standard mesh filters, but with magnetic strips along the edges. These magnets allow them to attach directly to any steel portion of your PC case. This makes installation and removal incredibly easy. You can simply pull them off for cleaning and snap them back into place.
- Location: Usually on top or side panels, sometimes bottom, easy to see and access.
- Appearance: Flat mesh with visible magnetic edges.
- Cleaning: Extremely easy to remove and clean, often washable.
Foam Filters
Some older or more specialized PC cases might use foam filters. These filters use a porous foam material to trap dust. Foam offers excellent filtration, catching even finer particles than mesh. However, foam can restrict airflow more if it becomes heavily clogged. It also degrades over time.
- Location: Often behind front panels or in older fan mounts.
- Appearance: Spongy, porous material.
- Cleaning: Foam filters can often be washed but require thorough drying. They can be more fragile than mesh.
No matter the type, the goal remains the same: keep dust out. Regularly inspecting each filter type ensures your PC maintains optimal health. Understanding these differences helps in selecting the correct cleaning approach for your specific setup.
Essential Tools for Cleaning PC Dust Filters
Before you start cleaning, gather the right tools. Having everything ready makes the process smoother and safer for your computer. Using the correct items prevents damage and ensures effective dust removal. You likely have many of these items already at home.
Basic Cleaning Kit
- Compressed Air Can: This is perhaps the most essential tool for dry dust removal. It provides a strong, focused blast of air to dislodge dust from hard-to-reach areas and filter meshes. Make sure to use short bursts. I find this much more effective than trying to blow dust out with my breath.
- Soft Brush or Paintbrush: A clean, soft-bristled brush works wonders for gently sweeping away loose dust from filters. You can use a dedicated electronics brush or a new, clean paintbrush.
- Microfiber Cloth: A soft, lint-free microfiber cloth is perfect for wiping down filter frames and surrounding areas. It picks up dust without scratching surfaces.
- Small Vacuum Cleaner (low power, with brush attachment): A mini USB vacuum or a regular vacuum cleaner set to its lowest suction with a brush attachment can carefully remove loose dust. Be very cautious with suction directly on components; filters are safer. You can also learn how to clean a PC without compressed air using alternatives.
- Warm Water and Mild Dish Soap (for washable filters): For deeply ingrained dust on washable filters, a gentle wash is needed. Make sure to use only a tiny amount of soap.
- Paper Towels or Clean Towels: For drying washed filters. Absorbent material helps speed up the drying process.
- Screwdriver Set (optional): Sometimes you need a screwdriver to remove certain case panels or filter trays. Philips head screwdrivers are most common for PC cases.
Safety Precautions
Always turn off and unplug your PC before cleaning. This protects you from electrical hazards and prevents accidental component damage. Work in a well-ventilated area, especially when using compressed air, as it can kick up a lot of dust. Avoid using harsh chemicals or strong cleaning agents. Water is sufficient for washable filters, and dry cleaning methods are best for others. Remember, patience and care are your best friends during this task. Knowing how to clean inside a PC generally will also help.
Step-by-Step Guide: Dry Cleaning PC Dust Filters
Dry cleaning is ideal for filters with light dust buildup, non-washable materials, or when you need a quick clean. This method is generally safe and prevents moisture-related issues. I often start with a dry clean before considering a wet wash. Always power down your computer first.
1. Power Down and Disconnect Your PC
Safety comes first. Shut down your computer completely. Unplug all cables, including the power cord, monitor cables, and any peripherals. Move your PC to a well-lit, open area where you can easily access all sides. A table or a clear section of the floor works well.
2. Locate and Remove Dust Filters
Identify all dust filter locations on your PC case. Common spots include:
- Front Panel: Often a large filter for intake fans.
- Top Panel: For exhaust or intake fans, sometimes magnetic.
- Bottom Panel: For the power supply unit (PSU) fan or intake fans.
- Side Panels: Less common, but some cases have filters here.
Carefully remove each filter. Some slide out, others might be magnetic, and a few may require unscrewing a panel. Be gentle to avoid damaging the filter or the case.
3. Use Compressed Air or a Soft Brush
Once you have removed the filters, take them outside or to a trash can.
- Compressed Air: Hold the compressed air can upright. Use short, controlled bursts to blow dust off the filter. Work from one side to the other, making sure to dislodge all trapped particles. Keep the nozzle a few inches away from the filter. You can also point the fan to clean dust off fan directly if needed.
- Soft Brush: For more stubborn dust or if you prefer not to use compressed air, a soft brush works well. Gently brush the dust away from the filter mesh. You can brush in one direction to collect the dust efficiently. A small vacuum cleaner with a brush attachment can also be used here, but use very low suction.
4. Wipe Down Filter Frames
After dislodging the main dust from the mesh, use a microfiber cloth to wipe down the filter frames. This removes any residual dust that might cling to the plastic or metal edges. Ensure the entire filter is clean before proceeding. Do not put a dusty filter back into your PC.
5. Reinstall Filters
Carefully slide or snap the clean dust filters back into their correct positions. Ensure they are secure and properly seated. Improperly installed filters will not provide effective protection. Once all filters are reinstalled, you can move on to checking the rest of your system. This method is quick and effective for regular maintenance.
Step-by-Step Guide: Wet Cleaning PC Dust Filters
Wet cleaning is ideal for heavily soiled, washable dust filters. This method provides a deeper clean, especially for sticky or stubborn dust that dry cleaning cannot remove. Not all filters are washable; check your PC case manual first. I use this method for my main intake filter every few months.
1. Confirm Washability and Remove Filters
First, verify that your PC dust filters are designed to be washable. Most magnetic and many slide-out mesh filters are. Foam filters are often washable, but they can be fragile. If you are unsure, stick to dry cleaning. Once confirmed, power down your PC and remove the filters as described in the dry cleaning section. Take them to a sink or a bucket of water.
2. Prepare Cleaning Solution
Fill a sink or a basin with lukewarm water. Add a tiny drop of mild dish soap – just enough to create a slight suds. Do not use harsh detergents, abrasive cleaners, or strong chemicals. These can damage the filter material or leave residue. Remember, gentleness is key here. Think about how you would clean reusable AC filters; the principle is similar.
3. Wash the Filters
Submerge each filter in the soapy water. Gently swish the filters around. You can use your fingers or a soft sponge to lightly rub away stubborn dust and grime. For intricate mesh, a soft brush (like a toothbrush dedicated for cleaning) can help dislodge embedded dust. You will see the water turn cloudy as the dust washes away. Rinse them under running water to remove all soap residue. Make sure no soap film remains.
4. Rinse Thoroughly
After washing, rinse the filters thoroughly under clean running water. Ensure all soap residue is completely gone. Leftover soap can attract dust faster or leave a sticky film. Continue rinsing until the water runs clear and the filter feels free of any slickness.
5. Dry Completely
This step is critical. DO NOT reinstall wet or damp filters. Moisture inside your PC can cause electrical shorts and severe damage.
- Shake off excess water: Gently shake each filter to remove as much water as possible.
- Blot with a towel: Use a clean, dry paper towel or a microfiber cloth to blot the filters. Press gently to absorb moisture.
- Air Dry: Lay the filters flat on a clean, dry surface in a well-ventilated area. Allow them to air dry completely. This can take several hours, or even overnight, depending on humidity and filter thickness. You can place them near a fan (not a heat source) to speed up drying, but ensure they are not exposed to dust during this time. I usually leave mine to dry overnight to be absolutely sure.
- Visual Check: Before reinstallation, hold the filter up to a light source. Check for any remaining moisture or embedded dust. It must be bone dry and clean.
Once fully dry, reinsert the filters into your PC case. This deep cleaning method will restore your filters to near-new condition, maximizing their dust-trapping efficiency.
Reinstalling PC Dust Filters and Final Checks
You have cleaned your PC dust filters; now it is time to put everything back together. Proper reinstallation is just as important as the cleaning itself. A filter that is not seated correctly cannot protect your components effectively. This final step ensures your hard work pays off.
1. Ensure Filters Are Dry and Clean
Before you even think about putting filters back, perform a final check. Each filter must be completely dry. Any moisture can cause serious damage to your PC’s electronics. Run your fingers over the filter surface. Hold it up to the light to look for any remaining damp spots or dust specks. If there is any doubt, let it air dry longer. A slightly damp filter can collect dust even faster and potentially lead to mold growth inside your PC over time.
2. Reinstall Filters in Correct Orientation
Carefully place each filter back into its designated slot. Many filters are designed to fit only one way. Pay attention to any clips, grooves, or magnetic edges that ensure a snug fit. If your filter slides into a specific tray, make sure it slides in smoothly and locks into place. Magnetic filters simply snap onto the metal surface of your case. Ensure no gaps exist around the filter’s edges where dust could bypass it. Proper orientation guarantees maximum dust filtration and optimal airflow.
3. Secure PC Case Panels
Once all filters are in place, reattach any PC case panels you removed. Make sure all screws are tightened (but do not overtighten) and all clips are secure. A loose panel can vibrate and cause unwanted noise. It can also create gaps that let dust into your system. Double-check that every panel is flush with the case frame.
4. Reconnect Peripherals and Power On
With the case reassembled and filters secure, move your PC back to its original location. Reconnect all your peripherals: monitor, keyboard, mouse, and any other USB devices. Finally, plug in the power cable. Power on your computer. Listen for any unusual noises. Observe if your computer runs quieter or feels more responsive. You should notice an immediate improvement in airflow and potentially a drop in operating temperatures. This simple maintenance routine will keep your PC running at its best.
Frequency and Best Practices for PC Dust Filter Maintenance
Regular maintenance of your PC dust filters is crucial for long-term computer health. The “how often” question does not have a single answer, as it depends on several factors. However, establishing a routine will significantly extend your PC’s lifespan and performance. I recommend a consistent schedule.
How Often Should You Clean?
The frequency of cleaning depends on your environment:
- High-Dust Environments (Pets, Carpet, Smoking, Construction Nearby): If you have pets that shed, live in an older house with more dust, or have carpets, you should inspect and clean your filters more often. I would recommend checking them monthly. A quick dry clean might be needed every 2-4 weeks.
- Average Environments: For most users in a typical home or office setting, a quarterly (every three months) deep clean for washable filters is often sufficient. Dry clean non-washable filters or those with light dust monthly.
- Low-Dust Environments (Hardwood Floors, Minimal Traffic): You might get away with cleaning every 4-6 months. However, still aim to check monthly for any unexpected buildup.
My personal routine involves a quick visual check of the most accessible filters every two weeks. I plan a full dry clean every month and a wet clean for washable filters every three months. This keeps my system running smoothly.
Best Practices for Optimal Filter Maintenance
- Regular Visual Inspection: Make it a habit to quickly look at your filters, especially the intake ones, whenever you are near your PC. Visible dust buildup indicates it is time for a clean.
- Combine with Other PC Maintenance: Schedule filter cleaning with other PC maintenance tasks, such as cleaning inside a PC or tidying up cables. This creates an efficient maintenance routine.
- Do Not Neglect PSU Filter: The power supply unit often has its own filter at the bottom of the case. This filter is vital for the PSU’s longevity. Do not forget to clean it.
- Invest in Good Quality Filters: If your case uses basic mesh, consider upgrading to finer magnetic mesh filters. They often offer better filtration and are easier to clean.
- Keep Your Environment Clean: While filters do their job, a cleaner room means less dust entering your PC. Regular vacuuming and dusting your workspace directly reduces the load on your PC filters.
- Avoid Over-Cleaning Washable Filters: While wet cleaning is effective, excessive washing with harsh scrubbing can damage the filter material over time. Be gentle.
By following these practices, you ensure your PC’s cooling system remains efficient. Clean filters mean better performance and a longer life for your computer components.
FAQ Section
How often should I clean my PC dust filters?
You should clean your PC dust filters regularly. For homes with pets or high dust, clean them monthly. In average environments, aim for quarterly cleaning. At a minimum, check them every few months. Consistent cleaning prevents dust buildup.
Can I wash PC dust filters with water?
Yes, many PC dust filters are washable. Magnetic and fine mesh filters are often safe for wet cleaning. Use lukewarm water with a small amount of mild dish soap. Always ensure the filter is completely dry before reinstalling it in your PC.
What happens if I do not clean my PC dust filters?
If you do not clean your PC dust filters, dust will accumulate. This blocks airflow, causing your PC to overheat. Overheating can lead to reduced performance, system crashes, and damage to internal components. It also shortens your PC’s lifespan.
How do I know if my PC dust filters need cleaning?
You can usually tell if your PC dust filters need cleaning by a visual inspection. Look for visible layers of dust or pet hair on the filter surface. Your PC might also run louder or feel hotter to the touch if airflow is restricted.
What tools are best for cleaning PC dust filters?
The best tools for cleaning PC dust filters include a can of compressed air, a soft brush (like a clean paintbrush), and a microfiber cloth for dry cleaning. For washable filters, you will also need warm water and a mild dish soap.
Can I use a vacuum cleaner on my PC dust filters?
You can use a vacuum cleaner on PC dust filters, but use caution. Set the vacuum to its lowest suction power. Use a soft brush attachment. Avoid direct, powerful suction on the filter mesh. This prevents potential damage to the filter material.
Conclusion
Keeping your PC dust filters clean is a straightforward yet powerful way to ensure your computer runs efficiently and lasts longer. We have covered why these filters are so important, the different types you might encounter, and the essential tools you need for the job. You now have step-by-step guides for both dry and wet cleaning methods, empowering you to tackle dust buildup effectively.
Regular maintenance of your PC dust filters prevents overheating, maintains optimal airflow, and protects sensitive internal components from dust damage. By implementing these simple cleaning routines, you will notice improved performance, quieter operation, and greater longevity for your valuable hardware. I hope this guide helps you keep your PC in top shape. Make it a habit to check and clean your filters. Your computer will thank you for it! Start your regular cleaning routine today and enjoy a cooler, faster PC.
- PC dust filters
- computer cleaning
- dust removal
- PC maintenance
- overheating prevention
- computer airflow
- tech cleaning