· Printer Maintenance · 10 min read
How To Clean Brother Printer Drum
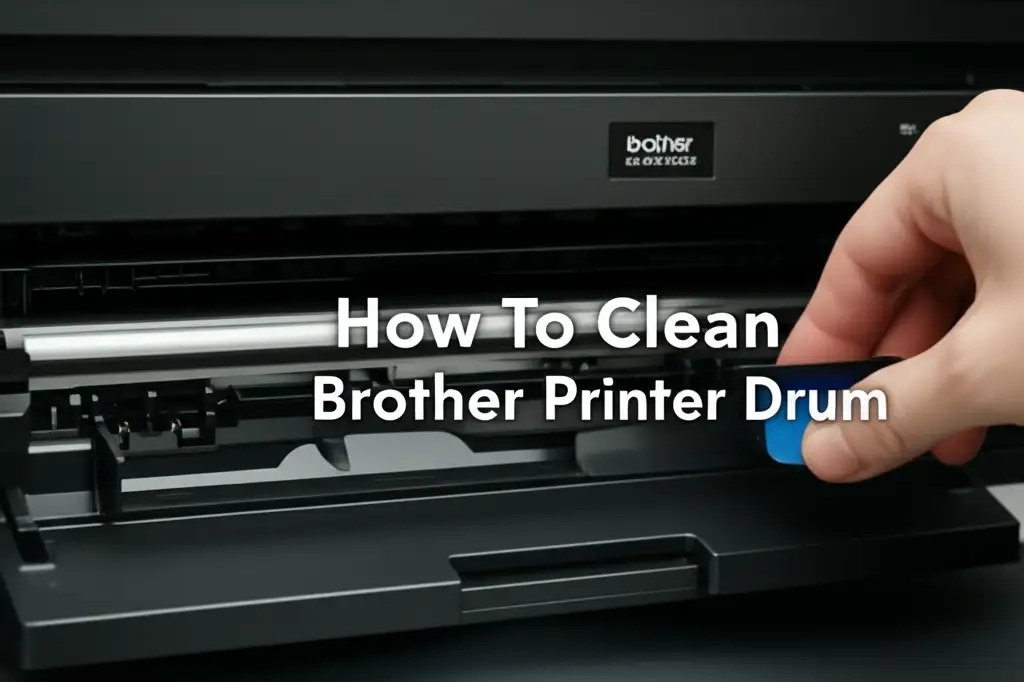
Restore Print Quality: How To Clean Your Brother Printer Drum
Are your Brother printer’s prints showing frustrating streaks, lines, or faded spots? You are not alone. These common print quality issues often point to one culprit: a dirty or worn drum unit. Learning how to clean Brother printer drum can save you money and extend your printer’s life. This simple maintenance task often restores your prints to crisp, clear quality. I will guide you through the process, making sure your documents look professional again.
Takeaway
- Identify print quality issues like streaks or faded prints that signal a dirty drum.
- Gather necessary tools like lint-free cloths and isopropyl alcohol.
- Follow manual cleaning steps for deep maintenance, or use the printer’s built-in function for routine care.
- Avoid common mistakes to prevent damage, ensuring a longer lifespan for your drum unit.
To clean a Brother printer drum, carefully remove the drum unit from the printer. Gently wipe the drum’s surface with a clean, lint-free cloth, avoiding direct touch. For stubborn spots, use a small amount of isopropyl alcohol on the cloth. Reinstall the drum unit properly to restore print quality.
Understanding Your Brother Printer’s Drum Unit
A Brother laser printer relies on several key components to create documents. The drum unit is one of the most important. It plays a central role in transferring toner powder onto the paper. Keeping this part clean ensures your prints always look their best.
What is the Drum Unit?
The drum unit, also known as the imaging unit, is a cylindrical component. It works with the toner cartridge. When you print, the drum unit attracts toner particles. It then transfers these particles onto the paper. This process creates the image or text you see. The drum unit and toner cartridge are sometimes sold as one piece. Other times, they are separate. Many Brother models use separate drum and toner units.
Why Cleaning the Drum Unit Matters
Over time, toner dust and paper fibers can build up on the drum surface. This buildup interferes with the toner transfer process. It leads to print defects like streaks, lines, or blotches. Regular cleaning prevents these issues. It also helps maintain good print quality. A clean drum unit ensures consistent, professional-looking documents. It also extends the life of the drum and your printer.
Signs Your Brother Printer Drum Needs Cleaning
Your Brother printer will often tell you when its drum unit needs attention. It does this through print quality issues. Recognizing these signs early helps you address the problem quickly. This prevents further damage or wasted prints.
Streaks and Lines
One of the most common signs is the appearance of streaks or lines on your printed pages. These can be horizontal or vertical. They often run consistently down the page. Dirt or toner buildup on the drum surface causes these marks. The dirty spots prevent proper toner transfer. The resulting blank lines or smudges indicate a need for cleaning.
Faded or Splotchy Prints
If your prints look generally faded, light, or have uneven density, your drum might be dirty. Splotchy areas where the toner is either too heavy or too light also point to drum issues. A dirty drum cannot maintain an even electrical charge across its surface. This unevenness leads to poor toner attraction and transfer. The result is inconsistent print quality.
Error Messages
Sometimes, your Brother printer may display specific error messages. These messages indicate a drum unit problem. For example, you might see “Drum Error” or “Replace Drum” messages. While these often mean the drum is at the end of its life, a good cleaning can sometimes resolve the issue. Check your printer’s manual for specific error codes. This helps you understand what the message means.
Essential Tools for Brother Drum Cleaning
Before you start cleaning your Brother printer drum, gather the right tools. Using the correct supplies is important. It ensures effective cleaning without damaging the sensitive components. Safety is also a key consideration. I always make sure I have everything ready before I begin.
Recommended Supplies
You do not need many special tools for this task. Here is what I recommend having on hand:
- Lint-free cloth: This is crucial. Regular cloths can leave fibers that cause new print issues. Microfiber cloths or optical cleaning cloths work best.
- Isopropyl alcohol (90% or higher): Use a small amount of this for stubborn stains. It evaporates quickly and leaves no residue. Do not use water or harsh cleaners.
- Cotton swabs: These are useful for reaching small areas or specific spots on the drum.
- Gloves: Optional, but recommended. They protect your hands from toner and prevent skin oils from transferring to the drum.
- Paper towels or a mat: To protect your work surface from toner spills.
Safety Precautions
Working with printer components requires some caution. Toner powder can be messy and should not be inhaled. The drum unit is also very sensitive to light and touch.
- Unplug the printer: Always unplug the printer from its power source before opening it. This prevents electric shock.
- Avoid touching the drum directly: The green or blue surface of the drum is delicate. Fingerprints or scratches can cause permanent print defects. Handle the drum unit by its plastic housing.
- Work in a well-ventilated area: Toner dust is fine. It can become airborne. A well-ventilated space helps disperse any dust.
- Protect from light: Prolonged exposure to bright light can damage the drum’s photosensitive surface. Keep the drum covered or work in a dimly lit area once removed from the printer. Put it back in the printer as soon as possible.
Step-by-Step Guide: How To Clean Brother Printer Drum Manually
Manually cleaning your Brother printer drum is an effective way to address print quality issues. It might seem daunting at first, but it is a straightforward process. Follow these steps carefully to ensure a thorough and safe cleaning. I have done this many times, and it really makes a difference.
Preparing for Cleaning
First, prepare your workspace. Find a clean, flat surface. Lay down some paper towels or a protective mat. This will catch any spilled toner. Make sure the area is well-lit but not directly exposed to bright sunlight. Next, turn off your Brother printer and unplug it from the wall outlet. This is a critical safety step. It ensures no power flows to the device while you are working inside it.
Accessing the Drum Unit
Open your Brother printer’s front cover. This is where you usually access the toner and drum. Carefully remove the drum unit assembly. The toner cartridge is typically attached to the drum unit. Do not separate them yet, unless your printer model instructs you to. Hold the drum unit by its plastic handles or edges. Avoid touching the green or blue cylindrical surface. Place the assembly gently on your prepared surface. If you need a refresher on other printer maintenance, you might find guides like how to clean print head on Epson printer or how to clean HP Deskjet printer heads useful for different printer types.
Performing the Clean
Now, locate the green tab on the drum unit. This is often called the corona wire cleaner. Slide this tab back and forth several times. It cleans the corona wire inside the drum unit. Return the tab to its home position, usually marked with an arrow. Failing to return it will result in vertical lines on your prints. Next, gently separate the toner cartridge from the drum unit. Your printer manual will show you how. Look for any visible dirt or toner buildup on the drum’s sensitive surface. If you see spots, gently wipe them with a dry, lint-free cloth. For stubborn or sticky spots, lightly dampen a cotton swab or a small corner of your lint-free cloth with isopropyl alcohol. Gently wipe the specific dirty area. Be very careful. Do not scrub or apply pressure. The drum surface is fragile. Ensure the alcohol dries completely before proceeding.
Reassembly
Once the drum surface is clean and dry, reattach the toner cartridge to the drum unit. Make sure it clicks firmly into place. Now, carefully insert the entire drum unit assembly back into your Brother printer. Push it in until it locks. Close the front cover of the printer. Plug the printer back in and turn it on. Print a test page. This will verify that the cleaning resolved your print quality issues.
Using Your Brother Printer’s Built-In Drum Cleaning Function
Many Brother printer models include a built-in feature to clean the drum unit automatically. This function is designed for minor dust and toner accumulation. It is a great option for routine maintenance. This is often quicker and simpler than manual cleaning. It is a good first step if you notice minor print quality degradation.
Accessing the Cleaning Cycle
The exact steps to access the built-in cleaning cycle vary by printer model. Generally, you will use the printer’s control panel. Look for menu options like “Machine Info,” “Parts Life,” or “Maintenance.” Navigate to the “Drum” or “Drum Unit” section. You might find an option like “Drum Cleaning” or “Drum Refresh.” Select this option. The printer will then run a cycle that rotates the drum. It attempts to remove loose toner or dust. Your printer manual will provide the precise navigation steps for your specific model.
When to Use This Feature
Use the built-in cleaning function for light maintenance or minor print imperfections. If you see very light streaks or a slight decrease in print clarity, try this first. It is less invasive than manual cleaning. It helps prolong the time between full manual cleans. However, if you have severe streaks, splotches, or persistent quality issues, a manual cleaning is likely necessary. The automated cycle may not remove deeply embedded dirt or large clumps of toner. Think of it as a quick refresh rather than a deep clean.
Common Mistakes to Avoid When Cleaning Brother Drums
Cleaning your Brother printer drum can significantly improve print quality. However, making certain mistakes can damage the drum or even the printer itself. I want to help you avoid these pitfalls. Knowing what not to do is just as important as knowing what to do.
Using Wrong Materials
One of the biggest mistakes is using the wrong cleaning materials. Do not use tap water, glass cleaner, or abrasive cloths. Tap water can leave mineral deposits. Glass cleaners contain chemicals that can dissolve the drum’s sensitive coating. Abrasive cloths will scratch the drum surface. These scratches will cause permanent lines on your prints. Always stick to a clean, lint-free cloth and, if needed, a small amount of high-percentage isopropyl alcohol. Ensure no residue remains.
Touching the Drum Surface
The green or blue surface of the drum is photosensitive and very delicate. Touching it directly with your fingers transfers oils and dirt from your skin. These oils can create new print defects. They can also degrade the drum’s coating over time. Always handle the drum unit by its plastic casing. If you must touch the drum, wear clean gloves. This is a crucial step for preventing accidental damage.
Forcing Components
Brother printer components are designed to fit together precisely. If something does not fit easily, do not force it. Forcing the drum unit or toner cartridge can break plastic clips. It can also damage electrical contacts. This might render the printer unusable. If you encounter resistance, re-read your printer manual. Double-check that you are aligning the components correctly. Sometimes, a slight angle adjustment is all that is needed. Rushing through the process often leads to mistakes. Take your time.
Maintaining Your Brother Printer Drum for Longevity
Cleaning your Brother printer drum is a great step. But regular maintenance habits are key to its long life. Proper care extends the life of your drum unit. It ensures consistent, high-quality prints for years to come. I follow these practices myself to get the most out of my printer.
Proper Toner Cartridge Handling
The toner cartridge and drum unit work closely together. Mishandling the toner can affect the drum. When replacing toner, make sure you use genuine Brother cartridges or high-quality compatibles. Cheap, poorly made cartridges can leak toner. This toner can then contaminate the drum. Always shake new toner cartridges gently before installation. This helps distribute the toner powder evenly. Insert the toner cartridge into the drum unit firmly and correctly. This prevents misalignment and toner leaks.
Environmental Factors
The environment where your printer operates plays
- Brother printer
- drum cleaning
- printer maintenance
- print quality
- laser printer
- toner drum
- common printer issues