· Kitchen Cleaning · 12 min read
How To Clean Cabinets After Roaches
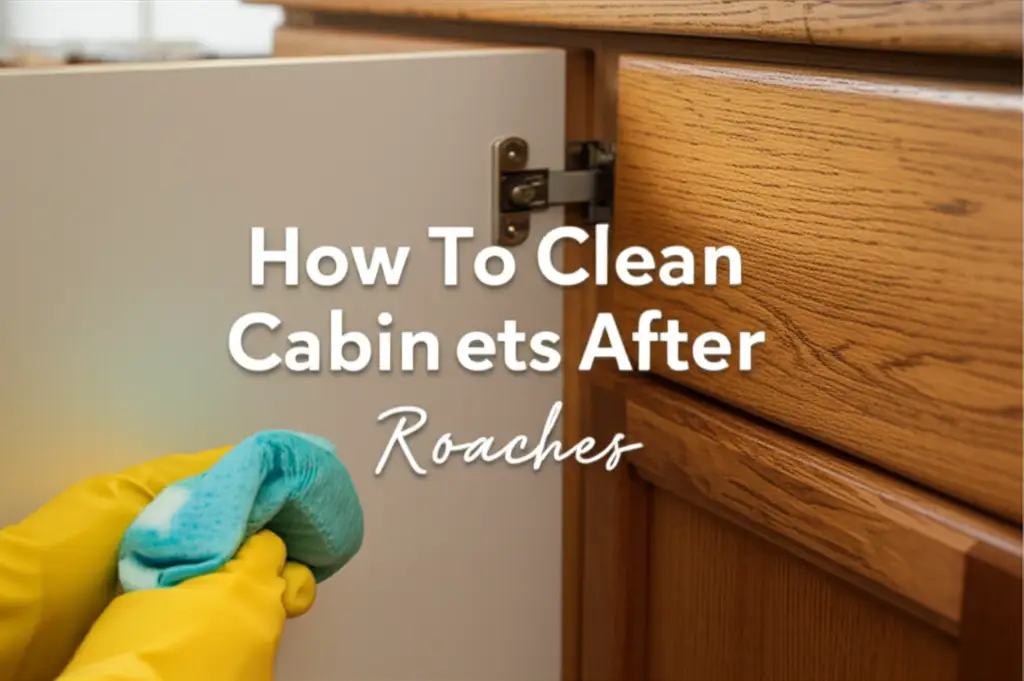
How To Clean Cabinets After Roaches: Your Ultimate Guide
Discovering roaches in your kitchen cabinets can feel unsettling. It is a common problem, and it requires immediate action. Cleaning cabinets after roaches is more than just wiping surfaces. You need to remove all traces of their presence and prevent them from returning. This guide shows you how to tackle this big cleaning job. We will cover preparing your space, deep cleaning, sanitizing, and future prevention.
Takeaway:
- Empty cabinets and remove all debris.
- Deep clean surfaces with a strong disinfectant.
- Sanitize thoroughly to eliminate germs and odors.
- Seal cracks and take steps to prevent future infestations.
How do you clean cabinets after roaches? To clean cabinets after roaches, first empty them completely. Then, vacuum up all visible roach droppings and debris. Next, wash all interior and exterior surfaces with a strong disinfectant cleaner. Finish by sanitizing with an appropriate solution and addressing any lingering odors.
1. Understanding the Impact of Roaches on Your Cabinets
Roaches are more than just an annoyance. They can bring serious health risks into your home. These pests carry bacteria and allergens. When they crawl over your cabinet surfaces, they leave behind droppings, shed skins, and saliva. These residues can spread germs and trigger allergies or asthma in sensitive individuals.
It is important to understand the full impact. Roaches also leave a distinct, musty smell. This odor can permeate your cabinets and food items if not addressed quickly. Simply wiping surfaces may not be enough. You need to clean deeply to remove all biological traces. This includes cleaning hidden spots where roaches like to hide. Effective cleaning makes your kitchen safe again.
Ignoring roach residue can lead to bigger problems. Bacteria like Salmonella and E. coli can survive on contaminated surfaces. This poses a risk to food preparation areas. Thorough cleaning reduces these risks significantly. We aim to restore your cabinets to a truly clean and healthy state.
2. Preparing Your Cabinets for Deep Cleaning
Preparation is the first vital step when you want to clean cabinets after roaches. You cannot start cleaning effectively without it. First, remove everything from your cabinets. Take out all dishes, food items, pots, and pans. Place them in a safe area, away from the kitchen.
Next, you need to deal with any food items. Inspect all packaged goods for signs of roach damage. Look for chewed corners or droppings inside packaging. It is best to discard any open or compromised food items. This prevents re-infestation and ensures food safety. You might also want to wipe down sealed containers with a disinfectant.
Now, it is time for initial debris removal. Use a powerful vacuum cleaner with a hose attachment. Vacuum inside all cabinet corners, shelves, and drawers. Focus on cracks and crevices where roaches hide and leave droppings. This step removes most of the visible residue. It makes the deep cleaning process much easier. A good vacuuming helps you see the true extent of the cleaning needed.
Safety should also be a priority during this stage. Wear gloves and a mask to protect yourself from allergens and bacteria. This helps prevent direct contact with roach residue. It also protects your lungs from dust and potential airborne particles. Preparing properly sets you up for a successful cleaning job.
3. Deep Cleaning Cabinet Surfaces
After preparing, it is time for the deep cleaning stage. This is where you remove all grime and roach residue from your cabinets. Start by choosing the right cleaning solution. For most cabinet types, a mix of warm water and dish soap works well. You can also use a mild all-purpose cleaner. For stubborn grime, consider a degreaser. Learn how to effectively clean grease from kitchen cabinets for a spotless finish.
Apply your chosen cleaner to a soft cloth or sponge. Wipe down all interior surfaces of the cabinets. Do not forget the undersides of shelves and the back walls. Pay extra attention to corners and edges. These are often favorite hiding spots for roaches. Scrub gently but firmly to lift dried droppings and sticky residue. If you find any sticky patches, it’s similar to cleaning common kitchen build-up; explore how to clean sticky kitchen cabinets for more specific tips.
Next, clean the exterior of your cabinets. Wipe down cabinet doors, handles, and frames. Use a separate clean cloth dipped in plain water to rinse away soap residue. This prevents streaks and sticky surfaces. Dry all surfaces thoroughly with a clean, dry cloth. Drying is important to prevent moisture issues, which can attract pests again.
For stubborn stains, a paste of baking soda and water can help. Apply the paste, let it sit for a few minutes, then scrub gently. Always test any strong cleaning solution on an inconspicuous area first. This protects your cabinet finish. Knowing how to clean kitchen cabinets without removing finish ensures your hard work doesn’t damage your valuable surfaces. This deep cleaning step is crucial for removing physical contaminants.
4. Sanitizing and Disinfecting for Health
Deep cleaning removes visible dirt, but sanitizing kills the unseen threats. This step is essential to eliminate bacteria, viruses, and pathogens roaches leave behind. You need a powerful disinfectant. Common options include bleach solutions, rubbing alcohol, or commercial disinfectants. Always read product labels for proper dilution and usage instructions.
If you choose a bleach solution, mix one tablespoon of bleach with one gallon of water. Use a spray bottle for easy application. Spray the solution onto all cabinet surfaces, inside and out. Let it sit for at least 5-10 minutes. This contact time allows the disinfectant to work effectively. After the dwell time, wipe down surfaces with a clean, damp cloth. Always ensure good ventilation when using bleach.
Vinegar is another natural sanitizing option, especially for less severe situations. It can kill some bacteria and neutralize odors. Mix equal parts white vinegar and water. Spray it generously onto surfaces and let it sit for a few minutes before wiping. Vinegar is also excellent for handling mold, should roach presence indicate moisture issues. You can find more details on how to clean mold with vinegar.
For areas that might be sensitive to strong chemicals, rubbing alcohol (70% isopropyl) is a good choice. It evaporates quickly and is effective against many germs. Apply it with a spray bottle or a soaked cloth. No rinsing is usually needed. After sanitizing, ensure all surfaces are completely dry. This prevents mold growth and further pest attraction. This sanitizing step ensures your cabinets are not just clean, but truly hygienic.
5. Addressing Odors and Stain Removal
After cleaning and sanitizing, you might still notice a lingering roach odor. This distinct musty smell can be tough to remove. Luckily, there are several effective methods to neutralize these unpleasant smells. Addressing odors makes your kitchen feel fresh again. It also removes a potential attractant for other pests.
Baking soda is a fantastic natural deodorizer. Sprinkle a generous amount of baking soda inside the empty cabinets. Leave it there for several hours, or even overnight, to absorb odors. You can also place small bowls of baking soda in the corners of your cabinets. After it has absorbed the smells, vacuum up the baking soda. This simple trick can make a big difference.
For stronger odors, white vinegar is also useful. As mentioned, it has sanitizing properties and can cut through smells. After sanitizing, you can lightly mist the cabinet interiors with a diluted vinegar solution. Allow it to air dry. The vinegar smell will dissipate as it dries, taking the roach odor with it. Ensure proper ventilation during this process.
If roaches left behind any stubborn stains, particularly on wood cabinets, you might need specific stain removal techniques. For example, roach droppings can sometimes leave dark spots. A gentle scrub with a mild abrasive paste, like baking soda and a little water, can help. For more general advice on dealing with spots on wooden surfaces, learning how to clean stains on wood can provide additional strategies. Always test any stain remover in an inconspicuous area first to avoid damaging the finish. Removing odors and stains completes the deep cleaning process.
6. Preventing Future Roach Infestations
Cleaning your cabinets is a great start, but preventing future roach infestations is just as important. Roaches are attracted to food, water, and shelter. Eliminating these attractants is key to keeping them away for good. This proactive approach saves you from future cleaning headaches.
First, seal all entry points. Inspect your cabinets and walls for cracks, holes, or gaps. Roaches can squeeze through tiny openings. Use caulk to seal these small spaces. Pay attention to areas around pipes and under sinks. Sealing these access points denies roaches easy entry into your cabinets and home.
Next, focus on food storage. Store all food in airtight containers. This includes dry goods like cereals, flour, and pet food. Do not leave open food on counters or in cabinets. Promptly clean up all food spills and crumbs. Regular cleaning of your kitchen surfaces is critical. Wipe down counters and clean under appliances daily. This removes any food sources that might attract pests.
Manage moisture effectively. Roaches need water to survive. Fix any leaky pipes or faucets immediately. Do not leave standing water in sinks or on counters. Ensure your kitchen is well-ventilated, especially after cooking or cleaning. A dry environment is less appealing to roaches. Consider using a dehumidifier in very humid areas.
Regular pest control measures can also help. This might include using roach baits, traps, or professional pest control services. Combine these efforts with consistent cleaning. Regular maintenance is the best defense. This ensures your hard work cleaning cabinets pays off long-term.
7. Final Touches and Maintaining Cleanliness
After all your hard work cleaning, sanitizing, and strategizing for prevention, it is time for the final touches. This step ensures your cabinets are ready for use again. It also sets up a routine for ongoing cleanliness. We want your kitchen to remain a roach-free zone.
Before returning items to your cabinets, ensure everything is dry. Any lingering moisture can create a welcoming environment for mold or future pests. Wipe down shelves one last time with a dry cloth if needed. Take this opportunity to organize your cabinet contents. Smart organization can make future cleaning easier. Store less-used items towards the back.
Now, return your dishes, pots, and food items. Remember to keep food in airtight containers. This is a crucial line of defense against roaches. Consider adding shelf liners to your cabinets. These can make future wipe-downs simpler. They also offer an extra layer of protection for your cabinet surfaces.
Establish a routine for ongoing maintenance. Regularly wipe down your cabinet interiors and exteriors. Do this weekly or bi-weekly. Quickly clean up any crumbs or spills. This prevents food buildup, a prime roach attractant. Periodically inspect your cabinets for any new signs of pest activity. Early detection allows for quick action.
Keep your kitchen generally clean. This includes sweeping, mopping, and cleaning sinks daily. A clean kitchen environment discourages pests from settling in. By following these final steps and maintaining good habits, your cabinets will stay clean and roach-free. You have invested time in this deep clean, and these habits will protect your efforts.
FAQ Section
Q1: How long does roach odor last in cabinets?
Roach odor can linger in cabinets for weeks or even months if not properly addressed. The smell comes from roach droppings, shed skin, and pheromones. Thorough cleaning and deodorizing with baking soda or vinegar are necessary. Good ventilation also helps to remove the stale smell.
Q2: What kills roach eggs in cabinets?
Physical removal is the most effective way to kill roach eggs. Vacuum all crevices and surfaces where you found adults or droppings. Then, wipe down cabinets with a strong disinfectant. Bleach solution or rubbing alcohol can destroy eggs on contact. Ensure you clean all hidden areas.
Q3: Is it safe to use cabinets after a roach infestation?
Yes, it is safe to use cabinets after a roach infestation, but only after a thorough deep clean and sanitization. Roaches carry bacteria, so proper disinfection is vital. Ensure all surfaces are wiped down with a powerful cleaner. You should also address any lingering odors before storing food.
Q4: Can I use bug spray inside my kitchen cabinets?
Using bug spray inside kitchen cabinets is not recommended. Pesticides can leave harmful residues on surfaces where you store food and dishes. It is better to use non-toxic cleaning methods first. Focus on baits and sealing entry points for pest control instead of sprays in food areas.
Q5: How often should I deep clean cabinets after roaches?
After an initial infestation, deep clean your cabinets immediately and thoroughly. For ongoing prevention, clean cabinet interiors at least once a month. Wipe down exteriors and counters daily. Regular cleaning helps prevent any new infestations from taking hold.
Q6: What natural solutions can clean cabinets after roaches?
Natural solutions include white vinegar and baking soda. Vinegar acts as a disinfectant and deodorizer. Mix it with water and spray on surfaces. Baking soda absorbs odors. Sprinkle it, let it sit, then vacuum. These help clean and neutralize smells without harsh chemicals.
Conclusion
Facing a roach infestation in your kitchen cabinets is a challenge, but tackling it is achievable. We covered every essential step, from initial preparation to deep cleaning, sanitizing, and long-term prevention. You now know how to effectively clean cabinets after roaches. This ensures your kitchen becomes a safe and hygienic space once more.
Remember, the key is thoroughness. Removing all physical traces, disinfecting unseen germs, and eliminating lingering odors are crucial. Equally important is implementing preventative measures. Sealing cracks, storing food properly, and maintaining consistent cleanliness will guard against future unwelcome visitors. Your efforts today create a healthier home tomorrow. Take these steps and reclaim your kitchen. Start your deep clean now for a truly fresh and pest-free home.
- roach infestation
- kitchen cabinet cleaning
- pest removal

