· Home Maintenance · 15 min read
How To Clean Dryer Vent On Roof
Clean Your Dryer Vent on the Roof: A Step-by-Step Guide
Lint buildup in your dryer vent causes problems. It reduces dryer efficiency. It also creates a fire hazard. Many people clean the dryer vent from inside or the wall exit. But what about the part on your roof? Cleaning the dryer vent on the roof is a crucial step. It ensures your entire ventilation system works well. This guide helps you tackle this important task safely and effectively.
I will walk you through the process. We cover essential safety measures. We also list the tools you need. Then, we provide clear, step-by-step instructions. You will learn to clean the dryer vent cap and the exposed duct on your roof. This complete approach ensures your dryer performs its best. It also helps protect your home from potential dangers. Let’s make your dryer vent clean and safe.
Takeaway
- Access your roof safely with proper ladder setup and footwear.
- Gather necessary tools: vent brush kit, vacuum, screwdriver, safety gear.
- Carefully remove the roof vent cap and clear lint from it.
- Clean the exposed duct from the roof side and ensure the entire vent run is clear.
- Reassemble the vent system correctly after cleaning.
- Consider professional help for high roofs or stubborn clogs.
To clean a dryer vent on the roof, you must access the roof safely, remove the vent cap, and use a specialized brush kit and vacuum to clear lint from both the cap and the exposed duct. Ensure the entire vent run is cleaned from the dryer connection point too.
Why Cleaning Your Roof Dryer Vent Is Essential
Your dryer works by pushing hot, moist air outside. This air carries lint from your clothes. Over time, this lint builds up inside the vent pipe. This buildup occurs along the entire length of the vent. The roof termination point is a common spot for clogs.
A clogged dryer vent brings many risks. First, it makes your dryer less efficient. Your clothes take longer to dry. This wastes energy and increases utility bills. Second, a severe clog can cause your dryer to overheat. This overheating is a major fire hazard. Lint is very flammable, so this is a serious concern.
Third, moisture can get trapped in the duct. This leads to mold growth. Mold affects air quality in your home. It also damages the vent pipe itself. Regular cleaning, especially of the roof section, prevents these issues. It keeps your home safe and your dryer running well.
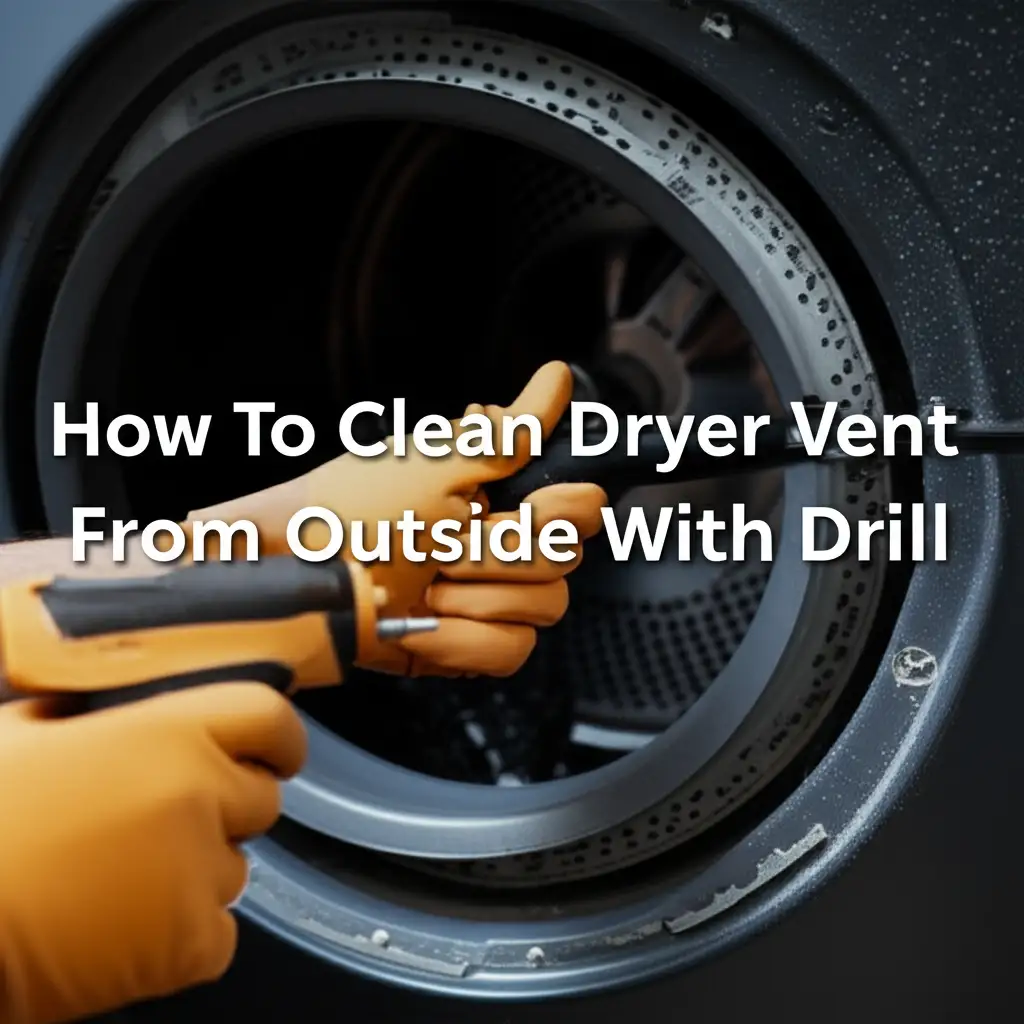
Many people clean their dryer vent from the outside wall. They might use a drill attachment or a leaf blower for this task. However, if your dryer vents through the roof, this wall method is not enough. The roof section needs direct attention. It often accumulates lint due to gravity and air flow patterns. Cleaning this part is key for a truly clear vent.
Safety Preparations Before Climbing Your Roof
Cleaning a dryer vent on the roof means working at heights. Safety must be your top priority. Do not skip any safety steps. A fall from a roof can cause serious injury or worse. Take your time and plan everything before you start.
First, check the weather forecast. Choose a clear, dry day with no wind. A wet or windy roof is very dangerous. The sun should not be directly in your eyes when you work. This reduces visibility. Make sure the roof surface is not too hot. Hot shingles can be damaged and are unpleasant to work on.
Next, choose the right ladder. It should be sturdy and tall enough to extend safely above the roofline. Set the ladder on firm, level ground. Use a spotter to hold the ladder’s base if possible. This person provides extra stability. Wear non-slip shoes with good grip. Avoid loose clothing that might catch on things.
It is wise to wear gloves. They protect your hands from rough surfaces and sharp edges. Safety glasses are also a good idea. They protect your eyes from falling debris or dust. If you have a safety harness and anchor points, use them. They offer the best protection against falls. Do not work alone on the roof. Have someone nearby who knows you are up there.
Tools and Materials for Roof Dryer Vent Cleaning
Having the right tools makes the job easier and safer. Do not start without gathering everything you need. This prevents multiple trips up and down the ladder. It also ensures you can complete the job without interruption.
Here is a list of essential tools and materials:
- Sturdy Ladder: As discussed, ensure it is tall enough and stable.
- Dryer Vent Cleaning Brush Kit: This is a must-have. These kits come with flexible rods that connect together. They have different brush heads for various duct sizes. The brush helps dislodge stubborn lint.
- Wet/Dry Vacuum: A powerful shop vac is ideal. It helps suck up loose lint. Make sure it has a long hose or extensions. This allows you to reach deep into the duct.
- Screwdriver or Nut Driver: You will likely need one to remove the vent cap. The type depends on the fasteners used on your specific vent cap.
- Work Gloves: Protect your hands from dirt, sharp edges, and potential splinters.
- Safety Glasses: Keep dust and debris out of your eyes.
- Dust Mask: Protects your lungs from airborne lint and dust.
- Plastic Trash Bags: For collecting and disposing of lint.
- Duct Tape or Clamps: To secure the flexible duct to the dryer later.
- Flashlight or Headlamp: For better visibility inside the duct.
- Pry Bar or Putty Knife (optional): If the vent cap is stuck or sealed.
- Broom and Dustpan (for roof cleanup): To sweep away any scattered lint.
You may also consider using a leaf blower in some cases. While primarily used for outdoor cleaning, a leaf blower can sometimes help clear initial loose lint from the vent. However, a brush and vacuum are more effective for thorough cleaning. If you are interested in using this tool, you can learn more about how to clean dryer vent with a leaf blower.
Step-by-Step: How To Clean Dryer Vent On Roof Cap & Duct
Now, let’s get to the main task. Cleaning the dryer vent on your roof requires careful steps. Follow these instructions to do the job right. Remember to prioritize safety at every stage.
1. Safely Access the Roof
Place your ladder securely. Ensure it extends at least three feet above the roof edge. This gives you a safe handhold when getting on and off the roof. Climb the ladder carefully. Make sure your footing is stable. Do not rush. Once on the roof, move slowly and deliberately. Be aware of your surroundings. Locate the dryer vent cap. It usually looks like a small box or a dome with a flap.
2. Remove the Dryer Vent Cap
The dryer vent cap is secured to the roof. It might have screws, nails, or caulking. Use your screwdriver or nut driver to remove any fasteners. If it is caulked, you might need a pry bar or putty knife. Gently pry the cap away from the roof. Be careful not to damage the shingles around it. Once loose, lift the cap off.
3. Clean the Vent Cap
The cap itself often gets clogged. Lint collects on the screen or flaps. Use your hands to pull off large clumps of lint. Then, use a brush or a small vacuum nozzle to clean it thoroughly. Make sure all moving parts, like the damper flap, are clear and move freely. If the cap is very dirty, you can wash it on the ground. Let it dry completely before reinstallation.
4. Clean the Exposed Duct from the Roof Side
Now you see the open vent duct. This is the exit point of your dryer’s ventilation system. Attach a brush head to your flexible rods. Begin inserting the rods into the duct opening. Push the brush down into the pipe. As you push, twist the rods. This dislodges lint from the duct walls. Continue adding rod sections until you feel resistance or reach the end.
Once the brush is fully inserted, pull it back out slowly. As you pull, continue twisting. This helps scoop out the loosened lint. Use your wet/dry vacuum to suck up lint as it comes out. Repeat this brushing and vacuuming process several times. Do this until no more lint comes out. Shine a flashlight down the duct to check for any remaining clogs. For a more detailed look at cleaning from the outside, including drill attachments, you can explore how to clean dryer vent from outside with drill.
Cleaning the Dryer Vent System from Inside (Complementary)
Cleaning the roof section is vital. However, a complete dryer vent cleaning means addressing the entire duct run. This includes the part connecting to your dryer. It also includes the duct running through your home. The roof part is just the endpoint. Lint accumulates throughout the whole pipe.
1. Disconnect the Dryer
First, unplug your dryer from the electrical outlet. For gas dryers, turn off the gas supply. Then, carefully pull the dryer away from the wall. This gives you access to the back of the machine. Locate the vent hose. It is usually a flexible foil or rigid metal duct. Loosen the clamp that holds the hose to the dryer’s exhaust port. Carefully pull the hose off.
2. Clean the Dryer’s Exhaust Port and Hose
Lint builds up right at the dryer’s exhaust port. Use your vacuum or a small brush to clean this area. Make sure no lint remains. Then, inspect the flexible vent hose itself. These hoses often trap a lot of lint due to their ribbed design. Use your hands to remove large clumps. You can also use a vacuum or a small brush. If the hose is old, damaged, or very dirty, consider replacing it. Flexible foil hoses are prone to kinks and lint traps. Rigid metal ducts are better for long-term use.
3. Clean the Wall Duct
This is the main part of the vent run. It goes from the wall to the roof. Use your dryer vent cleaning brush kit for this. Assemble the rods and brush head. Insert the brush into the wall duct opening. Push and twist the brush through the duct. You might feel resistance from lint clogs. Continue pushing and rotating. Add more rod sections as needed.
Work the brush back and forth several times. This dislodges all the built-up lint. As you pull the brush out, use your vacuum to collect the loosened lint. Repeat until no more lint comes out. A thorough cleaning from both the inside and the roof end ensures the entire duct is clear. This two-pronged approach is the most effective way to clean your full dryer vent system.
Inspecting and Reassembling Your Dryer Vent System
After cleaning, inspection and proper reassembly are critical. This ensures safety and proper function. Do not skip these final steps. They confirm your hard work pays off.
1. Inspect the Duct for Damage
Before reattaching anything, look inside the vent duct. Use a flashlight. Check for any holes, cracks, or loose connections. A damaged duct can leak lint or moisture into your walls. This creates new problems. Look for any sharp bends or kinks. These areas restrict airflow and collect lint. If you find significant damage, you may need to replace sections of the duct.
2. Reattach the Vent Cap
Go back to the roof. Carefully place the cleaned vent cap back over the duct opening. Align it with the original screw holes or mounting points. Secure it firmly with the appropriate fasteners. If the original caulk seal was broken, apply a new bead of weatherproof caulk around the base. This prevents water from leaking into your roof or attic. Make sure the damper flap on the cap moves freely. It should open when the dryer runs and close when it stops. This prevents pests and cold air from entering.
3. Reconnect the Dryer Hose
Return to your dryer. Carefully reattach the flexible or rigid duct to the dryer’s exhaust port. Make sure it fits snugly. Use the clamp to secure it tightly. Avoid kinks or sharp bends in the hose when reconnecting. Straight runs promote better airflow. Then, push your dryer back into place.
4. Test Your Dryer
Finally, plug your dryer back in. For gas dryers, turn the gas supply back on. Run a small load of damp towels or a short cycle. Go outside to the vent cap on your roof. You should feel a strong flow of warm air coming out. This indicates a clear vent. If the airflow is weak, or clothes still take too long to dry, there might be a remaining clog or another issue. You might need further inspection or professional help.
When to Seek Professional Dryer Vent Cleaning Help
Cleaning your dryer vent on the roof is a demanding DIY task. While many homeowners can do it, there are times when calling a professional is the smartest choice. Do not hesitate to seek expert help if the situation is beyond your comfort or skill level.
Here are situations when you should consider hiring a professional dryer vent cleaner:
- High or Steep Roofs: If your roof is very high, steeply pitched, or hard to access, do not risk it. Professionals have specialized safety equipment and training for working on roofs. They minimize fall risks.
- Complex Vent Systems: Some homes have very long vent runs. Others have multiple turns, elbows, or unusual routing through walls or ceilings. These systems are harder to clean thoroughly. Professionals have more powerful tools and experience with complex layouts.
- Stubborn or Deep Clogs: If you have tried cleaning and still experience poor airflow or slow drying times, there might be a very dense or deep clog you cannot reach. Professionals use high-powered equipment. They often use cameras to inspect the duct’s interior. This helps them locate and remove tough blockages.
- Lack of Proper Equipment: You need specific tools for this job, like a good vent brush kit and a powerful vacuum. If you do not have these tools and do not want to buy them, hiring a pro saves you money and effort. They come fully equipped.
- Time Constraints: Cleaning a dryer vent thoroughly takes time and effort. If you are short on time, a professional service offers convenience. They can often complete the job quickly and efficiently.
- Signs of Pest Infestation: If you notice signs of birds, rodents, or insects nesting in your vent, a professional can handle this. They can safely remove pests and their nests. They also repair any damage and install pest guards.
- Annual Maintenance: Even if you DIY often, a professional cleaning every few years can ensure the deepest clean. They can spot potential problems you might miss.
Professional cleaners ensure your dryer vent is not just clean, but also properly installed and safe. They give you peace of mind.
Maintaining Your Dryer Vent for Long-Term Safety
Cleaning your dryer vent on the roof is not a one-time job. Regular maintenance keeps your system safe and efficient. Developing good habits prevents major lint buildups. This reduces the need for frequent deep cleans.
First, clean your lint trap after every load. This is the easiest and most important step. A full lint trap traps moisture and reduces airflow. This makes your dryer work harder. It also pushes more lint into the vent pipe. Make sure the lint trap itself is clean. Sometimes a waxy film builds up from dryer sheets. Wash the lint trap with soap and water every few months. Use a soft brush to remove any residue.
Second, check the exterior vent cover regularly. If your vent exits through a side wall, check that cover. Make sure the flap opens and closes freely. Remove any visible lint around it. For roof vents, this visual check is harder, but still important. If you can, safely observe the roof cap from the ground with binoculars. Look for blockages or damage.
Third, schedule professional cleanings or DIY deep cleans. For most homes, cleaning the entire dryer vent system at least once a year is a good practice. If you use your dryer heavily, have pets that shed a lot, or dry linty items like blankets often, you might need to clean it more frequently, perhaps every six months.
Finally, be aware of warning signs. Watch for these indications of a clogged vent:
- Clothes take longer to dry.
- Clothes feel hotter than usual at the end of a cycle.
- The dryer itself feels very hot to the touch.
- There’s a burning smell coming from the dryer.
- The exhaust vent flap on the roof or wall does not open fully.
Addressing these signs promptly prevents a small lint issue from becoming a fire hazard. Proactive maintenance saves you money on energy bills. It also extends your dryer’s life. Most importantly, it protects your home and family.
Conclusion
Cleaning your dryer vent on the roof is a crucial home maintenance task. It might seem daunting, but it is very manageable with the right approach. You now know the risks of a clogged vent. You also know the tools needed. Most importantly, you have a clear, step-by-step guide to follow. This includes vital safety tips.
Remember, a clean dryer vent means your dryer works better. It dries clothes faster. It uses less energy. Most importantly, it significantly reduces the risk of a dangerous dryer fire. Your home becomes safer for everyone.
Do not put off this essential chore. Prioritize safety during the process. If you ever feel unsure, or if your roof is too challenging, do not hesitate to call a professional. They have the expertise and equipment to do the job safely and effectively. Keep your dryer vent clear. Enjoy a more efficient and safer laundry routine. Your efforts will pay off in safety and savings.
- dryer vent cleaning
- roof safety
- lint removal
- home maintenance
- fire prevention
- HVAC care
- DIY cleaning