· Vacuum Maintenance · 13 min read
How To Clean Dyson Cyclone
Clean Your Dyson Cyclone: Restore Suction Power
Does your Dyson vacuum seem to lose its powerful suction? A dirty cyclone unit is often the reason. The cyclone component is a critical part of your Dyson vacuum. It separates dust and debris from the airflow. Over time, fine dust and microscopic particles can clog the tiny air pathways. This build-up reduces performance. Cleaning your Dyson cyclone regularly brings back its original power. It also extends the life of your vacuum. I will guide you through the process step-by-step. You will learn how to properly clean and maintain this vital part.
Takeaway
Cleaning your Dyson cyclone unit involves a few key steps to restore performance:
- Always unplug the vacuum before starting.
- Empty the dust bin completely.
- Separate the cyclone unit from the main body.
- Clean the cyclone with a dry brush or compressed air.
- Wash filters only if they are washable and completely dry them.
- Reassemble all parts carefully.
Main Query Answer
To effectively clean your Dyson cyclone, first detach it from the vacuum and empty the bin. Use a dry brush or compressed air to remove accumulated dust and debris from the cyclone shroud. For washable filters, rinse them with cold water and allow them to air dry completely for at least 24 hours before reassembling.
Why Clean Your Dyson Cyclone Regularly?
Keeping your Dyson cyclone clean is more important than you might think. A clean cyclone ensures your vacuum works at its best. It maintains strong suction power. When the cyclone unit gets dirty, dust and fine particles build up inside. This accumulation blocks the airflow channels. The vacuum struggles to pull air through these blocked paths. This leads to significantly reduced suction. You might notice your vacuum leaving dirt behind.
Regular cleaning prevents this performance drop. It allows the vacuum to efficiently separate dirt from the air. This protects the motor from overheating. A clean cyclone also means cleaner air exits the vacuum. It traps allergens and microscopic dust more effectively. Think of it as your vacuum’s lungs. You want them clear to breathe properly. Regular cleaning extends the overall lifespan of your Dyson vacuum. It saves you money on potential repairs or replacements. It ensures your cleaning tasks remain easy and effective. I find this simple maintenance step makes a huge difference in my vacuum’s performance.
Essential Tools and Preparations for Cleaning
Before you start cleaning your Dyson cyclone, gather the right tools. Having everything ready makes the process smooth. You will need a few simple items for this task. I always make sure I have these on hand.
First, you need a soft brush. An old toothbrush or a small cleaning brush works well. This helps dislodge stubborn dust. Second, compressed air can be very useful. It blows out dust from hard-to-reach areas. A microfiber cloth is good for wiping surfaces. Some models might need a coin for specific locks. Always check your specific Dyson model’s manual. It provides exact instructions for disassembly.
Safety is paramount. Always unplug your Dyson vacuum cleaner from the power outlet. This prevents accidental starts. It also protects you from electric shock. Make sure the dust bin is completely empty before you begin. Find a well-ventilated area for cleaning. Dust can fly around during the process. Having a dedicated space helps contain the mess. Lay down some old newspapers or a towel. This catches any dust or debris. These simple preparations ensure a safe and effective cleaning session.
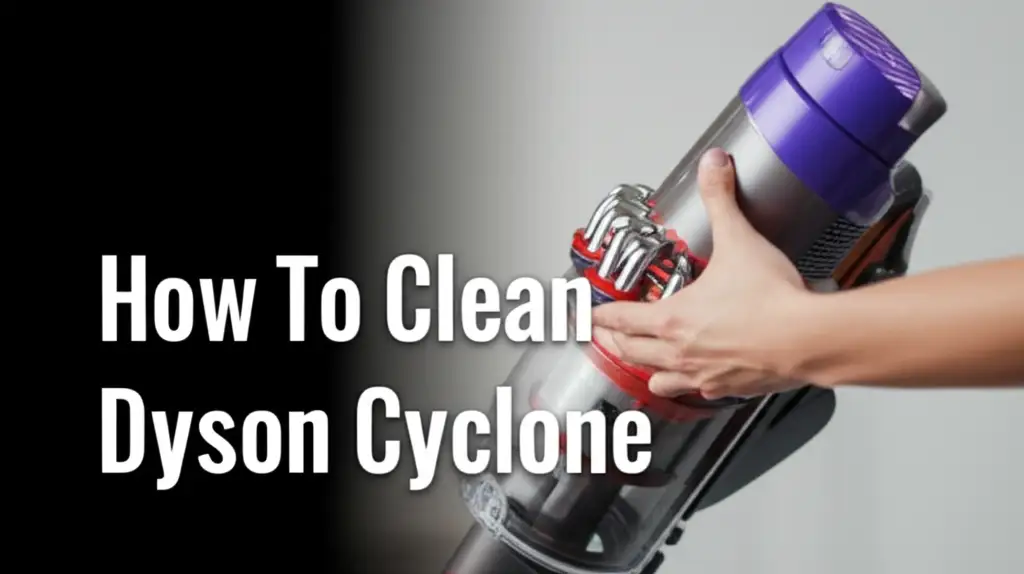
Disassembling Your Dyson Cyclone for Cleaning
Taking apart your Dyson cyclone unit is the first step in cleaning it properly. This process varies slightly by model. However, the general principle remains the same. I will walk you through the common steps.
Start by locating the dust bin release button. This is usually a red or grey button. Press it to detach the clear dust bin from the main vacuum body. Once the dust bin is off, you will see the cyclone unit. It is the conical part inside the bin or attached to it. For many Dyson models, the cyclone unit is integrated with the dust bin itself. This means you clean them together. Some older models might allow further separation.
To separate the cyclone from the clear bin on certain models, look for clips or a release mechanism. This might involve twisting or pressing a button. On models like the V-series, the cyclone unit is typically fixed within the clear bin. You simply open the bin’s bottom flap to empty it. You cannot fully detach the cyclone from the bin itself for deep cleaning. Instead, you access the inside of the cyclone through the top or bottom opening. Always refer to your specific model’s manual for precise disassembly instructions. Some Dyson vacuums, such as the V8 or V10, have a sealed cyclone unit. These units are not meant for complete disassembly by the user. You mainly clean the outside and the bin. This ensures you do not damage delicate internal components. Learning how to clean your Dyson V8 or specific models involves understanding these nuances. Additionally, if you need to clean other parts of your vacuum, understanding how to clean your Dyson canister or how to clean your Dyson brush head can be helpful supplementary tasks.
Cleaning the Cyclone Shroud and Bin
This is where the real cleaning work begins for the cyclone unit. The clear dust bin and the internal cyclone shroud often collect a lot of fine dust. This dust reduces the vacuum’s efficiency.
Cleaning Steps:
- Empty the Bin: First, ensure the dust bin is completely empty. Press the red release button over a trash can. Shake out all debris.
- Wipe the Exterior: Use a dry microfiber cloth to wipe down the outside of the clear dust bin. Remove any visible dust or grime.
- Clean the Cyclone Shroud: This is the most crucial part. The cyclone shroud is the cone-shaped part inside the clear bin. Fine dust clings to its surfaces. Use a soft, dry brush to gently dislodge this dust. A paintbrush or an old toothbrush works well. Reach into all crevices.
- Use Compressed Air: For stubborn dust that is hard to reach, use compressed air. Direct short bursts into the cyclone’s vents and channels. This helps to blow out fine particles. Do this outdoors or in a well-ventilated area.
- Avoid Water on Cyclone: Dyson cyclones are generally not designed to be washed with water. Water can damage the internal components or electronics. It can also leave moisture behind, promoting mold growth. Stick to dry cleaning methods for the cyclone itself. If you are ever curious about specific filter cleaning, check out our guide on how to clean your Dyson vacuum filter. Similarly, if your vacuum is a cordless model, learning how to clean your Dyson cordless filter is essential.
Sometimes, the clear bin itself can get cloudy or scratched. You can wipe it with a damp cloth if necessary. Ensure it is completely dry before reattaching. Do not use harsh chemicals or abrasive cleaners. These can damage the plastic. Focus on removing the dry dust first.
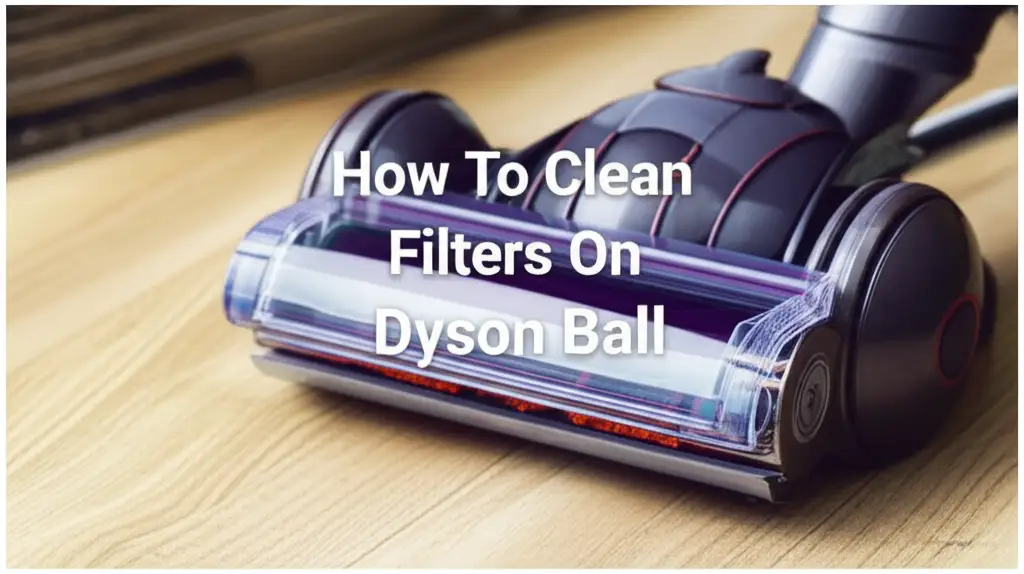
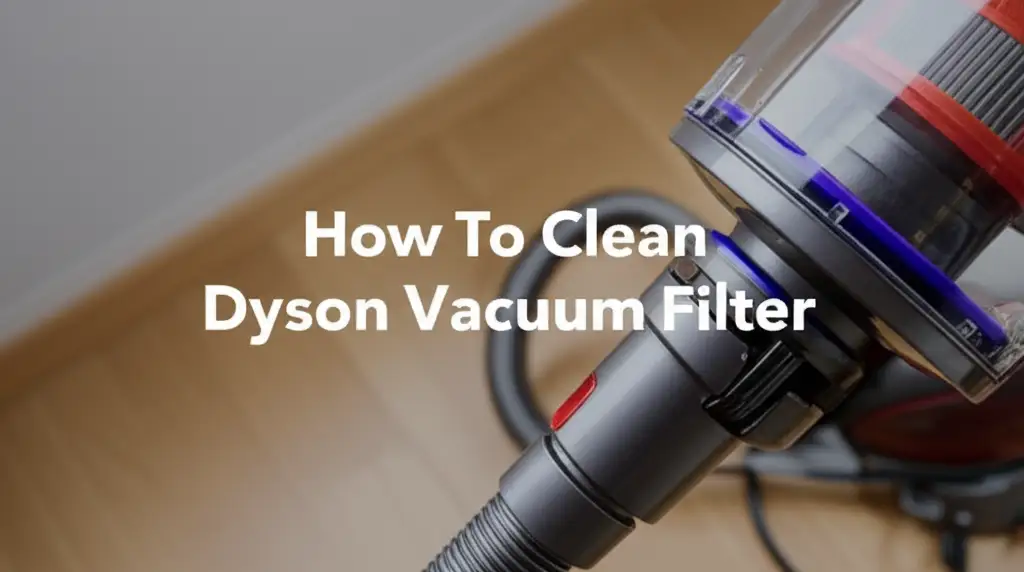
Cleaning the Dyson Filter(s)
Dyson filters are vital for air quality and vacuum performance. Most Dyson vacuums have at least one main filter. Some have two. These filters are often located near the cyclone unit. It is important to know how to clean them correctly.
Filter Cleaning Steps:
- Locate the Filter: The primary filter is usually at the top of the cyclone unit or at the back of the motor housing. For example, on many V-series models, it twists off the top.
- Check Filter Type: Some Dyson filters are washable. Others are not. Most Dyson filters that are washable are clearly marked. They might have a water faucet symbol. Non-washable filters must be tapped clean. Never wash a non-washable filter. This will damage it.
- Washing Washable Filters: If your filter is washable, hold it under cold running water. Keep running water until the water runs clear. Gently squeeze the filter to remove excess water. Do not twist or wring it.
- Drying Washable Filters: This is the most critical step. You must allow the filter to air dry completely. This takes at least 24 hours. Sometimes, it takes longer. Place it in a warm, dry area. Do not use a tumble dryer, microwave, or open flame. This can damage the filter material. Reinserting a damp filter can damage your vacuum’s motor. It can also cause mold growth. I often set a reminder to check it the next day.
- Cleaning Non-Washable Filters: If your filter is not washable, gently tap it over a trash can. This dislodges trapped dust. You can also use a soft brush to carefully brush away debris.
Regular filter cleaning directly impacts your Dyson’s suction power. A dirty filter restricts airflow. This makes the motor work harder. For models like the V10, understanding how to clean your Dyson filter V10 ensures optimal performance. Keeping your vacuum’s filters clean helps maintain its effectiveness. It also ensures cleaner air in your home.
Reassembling Your Dyson Cyclone
Once you have thoroughly cleaned your Dyson cyclone and any related filters, it is time to put everything back together. Reassembly is straightforward. It just reverses the disassembly steps. However, doing it correctly is important for your vacuum to work properly.
Reassembly Steps:
- Ensure All Parts Are Dry: This is the absolute golden rule. If you washed any filters, confirm they are 100% dry. Any moisture can severely damage your vacuum’s motor. I always give filters at least a full 24-48 hours to dry.
- Reinsert Filters: Place the dry filters back into their designated spots. Make sure they click securely into place. They should fit snugly.
- Attach Cyclone to Bin (if separated): If your model allows the cyclone unit to separate from the clear dust bin, carefully align them. Push them together until they click. Ensure all clips engage properly.
- Reattach Dust Bin Assembly: Align the dust bin and cyclone assembly with the main vacuum body. Push it firmly until it clicks into place. You should hear a distinct click. This confirms it is securely attached.
- Check Connections: Give a gentle tug on the dust bin. Make sure it does not easily pull away. This confirms a secure connection. A loose bin can affect suction.
- Test the Vacuum: Once everything is reassembled, plug in your Dyson. Turn it on briefly. Listen for any unusual sounds. Check if the suction power feels restored. A smooth sound and strong suction mean you did a great job.
Following these steps ensures your Dyson is ready for action. Proper reassembly prevents air leaks. It maintains optimal suction. It also protects the internal components from dust ingress. You have just completed a significant part of your Dyson vacuum’s regular maintenance.
Maintenance Tips for Lasting Performance
Cleaning your Dyson cyclone is a key part of vacuum maintenance. But there are other tips to keep your Dyson running perfectly. Regular care prevents common problems. It also extends the lifespan of your machine.
General Maintenance Advice:
- Empty the Bin Often: Do not wait until the bin is full. Empty it after each significant use. A full bin reduces suction. It also puts more strain on the cyclone.
- Check for Blockages: Periodically check the vacuum’s wand, hose, and brush head for blockages. Hair, strings, or large debris can get stuck. This severely impacts airflow. Clearing blockages quickly restores performance. Learning how to clean your Dyson vacuum head can prevent many suction issues.
- Clean the Brush Bar: Hair and fibers often wrap around the brush bar. This can prevent it from spinning. Regularly remove tangled hair. Some Dyson models have easily removable brush bars for this purpose.
- Regular Filter Washing: If your filters are washable, wash them as recommended by Dyson. This is usually once a month for moderate use. Again, always ensure they are completely dry before reinserting.
- Store Properly: Store your Dyson vacuum in a dry, safe place. Avoid extreme temperatures. This protects its electronic components and plastic parts.
- Handle with Care: Dyson vacuums are robust but not indestructible. Avoid dropping them. Do not use them to pick up liquids or very fine, powdery substances like plaster dust. These can damage the motor.
By following these simple maintenance tips, your Dyson cyclone and entire vacuum will continue to perform at their best. Proactive care saves you from future headaches and repair costs. I always advise setting a schedule for these tasks. It ensures my vacuum is always ready when I need it.
FAQ Section
How often should I clean my Dyson cyclone? You should clean your Dyson cyclone unit every 3 to 6 months, depending on usage. If you use your vacuum frequently or in a dusty environment, cleaning it more often is beneficial. Signs of reduced suction or visible dirt inside the cyclone indicate it is time for a clean.
Can I wash my Dyson cyclone unit with water? No, you should not wash the Dyson cyclone unit with water. The cyclone contains sensitive internal components and seals. Water can damage these parts or lead to mold growth if not dried completely. Always use dry cleaning methods, such as brushing or compressed air, for the cyclone.
What happens if I don’t clean my Dyson cyclone? If you do not clean your Dyson cyclone, fine dust and debris will build up inside. This causes reduced airflow and significantly decreased suction power. The vacuum motor may overheat, and the machine’s overall lifespan can shorten. It can also release fine dust back into the air.
How do I know if my Dyson cyclone is clogged? Signs of a clogged Dyson cyclone include noticeably weaker suction, the vacuum running hotter than usual, or the bin filling up but not collecting much dirt. You might also see visible dust packed into the cyclone’s conical sections.
Can a dirty cyclone affect air quality? Yes, a dirty cyclone can affect air quality. When the cyclone unit is clogged, it cannot efficiently separate dust and allergens. This means more fine particles and allergens can pass through the system and be expelled back into your home’s air. Cleaning ensures better filtration.
Where can I find my Dyson model’s specific cleaning instructions? Always refer to your specific Dyson model’s user manual for detailed cleaning instructions. You can often find digital copies of these manuals on the official Dyson support website by entering your vacuum’s serial number or model name.
Conclusion
Cleaning your Dyson cyclone is an essential part of maintaining your vacuum’s powerful performance. We have covered why regular cleaning matters and how to perform it safely. You now know the importance of keeping your Dyson cyclone clear of blockages. This proactive maintenance will ensure your vacuum consistently delivers strong suction. It will also help maintain cleaner air in your home.
Remember to gather your tools, unplug the vacuum, and follow the specific steps for disassembly, cleaning, and reassembly. Pay close attention to filter cleaning and drying. Make these steps a regular part of your cleaning routine. You will extend the life of your Dyson vacuum. A well-maintained Dyson cyclone works effectively, keeping your floors spotless. Take action today. Give your Dyson the care it deserves. Your home will thank you for it.
- Dyson Cyclone cleaning
- Dyson vacuum maintenance
- clean Dyson
- Dyson vacuum care
- cyclone separator
- vacuum cleaner upkeep