· Gardening Tools Maintenance · 12 min read
How To Clean Felco Pruners
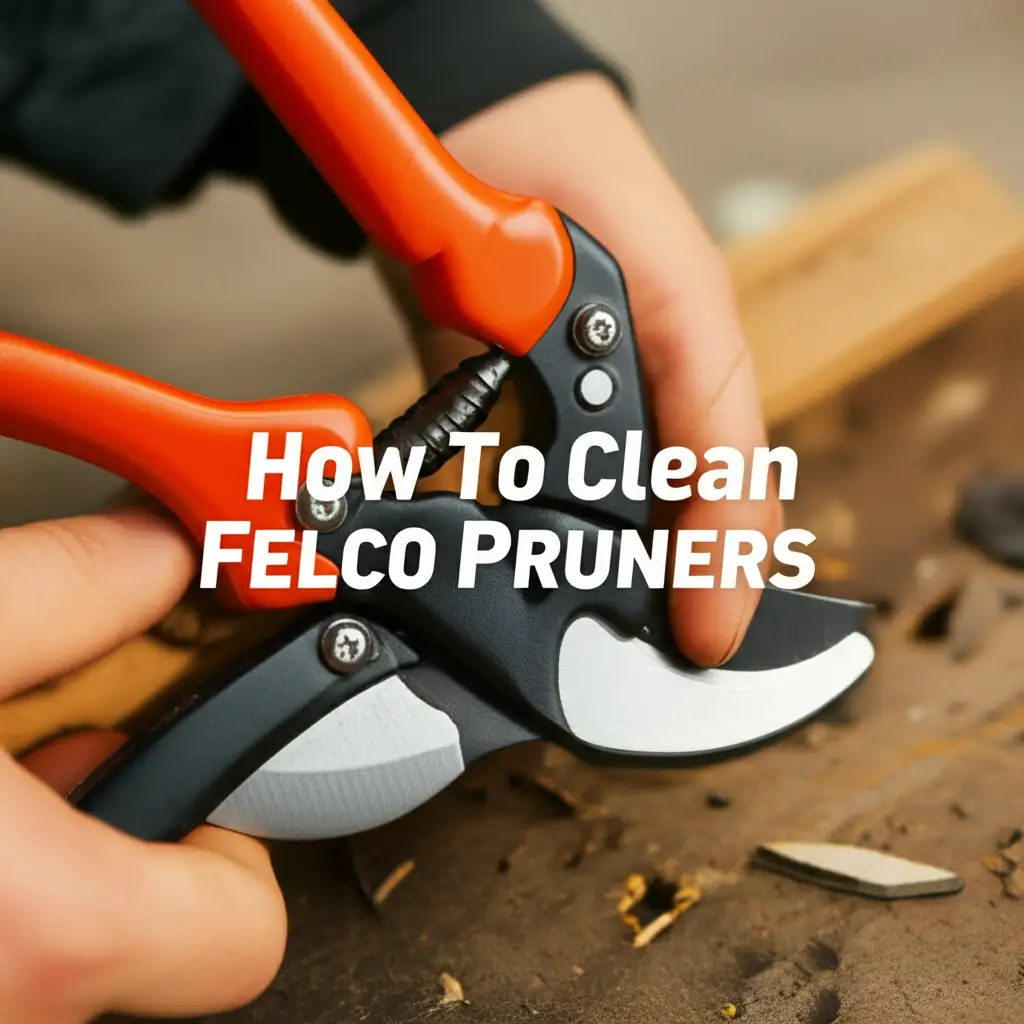
Clean Felco Pruners for Peak Performance
Your Felco pruners are strong tools. They help you cut branches easily. Over time, sap, dirt, and rust build up on them. This makes cutting harder and can spread plant diseases. I know the feeling of a dull, sticky pruner. Cleaning your Felco pruners regularly keeps them working their best. It makes them last longer too.
This article shows you how to clean Felco pruners. You will learn about the right tools. We will cover disassembling, deep cleaning, sharpening, and oiling your pruners. Proper care means your Felco pruners stay sharp and ready for any job.
Takeaway
- Regular cleaning prevents rust and disease.
- Disassemble Felco pruners for thorough cleaning.
- Use specific tools and cleaners for sap and rust.
- Sharpen blades for best cutting power.
- Lubricate moving parts for smooth action.
- Store pruners clean and dry.
To clean Felco pruners, first disassemble them safely. Then, use rubbing alcohol or mineral spirits to remove sap and grime. Scrub away any rust with a wire brush or fine steel wool. Sharpen the blades, sanitize them, lubricate all moving parts, and reassemble your pruners.
Why Cleaning Felco Pruners Matters
Cleaning your Felco pruners is more than just making them look nice. It is about keeping them working well. Dirty blades pull and tear at branches. This harms your plants. A clean blade makes a crisp, healthy cut. This helps your plants heal faster.
Sap and dirt on blades cause problems. They make blades stick together. This makes your cutting efforts harder. Rust forms on metal parts too. Rust weakens the metal. It can also make blades dull faster. Rust also makes tools harder to use.
Dirty pruners can spread plant diseases. If you cut a sick plant, germs stick to the blade. Then you cut a healthy plant. The germs move to the new plant. This can make the new plant sick. Cleaning your pruners stops this from happening. It protects your entire garden.
Keeping your Felco pruners clean also saves you money. Clean tools last many years. You will not need to buy new ones often. I have seen many good tools fail too soon because of neglect. Proper care extends the life of your valuable investment. You can learn more about caring for metal tools by reading how to clean stainless steel.
Essential Tools and Supplies for Pruner Cleaning
Having the right items makes cleaning your Felco pruners easy. Gather everything before you start. This saves time and effort. Safety is always first. Wear strong gloves to protect your hands. Safety glasses shield your eyes from debris.
You will need cleaning agents. Rubbing alcohol works well for sap. Mineral spirits can also remove sticky residue. Dish soap and water can clean general dirt. For rust, white vinegar is a good option. A special rust remover also works very well. I find vinegar to be very versatile for cleaning tasks, similar to how it is used to clean a shower with vinegar.
Gather your cleaning tools. An old toothbrush helps scrub tight spots. A wire brush removes stubborn grime and rust. Fine steel wool or a Scotch-Brite pad can also work on rust. Use a sharpening stone or diamond file for the blade. A soft cloth is useful for wiping. A small container for soaking parts is also helpful.
Finally, you need oil. Mineral oil or camellia oil are good choices. They protect the metal and help parts move smoothly. A small amount goes a long way. Having all these items ready makes the cleaning process smooth.
Step-by-Step Guide to Disassembling Felco Pruners
Disassembling your Felco pruners allows for a deep clean. This step is important for thorough maintenance. Always refer to your pruner’s manual first. Felco manuals have specific instructions for each model. Most Felco models, like the Felco 2 or Felco 8, use a central bolt system.
Start by locating the main pivot bolt. This bolt holds the two halves of the pruner together. Felco pruners usually come with a small adjustment key. This key fits the nut on the pivot bolt. Use the key to loosen and remove the nut. Some models may need a wrench or screwdriver.
Carefully separate the two handles. Watch for the spring. It might pop out when you separate the handles. Remove the spring and any washers or spacers. Put all small parts into a container. This prevents losing them. I often use a small magnetic tray to hold tiny screws and bolts. This keeps them from rolling away.
Disassembly lets you reach all surfaces. You can clean away hidden sap and dirt. This process also lets you inspect parts for wear. Look for any bent or damaged pieces. Taking your pruners apart is a key step to true deep cleaning.
Deep Cleaning Felco Pruner Blades and Components
After disassembly, deep cleaning begins. Focus on removing sap, grime, and rust. Sap is very sticky and hardens over time. It makes blades drag. Soak the blades in rubbing alcohol or mineral spirits. This helps dissolve the sap. Use an old toothbrush to scrub away the loosened sap. A plastic scraper can also remove thick buildup.
For stubborn residue, you might need stronger action. Some people use a razor blade carefully to scrape sticky bits. Be very careful not to cut yourself. For old, burnt-on sap or tough stains, similar methods used to clean the bottom of a pan might offer inspiration for heavy-duty scrubbing.
Rust often forms on the unpolished parts of the blade or the spring. A wire brush works well to scrub off light rust. For heavier rust, use fine steel wool. You can also soak rusty parts in white vinegar. Vinegar is acidic and dissolves rust. Let parts soak for an hour or two. Then scrub them clean. Many cleaning tasks, like how to clean mold with vinegar, show vinegar’s power. Rinse parts well after using vinegar.
Do not forget the handles and the spring. Clean the spring thoroughly. Dirt and rust on the spring make the pruners stiff. Wipe handles clean. If handles are plastic, check for any mold or dirt. You can use general cleaner on them. Make sure all parts are completely dry before you move to the next step.
Sharpening and Sanitizing Felco Pruner Blades
A clean pruner is good, but a clean and sharp pruner is great. Sharpening your Felco blades makes cuts clean and easy. This reduces strain on your hand. It also helps plants heal faster. A dull blade can crush stems, leading to plant disease.
You need a sharpening stone or a diamond file. Felco makes its own sharpening tools. Hold the blade at its original angle. Usually, Felco blades have a single bevel. This means only one side is sharpened. Follow this angle as you push the stone across the cutting edge. Make sure you only sharpen the cutting edge, not the flat side. A few passes are usually enough. You will feel a small burr on the back side of the blade. This means you are sharpening correctly.
Remove the burr. Turn the blade over. Lay the stone flat on the back side of the blade. Gently make one or two passes. This removes the burr and makes the edge smooth. Do not over sharpen. A little sharpening often is better than a lot at once.
Sanitizing your blades prevents disease spread. After sharpening, wipe blades with rubbing alcohol. You can also use a dilute bleach solution. Mix one part bleach with nine parts water. Dip blades in the solution. Let them sit for a few minutes. Then rinse well with clean water. This step is like treating an area for bacteria or mold, similar to how one might clean mold in a shower for hygiene. Always dry parts completely after sanitizing. This stops rust from forming.
Lubrication and Reassembly for Optimal Performance
Lubrication is vital after cleaning and sharpening. It ensures smooth operation. It also protects metal parts from rust. Do not skip this step. Choose the right oil. Mineral oil or camellia oil are good options. These oils are non-toxic and do not gum up. Some people use light machine oil. Avoid thick greases or oils that attract dirt.
Apply a small amount of oil to all moving parts. Focus on the pivot bolt area. Put oil on the blade where it slides against the other jaw. Oil the spring as well. A single drop of oil in key areas is enough. Spread the oil evenly with a clean cloth. The goal is to create a thin protective layer. This layer reduces friction. It also pushes out any remaining moisture.
Now, reassemble your Felco pruners. Start by putting the spring back in place. Then carefully align the two halves of the pruner. Insert the pivot bolt through the aligned holes. Make sure all washers and spacers are in their correct positions. They ensure the correct tension and fit.
Tighten the nut on the pivot bolt. Use the Felco adjustment key or the correct wrench. Tighten it just enough so the blades move smoothly. The blades should open and close without excessive play or stiffness. Test the pruners. They should open and close with ease. You will feel the difference a clean and oiled pruner makes. This final step brings your Felco pruners back to like-new condition.
Regular Maintenance and Storage Tips for Felco Pruners
Keeping your Felco pruners in top shape means ongoing care. Regular cleaning is key. After each use, quickly wipe down your blades. Use a rag and some rubbing alcohol. This removes fresh sap and dirt. It prevents buildup. This simple habit saves you from major cleaning later.
Plan for a deep clean a few times a year. This depends on how much you use your pruners. If you prune daily, clean them deeply once a month. If you use them less, once a season might be enough. This deep clean involves disassembly and lubrication. It ensures all parts are free of grime and rust. It keeps the moving parts smooth.
Proper storage is also important for tool longevity. Never leave your pruners outside. Moisture and humidity cause rust. Always store them in a dry place. A tool shed or garage shelf works well. Hang them up if possible. This keeps them off the ground. It also prevents accidental damage.
Check your pruners regularly for wear. Look for nicks on the blade. Check for loose bolts. Tighten anything that feels wobbly. Replace worn springs. Felco sells replacement parts. Taking care of small issues early prevents bigger problems. This careful routine ensures your Felco pruners serve you well for decades. Consistent cleaning, like maintaining other metal surfaces, prevents rust and keeps them looking good. You can read more about how to clean stainless steel for more insights on metal care.
FAQ Section
How often should I clean my Felco pruners?
Clean your Felco pruners after each use to remove sap and dirt. This simple wipe-down prevents buildup. Perform a deep clean, including disassembly, sharpening, and lubrication, a few times a year. This ensures optimal performance and prevents rust. The frequency depends on how often you use them and the type of plants you prune.
What kind of oil is best for Felco pruners?
Mineral oil or camellia oil are excellent choices for Felco pruners. These oils are non-toxic and do not become sticky over time. They protect metal parts from rust and ensure smooth operation. Apply a small amount to the pivot points and blade surfaces. Avoid using thick greases that attract dirt.
Can I use WD-40 on my Felco pruners?
WD-40 can act as a temporary lubricant and moisture displacer. It helps clean sticky sap. However, it is not a long-term lubricant for tools like Felco pruners. It tends to evaporate quickly. It can also attract dust and dirt, leading to gumming. Use dedicated tool oil for best results.
How do I remove heavy rust from Felco blades?
For heavy rust, first try scrubbing with a wire brush or fine steel wool. If rust persists, soak the rusty parts in white vinegar for an hour or two. The acid in vinegar dissolves rust. After soaking, scrub again and rinse thoroughly with water. Dry all parts completely to prevent new rust.
Why are my Felco pruners sticking?
Felco pruners usually stick due to sap buildup or rust. Sap creates a sticky layer on the blades and pivot points. Rust causes friction between metal parts. Disassembly and thorough cleaning will fix this. Sharpening the blades and lubricating all moving parts will restore smooth action.
Is it necessary to disassemble Felco pruners for cleaning?
For a comprehensive deep clean, yes, disassembling your Felco pruners is necessary. It allows you to reach all internal components. This helps remove hidden sap and rust. It also allows you to sharpen the blade properly and lubricate all moving parts effectively. Regular quick cleans do not require disassembly.
Conclusion
Caring for your Felco pruners is simple. It protects your investment. A clean pruner works better. It lasts longer. It also keeps your plants healthy. We have covered every step to clean Felco pruners. You now know how to disassemble them. You can clean blades, remove rust, and sharpen them. Lubrication and proper reassembly are also key steps.
Regular maintenance saves you time and effort in the garden. It also gives you better results. Your plants will thank you for clean cuts. Your hands will appreciate the smooth action. Make cleaning your Felco pruners a regular habit. This ensures many years of great use from these trusted tools. Keep your pruners sharp, clean, and ready for your next gardening adventure.
- Felco Pruners
- Pruner Cleaning
- Garden Tool Maintenance
- Tool Care
- Sharpening Pruners
- Rust Removal
- Sanitizing Pruners