· Tool Maintenance · 14 min read
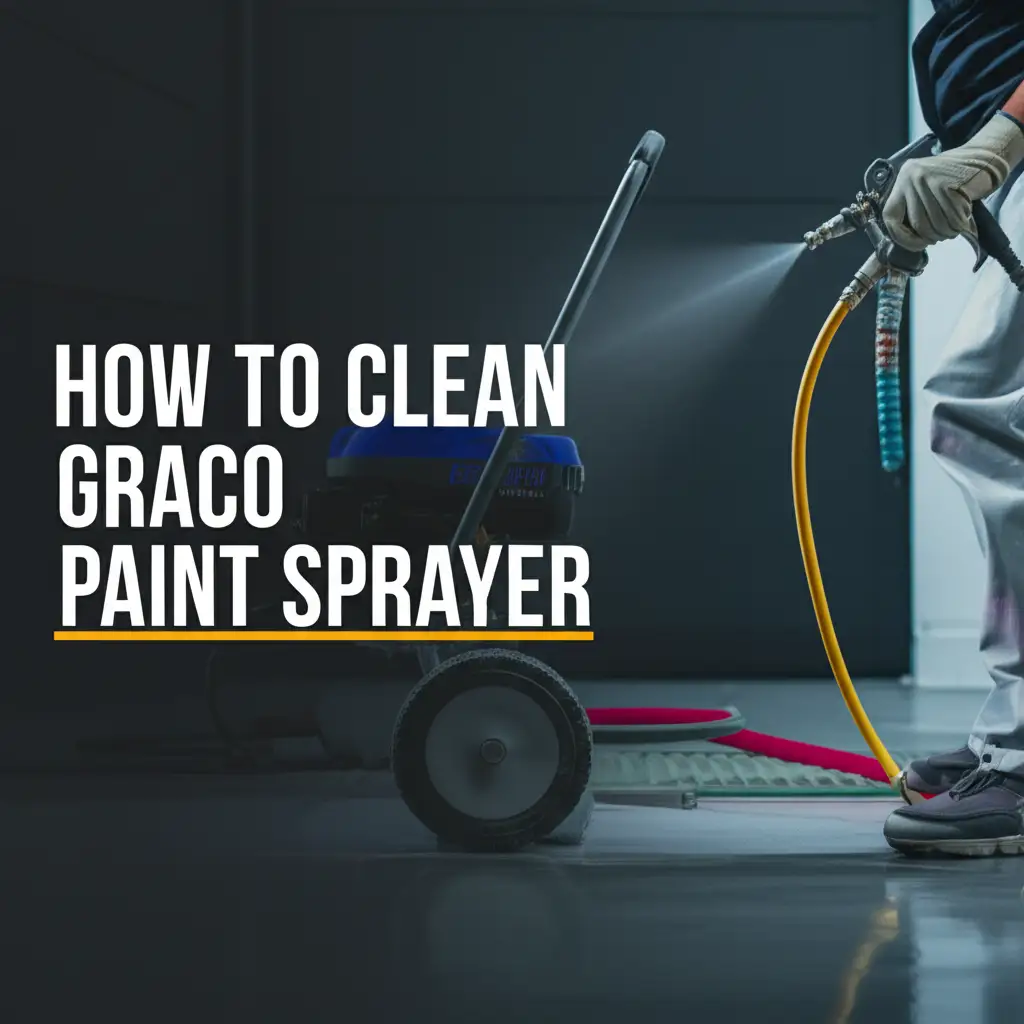
How To Clean Graco Paint Sprayer
Keeping Your Graco Paint Sprayer Clean: A Comprehensive Guide
Imagine finishing a big painting job. Your Graco paint sprayer made the work fast. Now, the paint is dry, and the project looks great. But your work is not truly done. Cleaning your sprayer is the next crucial step. Neglecting this part can cause big problems later.
A dirty Graco paint sprayer can clog. It can give an uneven spray pattern. It can even break down completely. Proper cleaning extends the life of your valuable tool. It ensures your next project goes smoothly. This guide explains how to clean Graco paint sprayer models effectively. We will cover immediate cleaning, deep cleaning steps, specific component care, and smart storage tips. You will learn to keep your sprayer in top condition.
Takeaway:
- Immediate post-use cleaning is crucial for preventing paint from drying inside your Graco sprayer.
- Deep cleaning all components ensures complete removal of residue, preventing future clogs and damage.
- Proper storage with protective fluid safeguards your sprayer from corrosion and freezing.
To clean a Graco paint sprayer, immediately flush paint with the appropriate solvent (water for latex, mineral spirits for oil-based). Then, disassemble and clean components like the filter, tip, and gun thoroughly. Regular, complete cleaning prevents clogs and ensures your sprayer performs well for many projects.
The Importance of Immediate Graco Paint Sprayer Cleaning
Cleaning your Graco paint sprayer right after each use is not just a suggestion. It is a critical step for its health. Paint starts to dry quickly, especially inside the sprayer’s hoses and pump. Once paint dries, it hardens. This hardened paint becomes very difficult to remove. It acts like glue inside your equipment.
Dried paint clogs the narrow passages of your sprayer. This stops paint flow. It can cause pressure issues. Eventually, your sprayer might fail to operate at all. This means costly repairs or even needing a new unit. Immediate cleaning saves you time, money, and frustration in the long run. It ensures your Graco paint sprayer is ready for the next project without problems. This practice extends your tool’s life.
Step-by-Step Flushing Your Graco Sprayer After Use
Flushing is the first and most important cleaning step. It removes the bulk of the wet paint from your Graco sprayer. This prevents most of the paint from drying inside the system. It is a quick process that makes deep cleaning much easier later on. You must do this step every time you finish spraying paint.
Preparation for Flushing
Before you start flushing, safety is important. Disconnect the power cord from the wall outlet. This prevents accidental startup. Release any remaining pressure in the system. To do this, engage the spray gun safety lock. Then, point the gun into a waste bucket. Trigger the gun to release pressure. Finally, remove the intake hose from the paint bucket. Place it into a bucket of your chosen cleaning solution.
Flushing with Water-Based Paints
If you used water-based paints, like latex or acrylic, warm water is your cleaning solution. Place the intake hose into a bucket of clean, warm water. Turn on the sprayer and prime the pump. You will see paint-colored water coming out of the return hose. Once the pump is primed, engage the spray gun safety lock. Point the spray gun into a separate waste bucket. Squeeze the trigger. Continue spraying until the water coming out is completely clear. This means most of the paint is out of the system.
Flushing with Oil-Based or Solvent-Based Paints
For oil-based paints, like alkyd or lacquer, you must use an appropriate solvent. Mineral spirits, paint thinner, or the paint manufacturer’s recommended solvent are common choices. Follow the same procedure as with water-based paints. Place the intake hose into a bucket of the correct solvent. Prime the pump until the solvent runs clear from the return hose. Then, spray the solvent through the gun into a waste bucket until it runs clear. Proper disposal of used solvents is crucial. These are hazardous materials. After flushing, you should also clean your paint brushes with mineral spirits if you used them for touch-ups. Remember, flushing is just the first layer of cleaning.
Deep Cleaning Graco Paint Sprayer Components
Flushing removes most of the paint. However, small amounts of paint residue still remain inside your Graco sprayer. These residues build up over time. They can cause partial clogs or reduce efficiency. Deep cleaning ensures every part of your sprayer is spotless. This prevents long-term problems. It also keeps your sprayer working like new for years to come. This step requires disassembling some parts.
Cleaning the Spray Gun and Filter
The spray gun needs careful attention. First, remove the tip guard and the spray tip. Set them aside for separate cleaning. Unscrew the gun filter from the handle. This filter traps small particles. Use warm water or the appropriate solvent to clean the gun filter. You can use a small brush to scrub it clean. Inspect the filter for damage. Replace it if it looks worn or torn. Remember, you might also have paint brushes and rollers that need cleaning after your painting project. This helps you keep all your painting tools in good condition.
Cleaning Hoses and Suction Tube
After flushing, run more cleaning solution through the hose. This ensures no hidden paint remains. For thorough cleaning, you can even detach the hose. Submerge it in a bucket of cleaner. Some people use a specialized hose brush. This brush helps scrub the inside of the hose. Also, clean the suction tube and the filter screen at its end. These parts pull paint into the sprayer. They must be perfectly clean. Dried paint here stops the flow.
Maintaining the Pump and Piston Rod
The pump is the heart of your Graco paint sprayer. Its piston rod needs protection. After cleaning, wipe down the piston rod. Use a soft cloth. Apply Graco Pump Armor or a similar lubricating and protective fluid. This fluid creates a barrier. It protects against corrosion. It also keeps internal seals flexible. Follow Graco’s specific instructions for applying pump armor. This simple step significantly extends the life of your pump. It ensures smooth operation during your next project.
Specific Parts Cleaning and Inspection
Every small part of your Graco paint sprayer contributes to its overall function. Neglecting even tiny components can lead to major issues. A clogged spray tip or a dirty inlet screen can ruin your spray pattern. It can even prevent the sprayer from working. Proper attention to these details ensures peak performance. This step completes the deep cleaning process.
Cleaning Spray Tips and Guards
Spray tips are crucial for a good finish. Always clean your spray tips thoroughly. After removing them, soak the tips in the appropriate cleaner. For water-based paint, use warm water. For oil-based paint, use mineral spirits or a solvent. Let them soak for about 15-30 minutes. Use a specific tip cleaning tool to clear any stubborn clogs. Never use a metal object like a wire. This can damage the tip’s precise opening. Inspect the tip for wear. If the spray pattern is no longer consistent, replace the tip. Clean the tip guard too. Ensure it is free of paint. If you’ve ever had to clean a paintbrush with dried paint, you understand the importance of immediate cleaning for these small, critical parts.
Caring for the Inlet Screen and Filter
Your Graco sprayer has an inlet screen at the bottom of the suction tube. This screen prevents large debris from entering the pump. Remove and rinse this screen. Check for any lodged particles. The main filter, often found in the handle of the gun, also needs attention. This filter catches smaller paint clumps. Remove it and clean it under running water or with solvent. Inspect both filters closely. If they appear damaged or excessively clogged and difficult to clean, replace them. Clean filters protect your pump. They ensure a smooth, uninterrupted spray.
Reassembly and Testing
After cleaning all individual parts, it is time for reassembly. Put all components back into their correct places. Ensure every connection is tight. Double-check that filters are correctly seated. Once reassembled, fill a bucket with clean water or the appropriate solvent. Prime the sprayer. Run a small amount of liquid through the gun. Look for any leaks. Check the spray pattern. This test confirms that you reassembled everything correctly. It also flushes out any remaining cleaning solution. This ensures your Graco paint sprayer is ready for storage or its next use.
Storing Your Graco Sprayer for Long-Term Performance
Proper storage is as important as cleaning for your Graco paint sprayer. It protects the internal components from damage. It prevents freezing, corrosion, and drying out. A sprayer stored correctly will be ready to go when you need it next. This saves you time and effort before your next painting project. It also extends the overall lifespan of your valuable equipment.
Using Pump Armor or Storage Fluid
After cleaning, always use a protective fluid like Graco Pump Armor. This product is designed specifically for airless sprayers. Pump Armor protects the pump from freezing temperatures. It also prevents internal corrosion. It keeps the piston and seals lubricated. To use it, simply flush the Pump Armor through your sprayer system. Follow the instructions on the Pump Armor bottle carefully. This ensures maximum protection. Do not skip this step, especially if you store your sprayer in a cold garage or shed.
Ideal Storage Conditions
Where you store your Graco paint sprayer matters. Store it in a dry, temperature-controlled environment. Avoid places with extreme cold or extreme heat. Freezing temperatures can damage the pump and internal components. High heat can dry out seals. Keep the sprayer away from direct sunlight. This helps preserve plastic and rubber parts. Store it in a clean area. This prevents dust and dirt from accumulating on or in the unit. A dedicated storage cabinet or shelf is ideal.
Pre-Season Check-Up
Before you use your Graco paint sprayer after a long storage period, do a quick check-up. Run clean water or the appropriate solvent through the system. This flushes out the Pump Armor. It also checks for any issues that may have developed during storage. Look for leaks. Check hoses for cracks or damage. Inspect the spray tip for any clogs from dried Pump Armor residue. This small check ensures your sprayer is in perfect working order. It will prevent surprises when you start your next painting job. This makes sure it is ready for work.
Troubleshooting Common Graco Sprayer Cleaning Challenges
Even with regular cleaning, you might face some challenges. Dried paint can be stubborn. Sometimes, a clog seems impossible to clear. Knowing how to troubleshoot these common issues helps you maintain your Graco paint sprayer effectively. You can save yourself a trip to a service center. Understanding these problems also helps you prevent them in the future.
Dealing with Dried Paint Clogs
Dried paint is the most common cleaning challenge. If a part has dried paint, soaking is your best friend. Disassemble the affected parts. Submerge them in a strong, appropriate solvent. For water-based paint, warm water with a paint cleaner can work. For oil-based paint, use a stronger paint stripper or lacquer thinner. Let the parts soak for several hours or even overnight. After soaking, use specialized cleaning brushes or non-metallic tools to carefully remove the softened paint. Never use metal objects to clear clogs, as this can scratch or damage the precision components of your sprayer. This scratching can permanently affect performance.
Preventing Future Buildup
The best way to deal with clogs is to prevent them. Always clean your Graco paint sprayer immediately after every use. Do not delay. Use the correct cleaning solution for the type of paint you used. Ensure your paint is always at the proper viscosity. Strain your paint before putting it into the sprayer. This removes any lumps or debris. Always use Pump Armor or a storage fluid when storing the sprayer for more than a few days. Consistent cleaning and maintenance habits will prevent most future buildup and clogs. This saves you significant time and effort.
When to Seek Professional Help
There are times when a problem is beyond simple cleaning. If clogs persist despite your best cleaning efforts, or if the pump fails to prime, it might be a deeper issue. Leaks from internal components or significant loss of pressure are also signs of serious problems. If you suspect an internal mechanical failure, do not try to fix it yourself unless you are experienced with sprayer repair. Professional Graco service centers have specialized tools and knowledge. They can diagnose complex issues safely. They can repair your sprayer correctly. It is often worth the cost to protect your investment.
Safety First: Essential Precautions During Sprayer Cleaning
Cleaning a Graco paint sprayer involves both chemicals and high-pressure components. Therefore, safety is not an option; it is a necessity. Taking proper precautions protects your health and prevents accidents. Always read your Graco sprayer manual for specific safety warnings. These general guidelines apply to all cleaning tasks.
First, always wear personal protective equipment (PPE). This includes chemical-resistant gloves. Eye protection, such as safety glasses or goggles, is critical. Paint solvents can cause severe eye damage. A respirator or dust mask is also important. This protects your lungs from chemical fumes. Work in a well-ventilated area. Open windows and doors. If working indoors, use fans to circulate air. Good ventilation reduces your exposure to harmful solvent vapors.
Never spray flammable solvents near open flames or heat sources. This includes pilot lights, heaters, or sparks from electrical equipment. Solvents are highly flammable. They can ignite easily. Always ensure the sprayer is depressurized before cleaning. This prevents accidental discharge of cleaning solution under high pressure.
Finally, dispose of waste paint and solvents properly. Do not pour them down drains or onto the ground. Check your local regulations for hazardous waste disposal. Many communities have specific collection sites. Following these safety steps will ensure your Graco paint sprayer cleaning is safe for you and the environment.
FAQ Section
How often should I clean my Graco paint sprayer?
You should clean your Graco paint sprayer immediately after every single use. This prevents paint from drying inside the machine. For long-term storage or after a very large project, perform a deep clean. Regular cleaning prevents clogs and extends the tool’s life. It also ensures consistent spray patterns.
What cleaning solutions are best for Graco sprayers?
For water-based paints like latex or acrylic, use warm water. For oil-based paints such as alkyd or lacquer, use mineral spirits, paint thinner, or the specific solvent recommended by the paint manufacturer. Always match the cleaner to the type of paint you used.
Can I leave paint in my sprayer overnight?
Leaving paint in your Graco sprayer is not recommended, especially for extended periods. Paint can dry and harden inside the hoses, pump, and gun. This leads to severe clogs and potential damage to the equipment. Always flush and clean your sprayer thoroughly after each use.
How do I clean a clogged Graco spray tip?
First, rotate the reversible tip 180 degrees to the unclogged position and spray briefly. If the clog persists, remove the tip. Soak it in the appropriate solvent for 15-30 minutes. Then, use a specific tip cleaning needle to carefully clear any debris from the opening.
What’s the difference between cleaning for water-based vs. oil-based paints?
The primary difference is the cleaning solution required. Water-based paints clean effectively with water. Oil-based paints, however, require chemical solvents like mineral spirits, paint thinner, or lacquer thinner. Always use the solvent that matches the type of paint used to ensure proper cleaning.
What if my Graco sprayer has dried paint inside?
Dried paint requires a more aggressive approach. Disassemble the parts affected by dried paint. Soak them in a strong, appropriate solvent for several hours or even overnight. Use specialized brushes or non-metallic tools to carefully scrape away the softened dried paint. Patience is crucial for this task.
Conclusion
Keeping your Graco paint sprayer clean is an investment in its future. It is not just a chore; it is an essential maintenance task. By consistently flushing, deep cleaning, and properly storing your equipment, you ensure its longevity. You also guarantee consistent, high-quality results for all your painting projects. Remember, a well-maintained Graco paint sprayer performs better and lasts longer.
Embrace these cleaning practices. They will save you time, money, and frustration. Make thorough cleaning a routine part of your painting process. Your Graco paint sprayer is a valuable tool. Treat it with care. It will serve you well for many years. Visit our site for more comprehensive cleaning guides and tips to keep all your tools in excellent condition.
- Graco sprayer cleaning
- paint sprayer maintenance
- airless sprayer upkeep
- paint tool cleaning
- sprayer care
- DIY painting
- equipment cleaning