· Kitchen Cleaning · 13 min read
How To Clean Hog Maws

Cleaning Hog Maws: A Step-by-Step Guide for Culinary Excellence
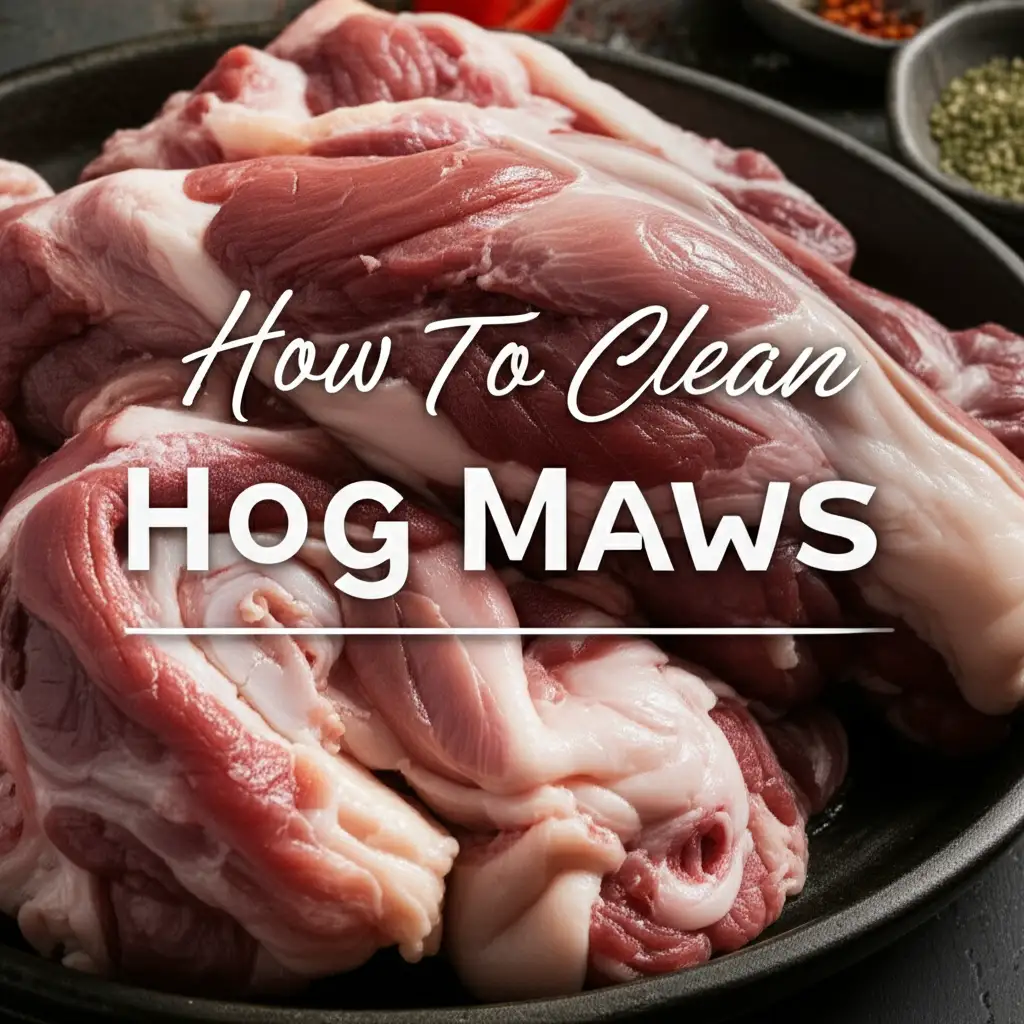
Many traditional recipes call for hog maws. These are the stomach lining of a pig. Before you can cook them, proper cleaning is essential. Cleaning hog maws removes impurities, unwanted odors, and ensures food safety. I know this task may seem challenging at first, but with the right steps, it becomes quite simple. This guide will walk you through every part of the process. We will cover preparing your workspace, the initial rinse, thorough scraping, and the final washes. You will prepare your hog maws for delicious meals.
Takeaway
To clean hog maws effectively, you must:
- Perform an initial rinse under cold water.
- Scrape off all internal membranes and excess fat.
- Use coarse salt for multiple rub-downs and rinses.
- Soak the maws in vinegar water to neutralize odors.
- Complete a final rinse before cooking or storing.
Cleaning hog maws involves multiple rinses, thorough scraping, and soaking in acidic solutions. This process removes impurities, eliminates strong odors, and ensures the maw is hygienic. Proper cleaning makes hog maws safe and ready for cooking.
Understanding Hog Maws and Why Cleaning is Important
Hog maws are a part of a pig’s digestive system. They are popular in various cuisines, especially Southern American cooking. They offer a unique texture and flavor when cooked right. However, raw hog maws contain digestive residues, fat, and membranes. These need thorough removal before cooking. Failing to clean them properly can lead to unpleasant smells and poor taste in your final dish. More importantly, improper cleaning can pose health risks. Food safety is always the top priority in my kitchen.
Think about it like cleaning a kitchen appliance. You would not cook in a dirty oven, right? Just like keeping your oven bottom clean ensures better food, preparing hog maws correctly ensures a delicious and safe meal. We need to eliminate anything that could detract from the flavor or harm your family. The cleaning process also helps tenderize the maws slightly, making them easier to cook. A clean maw means a clean plate and happy eaters.
This initial step sets the stage for a truly enjoyable culinary experience. It is not just about cleanliness; it is about respecting the food. Every step in the cleaning process contributes to a better-tasting and safer product. I always focus on thoroughness here. This way, the meal is good.
Gathering Your Essential Cleaning Tools and Supplies
Before you start cleaning hog maws, gather everything you need. Having your tools ready makes the process smoother. You do not want to stop mid-task to find something. I always lay out all my items on a clean surface. This helps me stay organized and efficient. You will need a few basic kitchen items. These items make the job much easier.
Here is a list of what you should prepare:
- Large Basin or Bowl: You will need a big container. This holds the hog maws during soaking and rinsing.
- Colander: A colander is good for draining water quickly. It helps rinse the maws under running water.
- Sharp Knife or Kitchen Shears: These are for trimming excess fat. They also help remove any tough parts.
- Scrub Brush (Optional): A dedicated kitchen brush can help remove stubborn grime. Make sure it is clean.
- Coarse Salt: Kosher salt or rock salt works best. It helps scrape away impurities and absorb odors.
- White Vinegar: Vinegar is excellent for odor neutralization. It also helps with sanitization. Learning about cleaning with vinegar can be useful for many tasks, like when you clean glass with vinegar.
- Running Cold Water: Access to a sink with cold water is critical for rinsing.
- Rubber Gloves: I always wear gloves. This protects your hands and maintains hygiene.
- Paper Towels or Clean Cloths: For drying surfaces and hands.
Having these supplies on hand saves time. It makes sure you can clean the hog maws properly. Do not skip any items, as each plays a role in thorough cleaning. Proper tools lead to better results.
The Initial Rinse and Inspection of Hog Maws
The first step in how to clean hog maws is a thorough initial rinse. This removes any loose debris. Take your hog maws directly from the packaging. Place them in a large basin or your sink. Turn on cold running water. Let the water flow over and inside the maws. I like to flush them out really well at this stage. This gets rid of the most obvious bits of residue.
As you rinse, use your hands to open up the maws. Check for any large pieces of fat, membranes, or other impurities. You might see some greenish or yellowish material inside. These are digestive contents. They need to go. Gently rub the surfaces under the water flow. This helps dislodge anything stuck. Think of it like a quick pre-wash before the real cleaning begins. Just like you might do an initial wipe when cleaning mold off walls before deeper scrubbing, this rinse is essential.
I always inspect each maw carefully during this rinse. Feel its texture. Note any areas that seem particularly thick or grimy. These areas will need extra attention later. Make sure the water runs clear before moving to the next step. This initial flush is simple but very important. It prepares the maw for deeper cleaning. Do not rush this part.
Scraping and Trimming: Removing Impurities and Excess Fat
After the initial rinse, the real work of cleaning hog maws begins. This step is about getting rid of internal membranes, excess fat, and any remaining stubborn impurities. Lay one hog maw flat on your clean cutting board. Using a sharp knife or kitchen shears, carefully trim away any large, visible pieces of fat from the outside. These layers of fat can make the maw greasy and impact its flavor. I always aim for lean maws.
Next, focus on the inside surface. The hog maw has a lining that can be slimy or textured. You need to scrape this off. Hold the maw firmly. Use the dull side of your knife or a spoon to scrape against the grain of the maw. Apply firm, even pressure. You will see a yellowish or greenish slime come off. This is what you want to remove. Scrape in one direction, from top to bottom, or from one end to the other. Collect the scraped material and discard it. Repeat this scraping process several times. Make sure you get all surfaces inside.
This step requires patience and attention to detail. Just as you would meticulously clean under a refrigerator to get rid of hidden dirt, you must be thorough here. Turn the maw inside out if it helps you reach all areas. Rinse the maw under cold running water after each scraping session. This washes away the loosened impurities. Continue scraping and rinsing until the maw appears mostly clean and free of slime. The color of the maw should look lighter and more uniform.
Salt Rub and Multiple Rinse Cycles for Deep Cleaning
Now that you have scraped the hog maws, it is time for the salt rub. This step is crucial for deep cleaning and removing any lingering odors. Coarse salt acts as an abrasive. It helps scrub away unseen impurities and draw out moisture and odors. I find this step makes a huge difference in the final product. Your hog maws will look and smell much cleaner.
Place the scraped hog maws back into your large basin. Sprinkle a generous amount of coarse salt over them. I use about 1/2 cup to a cup of salt for a batch of maws. Begin to rub the salt vigorously all over the maws. Rub both the inside and outside surfaces. Use your hands to really work the salt into the maw’s texture. You can see the salt absorbing moisture and changing color as it picks up grime. This is a good sign it is working.
After a few minutes of rubbing, fill the basin with cold water. Agitate the maws in the salty water. Then, drain the water completely using your colander. You will see cloudy or discolored water. This means impurities are leaving the maws. Repeat this salt rub and rinse cycle at least three to four times. I often go for five or even six cycles. The water should become clearer with each rinse. The maws themselves will start to feel cleaner and less slimy. This repeated washing is key to ensuring proper hygiene. Just like when you clean a shower with vinegar to remove built-up grime, repeated action yields the best results. Continue until the water remains mostly clear after a rinse.
Vinegar Soak: Neutralizing Odors and Enhancing Cleanliness
Even after multiple salt rubs and rinses, hog maws can retain a faint odor. This is where the white vinegar soak comes in. Vinegar is a powerful natural deodorizer. It helps to neutralize any remaining strong smells. It also adds an extra layer of cleanliness to the maws. I always include this step. It makes a significant difference in the final taste of the dish. Plus, it gives me peace of mind about how clean they are.
After the final salt rinse, place the hog maws back into the clean basin. Pour enough white vinegar over the maws to cover them completely. Then, add an equal amount of cold water. So, if you use 2 cups of vinegar, add 2 cups of water. The ratio can be 1:1 vinegar to water, or slightly more water if you prefer. Gently mix the maws in the vinegar solution. Ensure all surfaces are submerged.
Let the hog maws soak in this vinegar solution for at least 30 minutes. Some people prefer to soak them for up to an hour. During this time, the vinegar works its magic. It breaks down odor-causing compounds. It also slightly tenderizes the maw’s texture. While the maws soak, you might notice the distinct vinegar smell. This is normal. It will rinse away later. This soak is similar to using vinegar to clean other strong odors. For example, using vinegar to clean mold from concrete relies on its acidic properties. The vinegar soak is an easy but effective way to prepare your hog maws.
Final Rinse, Inspection, and Readying for Cooking
You are almost done with how to clean hog maws! After the vinegar soak, it is time for the final rinse. This step washes away the vinegar smell and any last impurities. It also ensures the maws are ready for cooking. Take the maws out of the vinegar solution. Place them in your colander. Rinse them thoroughly under cold running water. I make sure to rinse each maw individually. I hold it open under the faucet. This ensures all traces of vinegar are gone.
As you rinse, give each maw one last inspection. Run your hands over the surfaces. Check for any bits you might have missed. Look for any remaining discolored spots or slime. If you find anything, give that area a quick re-scrape with a spoon or the dull side of a knife. Then rinse again. The maws should feel clean and have a neutral smell. The strong vinegar odor should be gone. They should look pale and clean.
Once you are satisfied with their cleanliness, your hog maws are ready. You can now use them directly in your recipe. If you are not cooking them immediately, proper storage is important. Place the cleaned hog maws in an airtight container or a freezer bag. You can store them in the refrigerator for up to two days. For longer storage, freeze them. They can last for several months in the freezer. Proper cleaning and storage are key to safe and delicious hog maws. This thorough process ensures your culinary efforts will be a success.
Frequently Asked Questions About Cleaning Hog Maws
How long does it take to clean hog maws?
Cleaning hog maws typically takes about 1 to 2 hours. This includes the initial rinse, thorough scraping, multiple salt rubs and rinses, and the final vinegar soak. The exact time depends on the quantity of maws and how meticulous you are. Rushing the process may compromise cleanliness and flavor.
Can I skip the salt rub when cleaning hog maws?
I do not recommend skipping the salt rub. Coarse salt is essential for deep cleaning hog maws. It acts as an abrasive to remove slime and impurities that plain water cannot. Salt also helps draw out deep-seated odors. Without it, your maws may retain an unpleasant smell and texture.
Why do my hog maws still smell after cleaning?
If your hog maws still have an odor, you might need more cleaning cycles. Ensure you scraped all internal membranes thoroughly. Repeat the salt rubs and rinses. Extend the vinegar soak time, or even do a second vinegar soak. Sometimes, a very strong maw requires extra attention.
Can I clean hog maws with baking soda instead of vinegar?
Baking soda can help with deodorizing, but white vinegar is generally preferred for cleaning hog maws. Vinegar’s acidity helps break down residues and neutralize strong odors more effectively. While baking soda can be a good supplement, vinegar provides a more thorough clean.
What should hog maws look like after they are clean?
After proper cleaning, hog maws should appear pale, almost white or light beige. They should feel relatively smooth, with no slimy or gritty residue. The maws should also have a very neutral smell, with no strong pork or offal odor remaining. They will be ready for cooking.
Is it safe to cook hog maws without proper cleaning?
Cooking hog maws without proper cleaning is not safe. Raw hog maws contain digestive residues, bacteria, and strong odors. Improper cleaning can lead to foodborne illness. It also results in a very unappetizing dish with a poor texture and taste. Always clean them thoroughly.
Conclusion: Mastering the Art of Cleaning Hog Maws
Mastering how to clean hog maws ensures you can enjoy this traditional ingredient safely and deliciously. The process might seem detailed, but each step serves an important purpose. From the initial rinse to the final vinegar soak, you are removing impurities, eliminating odors, and preparing the maw for its culinary journey. I have found that taking the time to do this correctly always pays off in the end.
Remember, patience and thoroughness are your best tools. You start by flushing away loose debris. Then you meticulously scrape the inner surfaces. Multiple salt rubs follow to draw out embedded grime. A final vinegar soak neutralizes any lingering smells. By following these steps, your hog maws will be pristine. They will be ready to absorb the flavors of your favorite recipes. This dedication to cleanliness ensures a truly satisfying meal for your family and friends. So, gather your supplies, roll up your sleeves, and confidently clean those hog maws. Your taste buds will thank you. Now go ahead and make something amazing!
- Hog Maws
- Pork Stomach Cleaning
- Offal Preparation


