· Automotive Maintenance · 13 min read
How To Clean Pcv Valve
Unlock Engine Performance: How To Clean PCV Valve
Have you ever wondered what keeps your car running smoothly and efficiently? Many small parts work together. One vital component often overlooked is the PCV (Positive Crankcase Ventilation) valve. This small device plays a big role in your engine’s health and the environment.
Cleaning your PCV valve is a simple yet impactful maintenance task. It helps your engine perform at its best. A clean PCV valve reduces harmful emissions and prevents costly repairs down the road. This guide will walk you through everything you need to know. We cover identifying the valve, gathering tools, and a step-by-step cleaning process. I will share tips for troubleshooting and long-term engine health.
Takeaway:
- Regular PCV valve cleaning prevents common engine issues.
- Use specific cleaning products for best results.
- Follow safety steps during the cleaning process.
- Check the valve’s function after cleaning and reinstalling.
- Replace the valve if cleaning does not restore its proper function.
To clean a PCV valve, remove it from the engine, inspect for damage, and soak it in a specialized cleaner like carburetor cleaner. Agitate the valve to dislodge deposits, then rinse and ensure proper airflow before reinstallation. This simple maintenance improves engine efficiency and lifespan.
Understanding Your PCV Valve: Why Cleaning Matters
The PCV valve is a critical part of your car’s emissions control system. It helps manage harmful gases produced during combustion. When your engine runs, some combustion gases leak past the piston rings. These gases collect in the crankcase. This phenomenon is known as “blow-by.”
Without a PCV valve, these gases would build up pressure inside the engine. This pressure can cause oil leaks and other engine damage. The PCV valve routes these blow-by gases back into the engine’s intake manifold. The engine then burns these gases, preventing their release into the atmosphere. This process reduces pollution.
Over time, oil vapor and carbon deposits pass through the PCV valve. These deposits can cause the valve to become clogged or stick. A clogged PCV valve cannot properly vent the crankcase gases. This leads to several noticeable problems for your vehicle. You might experience a rough idle or increased oil consumption. Engine oil leaks can also occur due to pressure buildup. Sometimes, the check engine light illuminates. Poor fuel economy is another common sign. Cleaning your PCV valve regularly helps avoid these issues. It ensures your engine breathes correctly and maintains its health.
Gathering Your Tools and Safety Gear for PCV Valve Cleaning
Before you start cleaning your PCV valve, prepare your workspace. Get all the necessary tools and safety equipment ready. This makes the job easier and safer. You do not want to stop in the middle because you miss a tool.
Here is a list of items you will need:
- Socket wrench set and pliers: These help remove and reinstall the PCV valve. You may need different sizes depending on your vehicle.
- Rags or shop towels: These are useful for wiping away oil and cleaner. They also help keep your work area clean.
- Safety glasses: Protect your eyes from splashes of cleaner or debris. This is very important.
- Gloves: Protect your hands from harsh chemicals and engine grime. Chemical-resistant gloves are best.
- Carburetor cleaner or specific PCV valve cleaner: These solvents dissolve carbon and oil deposits. Do not use brake cleaner, as it can harm rubber or plastic parts.
- Compressed air (optional): Low-pressure compressed air helps dry the valve. It also helps clear stubborn debris.
Safety is paramount when working on your vehicle. Always work in a well-ventilated area. Engine fumes and cleaning solvents can be harmful if inhaled. Make sure your engine is cool before you begin. A hot engine can cause burns. Disconnecting your car’s battery is often a good practice when working on engine components. This prevents accidental shorts. By preparing properly, you ensure a smooth and safe cleaning process. It is similar to ensuring you have the right tools when you clean your aluminum valve covers. Knowing your tools before you start any automotive cleaning task is key.
Step-by-Step Guide: How to Clean Your PCV Valve Effectively
Cleaning a PCV valve is a straightforward process. You can do it with basic tools and some patience. Follow these steps for an effective clean that improves engine function. I found these steps work for many cars.
Initial Inspection and Removal
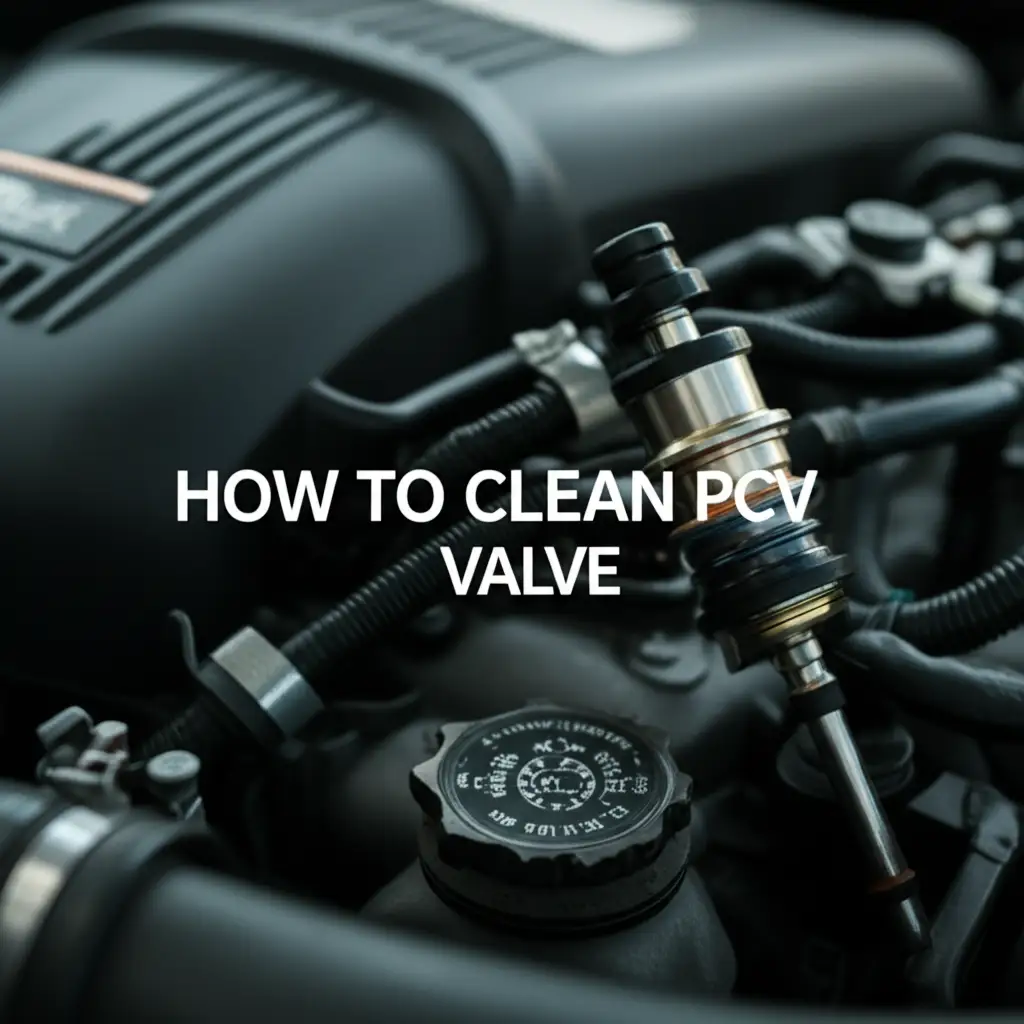
- Locate the PCV valve: The PCV valve is usually small and cylindrical. It is often located on the valve cover or in a hose leading to the intake manifold. Consult your car’s service manual if you cannot find it.
- Disconnect hoses and clamps: Use pliers or a flathead screwdriver to loosen clamps. Carefully pull off any hoses connected to the valve. Some valves twist in, others pull out.
- Remove the PCV valve: Gently pull or unscrew the valve from its mounting. Be careful not to damage the valve or its housing. Older valves might be brittle.
- Inspect the valve: Once removed, shake the valve. A clean, working PCV valve should rattle when you shake it. If it does not rattle, it is likely clogged. Check the valve for visible cracks or damage. Look inside for heavy carbon buildup.
The Cleaning Process
- Soak or spray with cleaner: Hold the valve over a rag. Spray carburetor cleaner directly into both ends of the valve. Let the cleaner soak inside for several minutes. You can also place the valve in a small container and fill it with cleaner to let it soak for a longer period, perhaps 30 minutes to an hour.
- Agitate and repeat: Shake the valve vigorously to dislodge deposits. Spray more cleaner into the valve. You should see dirty liquid drain out. Repeat this step until the liquid coming out is clear. The valve should start to rattle freely if it did not before.
- Rinse and dry: Once clean, you can rinse the valve with water or a final spray of cleaner. If using water, make sure to dry it completely. Use low-pressure compressed air if you have it. This ensures no moisture remains inside. Air dry it fully if you do not have compressed air.
Reinstallation and Final Checks
- Reinstall the PCV valve: Insert the now clean PCV valve back into its original position. Ensure it seats correctly and firmly.
- Reconnect hoses and clamps: Attach all hoses and tighten any clamps. Make sure connections are secure. Loose connections can cause vacuum leaks.
- Start the engine: Turn on your car. Listen for any unusual sounds. Check for a smooth idle. The check engine light should turn off if it was on due to the PCV valve.
This process is similar to cleaning other engine components. For example, cleaning your purge solenoid valve or cleaning your idle air control valve also involves careful removal, cleaning, and reinstallation. Following these steps helps keep your engine running well.
Troubleshooting Common PCV Valve Issues After Cleaning
Sometimes, even after cleaning your PCV valve, your car might still show symptoms. This can be frustrating. Do not worry. It means we need to look a bit deeper. Cleaning often helps, but it is not always the full solution.
Here are some common issues and what to check:
- Valve still does not rattle: You cleaned it, but it still feels stuck. This means the internal mechanism is likely broken or too clogged to free. A PCV valve works with a small plunger or pintle inside. If this piece is damaged, cleaning will not fix it.
- Engine symptoms persist: You still have a rough idle, oil consumption, or the check engine light remains on. The PCV valve might not have been the only problem. Other engine components could cause these issues. A vacuum leak in one of the PCV hoses is a common culprit. Check all hoses connected to the PCV system for cracks or loose connections.
- Oil leaks near the valve: If you see new oil leaks around the PCV valve or its housing, it might not be seated properly. Make sure the valve is fully inserted and any seals are intact. Replace old, brittle seals during reinstallation.
- Incorrect valve type: Ensure you reinstalled the correct type of PCV valve for your vehicle. Different vehicles use different designs. An incorrect valve can lead to improper crankcase ventilation.
When cleaning does not solve the problem, replacement is the next step. A new PCV valve is generally inexpensive. It is an easy part to replace. If you continue to have engine problems, consider checking other related components. These could include the EGR valve or idle air control valve. Sometimes, issues with sensors also show similar symptoms. For example, issues with your variable valve timing solenoid can also cause engine performance problems. If you feel unsure, a professional mechanic can diagnose the exact issue. They have specialized tools and knowledge. Do not ignore engine warning signs. Addressing them promptly saves you money and trouble later.
Maintaining Your Engine: Extending PCV Valve Life
Proactive maintenance is key to a long-lasting engine. Your PCV valve plays a quiet yet crucial role. Regular care extends its life and prevents problems. It also contributes to overall engine health. I find that small, consistent efforts make a big difference.
One of the most important things you can do is stick to a regular oil change schedule. Use quality engine oil recommended by your car’s manufacturer. Fresh, clean oil reduces the amount of sludge and carbon deposits that form. These deposits are what clog your PCV valve in the first place. Old, dirty oil breaks down and leaves behind more residue. This accelerates clogging. Think of it like taking a shower every day; it prevents dirt buildup.
During your routine car inspections, take a moment to check your PCV valve and its hoses. This does not take much time. Look for any visible signs of wear, such as cracks in the hoses or loose connections. Hoses can become brittle over time. A leaking hose can cause vacuum leaks, leading to engine performance issues. If you notice any damage, replace the hose immediately.
Pay attention to your car’s performance. Watch for early signs of a failing PCV valve. These include a rough idle, engine hesitation, or increased oil consumption. Catching these symptoms early means you can address the problem before it worsens. This might involve another quick cleaning or a simple replacement.
Proper PCV system maintenance contributes to lower emissions. It keeps your car running cleanly. It also helps your engine run efficiently. This can lead to better fuel economy. A well-maintained PCV system prevents oil leaks and extends the lifespan of other engine components. It is a small part with a big impact.
When to Replace Your PCV Valve vs. Cleaning
You might wonder if cleaning is enough or if you need a new PCV valve. This is a common question. While cleaning can often restore function, a PCV valve does not last forever. Knowing when to replace it saves you time and prevents engine issues.
Here are clear indicators for when replacement is the better option:
- Physical Damage: Inspect the valve closely after removal. If you see any cracks in the plastic body, a broken internal component, or a worn-out rubber grommet, cleaning will not fix these issues. Replace the valve immediately.
- No Rattle After Cleaning: As mentioned, a healthy PCV valve should rattle when shaken. If you have thoroughly cleaned the valve and it still feels stuck or makes no sound when you shake it, the internal mechanism is likely jammed beyond repair. It needs replacement.
- Persistent Symptoms: You have cleaned the valve, reinstalled it correctly, and checked for hose leaks. Yet, your car still exhibits symptoms like rough idle, excessive oil consumption, or an illuminated check engine light related to the PCV system. This suggests the valve is faulty despite your cleaning efforts. It is time for a new one.
The lifespan of a PCV valve varies by vehicle and driving conditions. Many manufacturers recommend checking or replacing the PCV valve every 20,000 to 50,000 miles. Some suggest replacement every few years. Consult your car’s owner’s manual for specific recommendations.
Replacing a PCV valve is generally cost-effective. The part itself is usually inexpensive. It is often a simple DIY task. This makes replacement a practical solution when cleaning fails. When choosing a new PCV valve, always opt for an OEM (Original Equipment Manufacturer) part or a high-quality aftermarket equivalent. This ensures proper fit and function for your specific vehicle. A good quality valve will give you peace of mind and help maintain your engine’s health for miles to come.
FAQ Section
How often should I clean my PCV valve?
You should inspect your PCV valve every 12,000 to 15,000 miles or once a year. If it shows signs of clogging, clean it. Some mechanics recommend cleaning it every 30,000 miles as a preventative measure. Regular oil changes help extend the time between cleanings.
Can I use WD-40 to clean a PCV valve?
No, it is not recommended to use WD-40 for cleaning a PCV valve. WD-40 is a lubricant and water displacer, not a solvent designed to break down carbon and oil deposits. Use dedicated carburetor cleaner, throttle body cleaner, or PCV valve cleaner for effective results. These products dissolve the stubborn grime.
What happens if I don’t clean my PCV valve?
If you do not clean your PCV valve, it can become clogged with carbon and oil sludge. This causes pressure buildup in the engine crankcase. Symptoms include rough idle, increased oil consumption, oil leaks, and possibly a check engine light. Over time, it can lead to more serious engine damage.
Is it hard to clean a PCV valve myself?
No, cleaning a PCV valve is a relatively easy DIY task for most car owners. It requires basic tools like a wrench or pliers and a can of cleaner. The process involves simple steps: locate, remove, clean, and reinstall. Most people can complete it in under an hour.
How do I know if my PCV valve is bad?
A bad PCV valve often causes noticeable engine symptoms. You might hear a hissing sound near the valve, experience a rough or unstable idle, or notice increased oil consumption. A simple test involves removing the valve and shaking it; a good valve rattles, while a bad one remains silent.
Will cleaning the PCV valve improve fuel economy?
Yes, cleaning a clogged PCV valve can improve fuel economy. A clogged valve disrupts the engine’s air-fuel mixture. It leads to incomplete combustion and wasted fuel. Restoring proper crankcase ventilation with a clean valve helps the engine run more efficiently. This often results in better gas mileage.
Conclusion
Taking care of your car’s small parts makes a big difference. Cleaning your PCV valve is a simple act of maintenance. It offers many benefits for your engine. You now understand what a PCV valve does and why it needs care. You also have the steps to clean it yourself. I trust this guide gives you the confidence to tackle this task.
Regular PCV valve maintenance helps your engine breathe freely. This prevents pressure buildup and reduces harmful emissions. It can prevent issues like rough idling and excessive oil consumption. By spending a little time on this task, you protect your engine from costly damage. You also contribute to better fuel efficiency. Keep your PCV valve clean. Keep your engine running at its best. This is a small step for big savings and a healthier car.
- PCV valve cleaning
- engine maintenance
- car care tips
- DIY auto repair
- emissions system