· Automotive Maintenance · 14 min read
How To Clean Wheel Bearings
Mastering Wheel Bearing Cleaning: A Complete Guide
Maintaining your vehicle keeps it safe and reliable. Wheel bearings are vital parts. They allow your wheels to spin freely. Over time, dirt and old grease can cause problems. Knowing how to clean wheel bearings properly saves money. It also helps your car perform its best.
Dirty bearings can lead to big issues. They might cause strange noises or even wheel failure. This guide explains the entire process. You will learn about needed tools, safety measures, and how to clean bearings. I will walk you through each step. From disassembly to reassembly, you will understand what to do.
Takeaway
Here is what you will learn from this guide:
- The importance of clean wheel bearings for vehicle safety and performance.
- A list of essential tools and supplies required for the job.
- Step-by-step instructions for safely disassembling your wheel assembly.
- Effective methods for thoroughly cleaning and inspecting wheel bearings.
- Proper techniques for regreasing and reassembling bearings for optimal use.
- Tips on recognizing when bearings need replacement instead of just cleaning.
Cleaning wheel bearings involves removing them, washing away old grease and dirt with a solvent, inspecting them for damage, and then repacking them with fresh grease before reinstallation. This process ensures smooth wheel rotation, reduces friction, and extends the life of the bearing components, promoting vehicle safety and performance.
Why Wheel Bearing Cleaning Matters for Your Ride
Wheel bearings are small, but they work hard. They support the weight of your vehicle. They also allow the wheels to turn with minimum friction. These parts are critical for smooth driving. They are essential for your vehicle’s steering and handling.
Over time, wheel bearings collect dirt. Water and road grit can get past the seals. This contaminates the grease inside. Contaminated grease stops lubricating effectively. This increases friction and creates heat.
Damaged bearings show clear signs. You might hear a grinding or humming noise. This noise gets louder when you drive faster. Sometimes, you feel vibrations through the steering wheel. Ignoring these signs can lead to bearing failure. Bearing failure can cause a wheel to seize. This creates a dangerous situation.
Cleaning helps prevent these problems. It removes harmful contaminants. It lets you inspect the bearings for wear. Replacing old grease with new grease restores proper lubrication. This extends the life of your bearings. It keeps your car safe and running well. Regular cleaning prevents costly repairs.
Essential Tools and Supplies for Bearing Care
Before you start, gather your tools. Having everything ready makes the job easier. It also helps you work safely. You need a stable surface to work on. Make sure your garage or driveway is flat.
You will need common automotive tools. A floor jack lifts your vehicle. Jack stands hold it securely. Never work under a car supported only by a jack. A lug wrench removes the wheel nuts. A socket set helps with other fasteners.
A pry bar or large screwdriver can help with the dust cap. Pliers are useful for cotter pins. A large adjustable wrench or specific socket will turn the spindle nut. You also need a hammer. This helps tap parts loose gently.
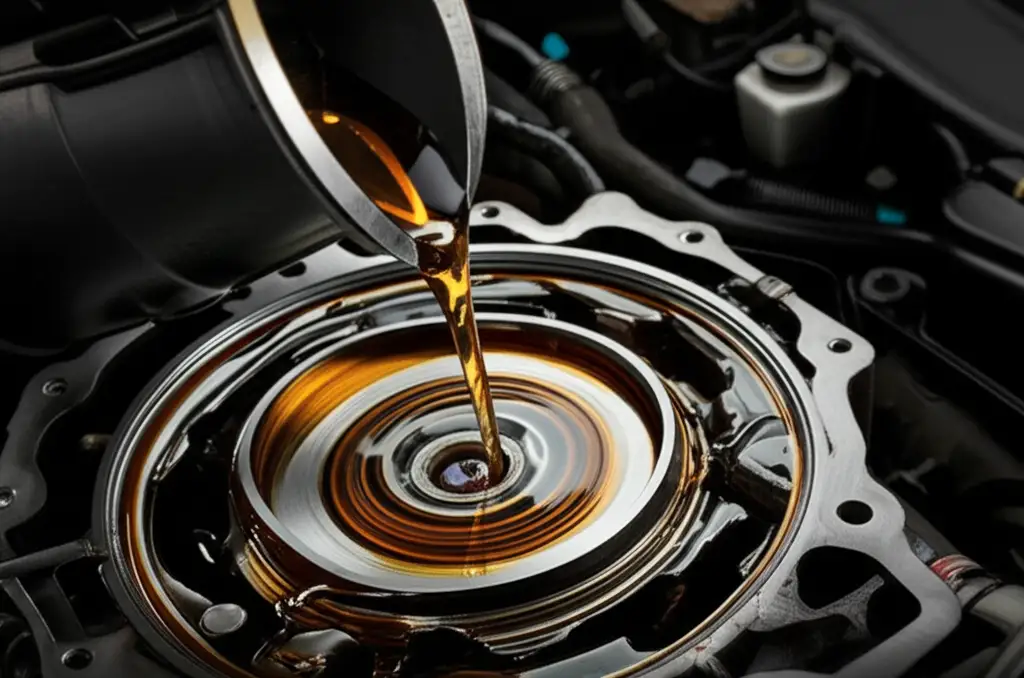
For cleaning, you need a good degreaser or solvent. Mineral spirits or brake cleaner work well. You also need several clean rags. A small brush can help scrub stubborn dirt. Compressed air is good for drying. For regreasing, you will need a grease gun. A bearing packer makes regreasing simple. If you do not have one, you can pack them by hand. Do not forget new wheel bearing grease. High-temperature lithium-based grease is usually best. Also, buy new grease seals. Seals are often damaged during removal. Replacing them ensures proper protection.
Prioritizing Safety: Your Pre-Cleaning Checklist
Safety is the most important part of any auto repair. Working on wheel bearings involves lifting your vehicle. It also involves handling chemicals. Always put safety first. I want you to finish this job without injury.
Wear appropriate personal protective equipment. Safety glasses protect your eyes from chemicals and debris. Work gloves keep your hands clean and safe. They also protect your skin from solvents and grease. Long sleeves and pants offer extra protection.
Prepare your vehicle properly. Park your car on a level surface. Engage the parking brake firmly. Place wheel chocks behind the wheels you are not working on. This prevents the car from rolling. Loosen the lug nuts on the wheel you plan to remove while the car is still on the ground.
Lift the car using a floor jack. Place the jack under a sturdy frame point. Lift the vehicle slowly. Once lifted, place jack stands under the vehicle’s frame. Make sure the stands are stable and secure. Lower the car onto the stands gently. Give the car a little shake to confirm it is stable. Never work under a vehicle supported only by a jack. Remove the lug nuts and the wheel. Now you can access the hub assembly. This careful preparation ensures a safe workspace.
Disassembling Your Wheel Bearings with Care
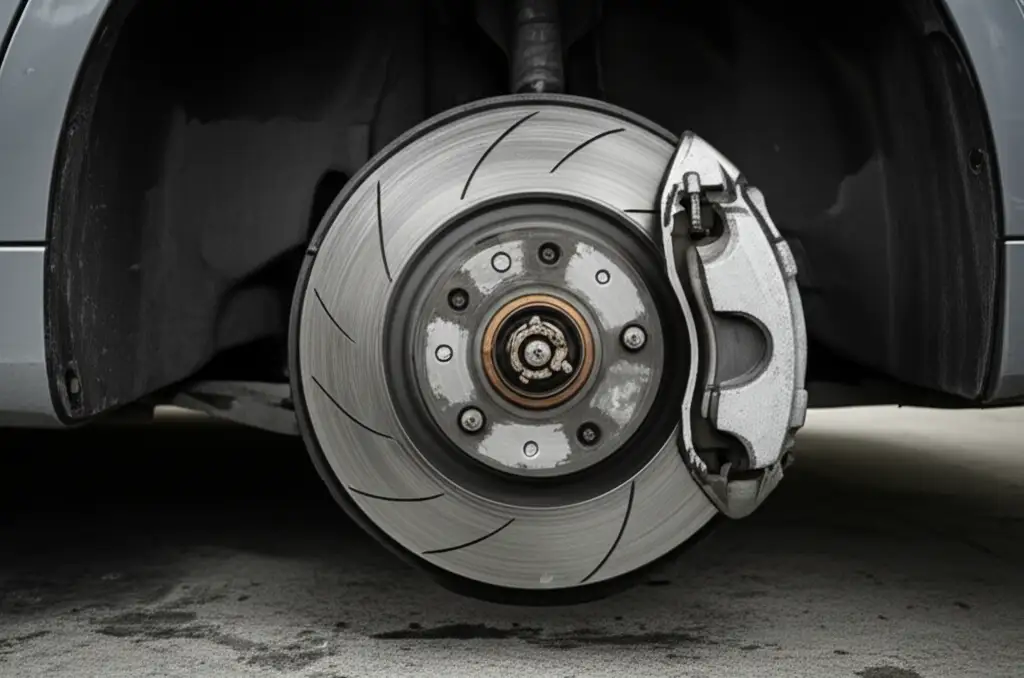
Now it is time to get to the bearings. Take your time with each step. Begin by removing the wheel. If you have disk brakes, you will likely need to remove the brake caliper. You do not need to disconnect the brake line. You can hang the caliper with a wire from the suspension. This protects the brake hose. I have a guide on how to clean brake rotors without removing the wheel if you need general brake system tips, but for bearing work, removal is often needed.
Next, you need to remove the dust cap. This is a metal cap covering the hub nut. Use a flat-head screwdriver or a pry bar. Gently pry it off. Be careful not to bend it too much. Once the dust cap is off, you will see a cotter pin. This pin locks the castle nut in place. Straighten the ends of the cotter pin. Use pliers to pull it out.
After removing the cotter pin, take off the castle nut. This nut holds the outer wheel bearing in place. It might be tight. Use a socket or large adjustable wrench. Once the castle nut is loose, carefully remove the washer behind it. Now, the outer wheel bearing is exposed. Gently pull the hub assembly or brake rotor away from the spindle. The outer bearing should slide out.
The inner bearing is still inside the hub. It is held in place by a grease seal. You will need to pry out this seal. Use a seal puller or a large flat-head screwdriver. Be gentle but firm. The seal will likely be damaged during removal. You should always plan to replace it. Once the seal is out, the inner bearing will come free. Keep all parts organized. Place them on a clean surface. This prevents losing small parts.
The Art of Cleaning Wheel Bearings Effectively
With the bearings removed, it’s time to clean. This is a crucial step. Proper cleaning removes all old grease and contaminants. Start with a suitable cleaning agent. Mineral spirits, kerosene, or a dedicated parts cleaner work well. Brake cleaner is also an option. Avoid using gasoline. It is too flammable.
Place your bearings in a shallow pan. Pour enough cleaning solution to submerge them. Use a small brush to scrub the bearings. Pay close attention to the rollers and races. Rotate the bearing as you scrub. This helps dislodge all old grease and grit. Keep cleaning until the bearing spins freely. You should not feel any resistance or hear any grinding. The metal should look clean. Repeat the process with fresh solvent if the first batch gets too dirty.
After scrubbing, rinse the bearings. Use fresh cleaning solution. Ensure all traces of old grease are gone. The bearings must be spotless. Any remaining dirt will ruin your new grease. Once clean, the bearings need to dry completely. Do not air dry them if possible. Compressed air is best for this. Blow air through the bearings. Make sure all solvent evaporates. Spin the bearings while blowing air. This helps remove any trapped moisture. If you do not have compressed air, allow them to air dry on a clean rag. Make sure they are completely dry before you regrease them. Moisture can cause rust. Rust damages the bearing.
Cleaning also applies to the hub and spindle. Wipe down the spindle arm. Clean the inside of the hub. Remove all old grease from these areas. Pay special attention to the bearing races inside the hub. Use a clean rag and solvent. Make sure these surfaces are smooth and free of debris. This prepares the entire assembly for fresh grease. This careful cleaning ensures longevity for your wheel bearings.
Inspecting and Regreasing for Optimal Performance
After cleaning, inspect your wheel bearings closely. This step determines if you can reuse them. Look for any signs of damage. Check the rollers for pitting or flat spots. Examine the bearing races for grooves or discoloration. Pitting feels like small dents. Grooves look like lines worn into the metal. Discoloration, especially blue or brown tints, means the bearing overheated. If you find any damage, no matter how small, replace the bearing. A damaged bearing will fail quickly. It can cause serious problems.
Once you confirm the bearings are good, it is time to regrease them. Use new, high-quality wheel bearing grease. Lithium-based grease is a common and good choice. It should be rated for high temperatures. You can pack bearings by hand or use a bearing packer. A bearing packer makes the job easier and more effective. It forces grease through the bearing.
To pack by hand, place a small amount of grease in your palm. Press the edge of the bearing into the grease. Work the grease into the bearing from the wide side. Push the grease through until it comes out the other side. Rotate the bearing and repeat. Make sure every roller and race surface gets covered. The bearing should be completely full of new grease. Do this for both inner and outer bearings. Take your time to ensure full coverage. This provides maximum protection and smooth operation.
You also need to grease the spindle arm. Apply a thin layer of grease to the spindle. This helps with installation. It also protects the spindle from corrosion. Do not forget to apply grease to the inside of the hub. This includes the inner bearing race area. Proper greasing reduces friction. It prevents wear. This ensures your wheel bearings last a long time.
Reassembling Your Wheel Bearings Correctly
With clean and greased bearings, it is time to put everything back together. This process is the reverse of disassembly. However, pay close attention to each step. Start by installing the new inner grease seal into the hub. Use a seal driver or a block of wood and a hammer. Tap the seal in evenly until it is flush. Do not bend or damage the seal. A damaged seal will not protect the bearing from contaminants.
Place the greased inner bearing into the hub. Make sure it sits correctly against the new seal. Now, carefully slide the hub assembly onto the spindle. The inner bearing should seat properly. Next, insert the greased outer bearing onto the spindle. It will sit inside the hub. Ensure it is fully seated.
Install the washer. Then, thread on the castle nut. This nut requires proper torque. Over-tightening damages bearings. Under-tightening causes play. Tighten the nut firmly while rotating the hub. This helps seat the bearings. Then, back off the nut slightly. Tighten it again to the manufacturer’s specified torque. This specification is crucial. It ensures proper bearing preload. If you are not sure, consult your vehicle’s service manual. The manual often gives a range or a specific procedure. A wheel speed sensor is also found near this assembly. Ensuring everything is clean and properly reassembled helps these other components function well too.
Once the nut is torqued, install a new cotter pin. Bend its ends to lock the castle nut in place. Tap the dust cap back onto the hub. Make sure it seats firmly. Reinstall the brake caliper and wheel. Torque the lug nuts to specification. Lower your vehicle carefully. Double-check all nuts and bolts. Spin the wheel to ensure it rotates freely. There should be no wobble or excessive play. Taking a test drive is always a good idea. Listen for any unusual noises. Feel for any vibrations. This final check confirms your work.
Knowing When to Replace Instead of Clean
While cleaning wheel bearings can extend their life, it is not always the solution. Sometimes, replacement is necessary. Knowing when to replace saves you time and prevents bigger problems. Pay attention to the condition of the bearings during cleaning. This is your best chance to spot issues.
Look for severe pitting or spalling on the bearing races and rollers. Spalling looks like flaking metal. If you see deep grooves or significant wear patterns, replace the bearings. Any sign of blue or brown discoloration indicates severe overheating. This means the bearing material itself is compromised. Overheated bearings lose their hardness. They will fail quickly. If the bearing cages are bent or broken, replacement is also mandatory.
Check for excessive play when the bearings are installed. Even after proper torquing, if the wheel wobbles, the bearings might be worn out beyond repair. Listen for grinding, howling, or rumbling noises that persist after cleaning and regreasing. These sounds often mean the bearing is internally damaged. Cleaning cannot fix internal damage.
Consider the cost versus benefit. If a bearing is severely worn, its lifespan after cleaning will be short. You might spend time and money on cleaning. But you will have to replace it soon anyway. New bearings ensure reliability. They offer peace of mind. Replacing worn parts prevents unexpected breakdowns. It also keeps you safe. If you have any doubt about a bearing’s condition, replace it. It is a small price for safety. If you are cleaning other car parts, like trying to clean a wheel speed sensor, consider the state of related components like the bearings too.
FAQ Section
How often should I clean wheel bearings?
Cleaning frequency depends on driving conditions. For average driving, consider cleaning and repacking your wheel bearings every 30,000 to 50,000 miles. If you drive through water, mud, or dusty conditions frequently, clean them more often. Annual inspection during other maintenance tasks is a good practice. This helps catch problems early.
What kind of grease should I use for wheel bearings?
Always use high-temperature, lithium-based grease specifically formulated for wheel bearings. This type of grease resists heat and water. It provides excellent lubrication under heavy loads. Check your vehicle’s service manual for specific recommendations. Using the wrong grease can damage your bearings and lead to premature failure.
Can I clean sealed wheel bearings?
No, you cannot clean sealed wheel bearings. Sealed bearings are designed as a single, non-serviceable unit. They come pre-packed with grease from the factory. If a sealed bearing fails or makes noise, you must replace the entire unit. Attempting to open or clean them will destroy the seal and the bearing.
What happens if I don’t clean my wheel bearings?
Ignoring dirty wheel bearings causes increased friction and heat. This leads to premature wear and eventual failure. Signs include grinding noises, humming sounds, or wheel wobble. In severe cases, the wheel bearing can seize. This causes the wheel to lock up. This creates a very dangerous situation while driving.
Is cleaning wheel bearings a DIY job?
Cleaning wheel bearings is a common DIY task. It requires basic mechanical skills and tools. Safety is paramount, especially when working under a vehicle. If you are uncomfortable with the process or do not have the right tools, hire a professional mechanic. Proper cleaning and reassembly are vital for safety.
Conclusion
Cleaning your wheel bearings is a crucial maintenance task. It ensures your vehicle runs smoothly. It also keeps you safe on the road. We covered everything from gathering tools to final reassembly. You now understand the importance of each step. Proper cleaning removes old, contaminated grease. It allows you to inspect for damage. Regreasing restores proper lubrication.
Remember, safety comes first. Always use jack stands. Wear your protective gear. Take your time with disassembly and reassembly. If you find any damage, replace the bearings. Do not try to salvage a bad bearing. A healthy car starts with healthy parts. Regular care for your wheel bearings prevents costly repairs. It also gives you confidence behind the wheel. Take action today. Give your vehicle the care it deserves.
- wheel bearing cleaning
- car maintenance
- vehicle care
- bearing lubrication
- DIY auto repair
- automotive bearings