· Automotive Care · 10 min read
How To Clean Plastic Headlight Covers
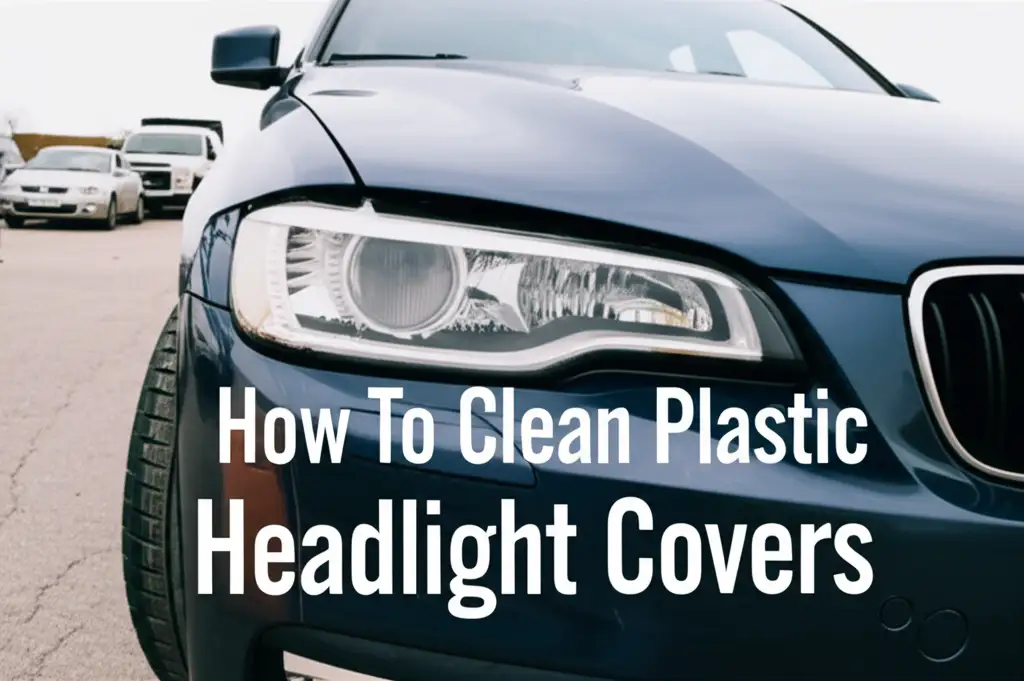
Restore Headlight Clarity: How To Clean Plastic Headlight Covers
Driving at night with hazy headlights feels dangerous. Your car’s plastic headlight covers naturally become dull over time. This reduces light output and makes driving harder. Clear headlights are important for safety and for your car’s appearance. I know the frustration of dim lights, and I am here to help.
This article shows you how to clean plastic headlight covers. We will discuss why headlights become foggy and what supplies you need. You will learn various cleaning methods, from simple washes to full restoration. We will also cover how to protect your headlights after cleaning them. By the end, you will have the knowledge to make your headlights shine again.
Takeaway
Cleaning plastic headlight covers restores light output and improves car safety.
- First, assess the damage to your headlight covers.
- Then, choose the correct cleaning method, from simple washing to using restoration kits.
- Finally, apply a protective layer to keep your headlights clear for longer.
To clean plastic headlight covers, you can use household items like soap and water for light haze. For heavier yellowing, apply a specialized restoration kit with abrasives and polish. Regular cleaning and protection prevent future fogging.
Understanding Why Headlights Become Hazy
Many cars today use plastic for headlight covers. This plastic material is lightweight and strong. However, it does not last forever. Sunlight and weather cause problems for plastic.
Over time, plastic headlight covers start to look cloudy or yellow. This happens due to a process called oxidation. The sun’s ultraviolet (UV) rays break down the clear coating on the plastic. Road debris and harsh chemicals also contribute to damage. This damage creates tiny scratches and pits on the surface. These small marks scatter light, which makes your headlights look dim. Headlight fogging affects how much light reaches the road. It also makes your car look older than it is. I have seen many cars with this issue, and it always surprises me how much better they look with clear headlights.
This problem affects your visibility at night. Dim headlights make it harder to see obstacles. They also make it harder for other drivers to see your car. Addressing this problem is a key part of car maintenance. Fixing your headlights improves safety for everyone.
Gathering Your Headlight Cleaning Supplies
Before you start cleaning, gather all your needed items. Having everything ready saves time and makes the job easier. The supplies you need depend on how bad your headlights look. For light haze, simple household items work well. For heavy yellowing, you need a stronger approach.
Basic cleaning requires just a few things. You will need a bucket of warm water and some car wash soap. A few microfiber cloths are also important. These cloths are soft and will not scratch the plastic. I always have a good supply of microfiber towels when I am cleaning my car. You may also want a spray bottle for mixing solutions.
For more serious restoration, you might need extra items. Fine-grit sandpaper (like 1000-grit, 2000-grit, and 3000-grit) is important. A polishing compound specifically for plastic or car paint also helps. A drill with a polishing pad attachment makes the job faster. Finally, a UV-protective sealant is a must. This protects your hard work. Think of it like sunscreen for your headlights.
Basic Headlight Cleaning Methods
You can start with simple methods if your headlights show only light haziness. These approaches use common household products. They are easy to do and do not take much time. I often begin with these gentle methods to see if they are enough.
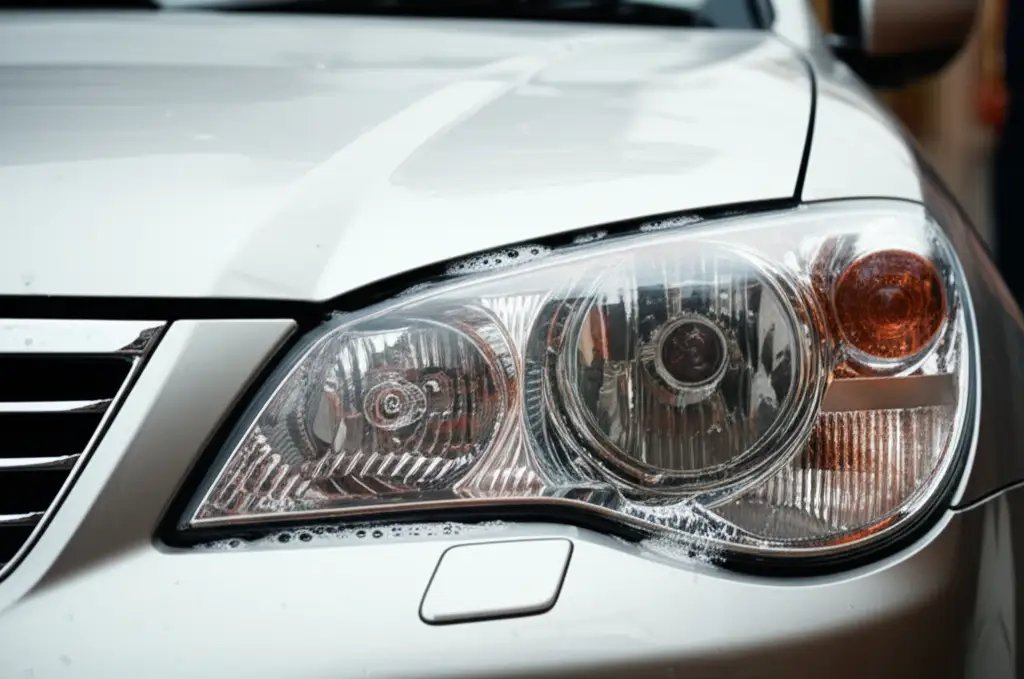
First, try soap and water. This method works for light dirt and grime. Mix car wash soap with warm water in a bucket. Use a clean microfiber cloth to wash the headlight covers. Wipe in small circles. Rinse thoroughly with clean water. Then, dry the covers with another clean microfiber cloth. This removes surface dirt that makes lights look dull.
Another option is a vinegar solution. Vinegar is a mild acid that can help break down light oxidation. Mix equal parts white vinegar and water in a spray bottle. Spray the solution onto the headlight covers. Let it sit for a few minutes. Then, scrub with a clean cloth. Rinse well and dry. I have found vinegar useful for various cleaning tasks, even some plastic surfaces. You can learn more about how vinegar helps clean other items by reading our guide on how to clean shower with vinegar. This might remove light yellowing, but it usually does not fix heavy cloudiness.
For slightly tougher spots, a mild abrasive like toothpaste can work. Choose a plain white toothpaste, not gel. Apply a small amount to a clean cloth. Rub it onto the headlight cover in circular motions. The tiny abrasives in toothpaste can polish away light scratches. Rinse thoroughly afterward. This method is surprisingly effective for minor issues.
Advanced Headlight Restoration Techniques
When basic cleaning does not work, you need more advanced methods. These techniques involve light sanding and polishing. This removes the damaged layer of plastic. It restores true clarity. I recommend these steps for headlights with significant yellowing or cloudiness.
First, clean the headlights thoroughly with soap and water. Mask off the surrounding paint with painter’s tape. This protects your car’s finish from accidental scratches. Use different grits of wet sandpaper. Start with a lower grit, like 1000-grit, if the damage is severe. Soak the sandpaper in water before you begin. Sand the headlight cover in one direction, like horizontally, until the surface looks uniformly dull. Keep the surface wet while sanding.
Next, move to a higher grit sandpaper, such as 2000-grit. Sand in the opposite direction, vertically. Continue until the sanding marks from the previous grit are gone. Then, use 3000-grit sandpaper, again changing direction. This fine sanding makes the surface smooth. A smooth surface polishes better. You are effectively removing a very thin layer of damaged plastic.
After sanding, it is time to polish. Apply a plastic polishing compound to a foam polishing pad. Use a drill with a polishing attachment or polish by hand. Polish the headlight cover until it becomes clear. Wipe away any excess polish with a clean microfiber cloth. This step brings back the shine. Many plastic surfaces can benefit from specific cleaning methods, whether it’s how to clean clear plastic phone case or other household items. For stubborn residues like adhesive or glue, you may also find our articles on how to clean adhesive off plastic or how to clean glue off plastic helpful.
Polishing and Protecting Your Headlights
After cleaning and restoring, the next step is crucial. Polishing brings out the full clarity. Protecting them keeps them that way. Skipping the protection step means your hard work will not last long. The plastic will yellow again quickly without a protective barrier.
Use a plastic polish or a car wax designed for paint. Apply a small amount to a clean microfiber applicator pad. Rub it onto the headlight cover in circular motions. This step removes any remaining haze and gives a clear finish. Buff it off with a separate clean, dry microfiber cloth until the surface shines.
For lasting results, you must apply a UV-protective sealant. This sealant creates a barrier. It protects the plastic from sunlight and environmental damage. Many headlight restoration kits include such a sealant. If not, buy one separately. Follow the product instructions for application. Typically, you spray or wipe it on and let it cure. This layer is vital for preventing future oxidation. Without this protection, your headlights will become hazy again within months. I make sure to apply this sealant every time I clean my headlights.
This protective layer is important. It extends the life of your restoration. Regular application of a sealant keeps your headlights clear for years. Consider applying a fresh coat every six to twelve months. This simple step saves you from doing a full restoration again soon.
Maintaining Headlight Clarity Over Time
Once your headlights are clear, you want to keep them that way. Prevention is always better than a full restoration. Regular care helps maintain headlight clarity for a long time. I find simple habits make a big difference in car maintenance.
First, wash your car regularly. This includes the headlights. Use a gentle car wash soap and a soft sponge or microfiber cloth. This removes dirt and grime before they can build up. Dirt can etch into the plastic over time. A quick wash helps prevent this.
Second, consider using a car wax or sealant on your headlights every few months. Many waxes offer some UV protection. This adds an extra layer of defense against sunlight. It is a good idea to apply wax after every few car washes. This helps the UV protective coating last longer.
Third, park your car in the shade whenever possible. UV rays are the main cause of headlight yellowing. Parking in a garage or under a carport shields your headlights from direct sun. If you must park outside, consider using a car cover. This simple habit protects all your car’s exterior surfaces.
By following these maintenance tips, you extend the life of your headlight restoration. You also keep your car looking its best. Regular care keeps your headlights clear and bright for safer driving. It saves you time and money by avoiding frequent restoration jobs.
FAQ Section
Q1: How often should I clean my plastic headlight covers? A1: You should clean your plastic headlight covers as needed. For basic cleaning, include them in your regular car wash routine. For a full restoration, do it when you notice significant haziness or yellowing. With proper protection, a full restoration might only be needed every 1-3 years.
Q2: Can I use bug spray or insect repellent to clean headlights? A2: No, avoid using bug spray or insect repellent. These products contain harsh chemicals. They can damage the plastic or strip existing protective coatings. Stick to products designed for car care or specific plastic cleaning. Using the wrong chemicals can make the problem worse.
Q3: Is toothpaste really effective for cleaning hazy headlights? A3: Toothpaste can be effective for very minor haziness or light oxidation. It contains mild abrasives that can lightly polish the plastic surface. For moderate to severe yellowing, toothpaste alone will not provide a lasting solution. You will need a dedicated headlight restoration kit.
Q4: Do professional headlight restoration services offer better results? A4: Professional services often use industrial-grade equipment and stronger chemicals. They can provide excellent results, especially for heavily damaged headlights. However, a DIY restoration can achieve similar results for less cost if you follow the steps carefully. It depends on the severity of the damage and your comfort level.
Q5: What is the best way to prevent headlights from yellowing again? A5: The best way to prevent future yellowing is to apply a UV-protective sealant immediately after cleaning or restoring them. Reapply this sealant every 6-12 months. Also, park your car in the shade or use a car cover to limit sun exposure. Regular washing helps prevent dirt buildup.
Conclusion
Having clear headlights is not just about looks. It is about safety on the road. Hazy, yellowed headlights reduce your visibility and make night driving dangerous. You now know how to clean plastic headlight covers using various methods. From simple soap and water to advanced sanding techniques, you have the knowledge to restore their clarity.
Remember to gather the right supplies before you start. Always protect the surrounding paint. Finish the job with a UV-protective sealant to make your hard work last. Maintaining your headlights with regular cleaning and parking in the shade will keep them clear for years.
This simple car care task makes a big difference. Take pride in your car’s appearance and improve your driving safety. Your clear headlights will light up the road ahead. You can do this!
- headlight restoration
- car detailing
- DIY car care
- hazy headlights
- yellowed headlights