· Engine Maintenance · 12 min read
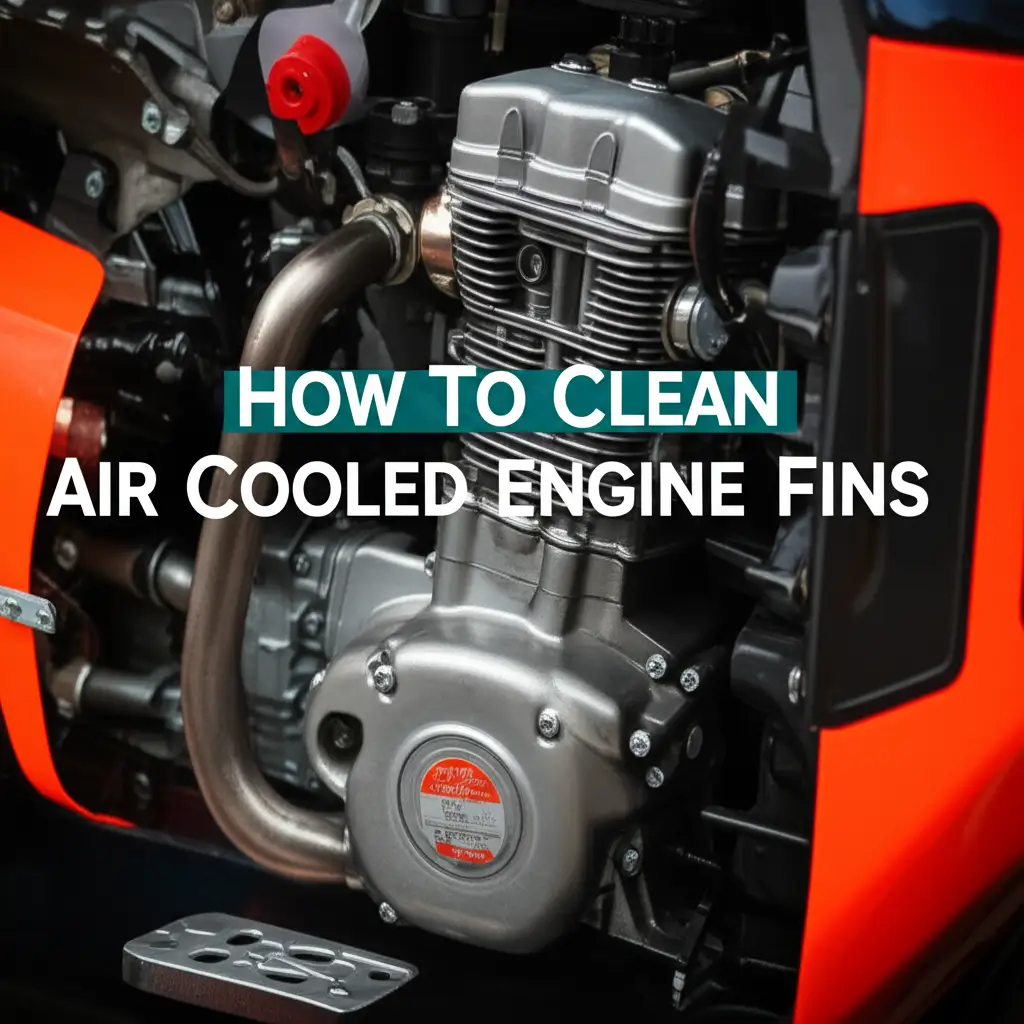
How To Clean Small Engine Carburetor
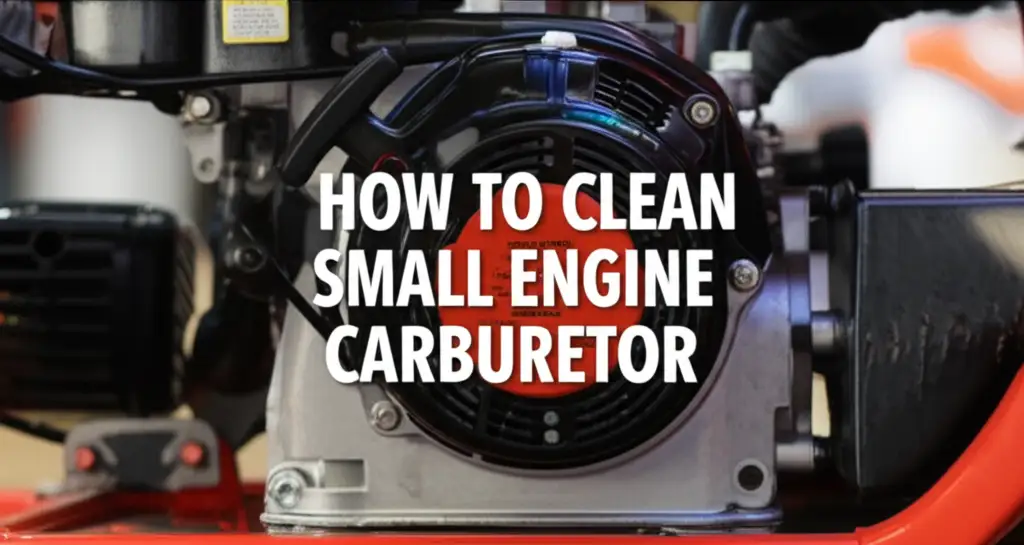
Restore Your Engine: How to Clean Small Engine Carburetor
Is your small engine sputtering, struggling to start, or running rough? The carburetor is often the culprit. Over time, fuel deposits and debris can clog this vital component. Learning how to clean small engine carburetor can save you money and keep your equipment running smoothly.
This guide will walk you through diagnosing common issues, preparing for the task, and providing a step-by-step cleaning process. You will learn to clean your carburetor effectively. We will cover tool gathering, component removal, thorough cleaning, and proper reassembly.
Takeaway
- Diagnose carburetor issues through poor engine performance.
- Gather specific tools and safety gear before starting work.
- Follow a step-by-step process for disassembly, cleaning, and reassembly.
- Use proper carburetor cleaner and compressed air for best results.
- Implement post-cleaning maintenance for lasting engine health.
Cleaning a small engine carburetor involves careful disassembly, soaking components in carburetor cleaner, clearing jets and passages with compressed air, and then reassembling the unit. This process removes fuel varnish and debris, restoring proper fuel-air mixture delivery for optimal engine performance.
Understanding Your Small Engine Carburetor: Why It Gets Dirty
Small engines power many of our essential tools, from lawn mowers to generators. The carburetor plays a crucial role in these engines. It mixes air and fuel in the correct ratio for combustion. Over time, this component can become dirty.
Stale fuel is a common cause of carburetor clogs. Fuel breaks down and leaves varnish-like deposits. These deposits restrict fuel flow, leading to poor engine performance. Dirt and debris can also enter the fuel system. This contamination further clogs the tiny passages inside the carburetor.
Symptoms of a dirty carburetor are clear signs your engine needs attention. You might notice the engine struggles to start. It may run rough or surge during operation. Sometimes the engine will stall completely. These issues directly point to a restricted fuel supply. Addressing them quickly helps keep your engine reliable. This also prevents more serious damage to the engine.
Tools and Materials You Need for Carburetor Cleaning
Preparing the right tools makes carburetor cleaning much simpler. You want to have everything ready before you start. This prevents interruptions during the cleaning process. Having the correct items ensures you do the job safely and effectively.
Here is a list of essential tools and materials:
- Carburetor cleaner: This chemical dissolves fuel varnish. Choose a non-chlorinated type if possible.
- Safety glasses and gloves: Protect your eyes and skin from chemicals.
- Screwdrivers and wrenches: You will need various sizes for fasteners.
- Pliers: These help with hoses and clamps.
- Compressed air: An air compressor or can of compressed air helps clear passages.
- Small wire or jet cleaning tools: Guitar strings or specialized kits are useful. These clean tiny jets and orifices. For more detail on cleaning specific parts, see our guide on how to clean jets on carburetor.
- Clean rags or shop towels: Use these for wiping and drying.
- Container for soaking: A small, non-reactive bowl works well for parts.
- New gaskets and O-rings: Replace these if they are damaged or brittle.
- Parts tray: This keeps all the small components organized.
Having these items on hand saves time. It also ensures you can complete the job thoroughly. Proper preparation is key to a successful carburetor cleaning.
Safety First: Essential Precautions Before You Start Cleaning
Working with fuel and engine parts requires careful attention to safety. Taking precautions protects you and your workspace. Always prioritize safety before beginning any maintenance task. This prevents accidents and ensures a smooth repair process.
First, always work in a well-ventilated area. Carburetor cleaner fumes can be strong and harmful. Good airflow dissipates these fumes quickly. Avoid enclosed spaces like garages without open doors. I always open my garage door and a window.
Next, disconnect the spark plug wire. This prevents accidental engine starts. An unexpected engine crank can cause serious injury. This simple step ensures the engine remains off during your work. It is a critical safety measure I never skip.
Handle fuel and carburetor cleaner with care. Both are flammable. Keep them away from open flames, sparks, or hot surfaces. Wear safety glasses to protect your eyes from splashes. Chemical-resistant gloves also protect your skin. These products can cause irritation or chemical burns. Follow the manufacturer’s instructions on the cleaner. Proper handling of these chemicals is very important.
Finally, secure your equipment on a stable surface. This prevents it from tipping or moving while you work. A wobbly machine makes cleaning difficult and unsafe. Use blocks or stands if necessary. These safety steps make the cleaning process safer and more efficient.
Step-by-Step Guide: Removing the Small Engine Carburetor
Removing the carburetor is the first practical step in cleaning it. This process requires patience and attention to detail. Different small engines might have slightly different setups. However, the general steps remain consistent. Always refer to your engine’s service manual if you have one.
First, drain the fuel from the fuel tank. You can use a siphon pump or disconnect the fuel line at the tank. Place a container under the line to catch the fuel. Removing the fuel prevents spills during disassembly. It also reduces fire hazards.
Next, locate the carburetor on your engine. It is usually attached to the engine’s intake manifold. You will see air filter housing connected to it. Carefully remove the air filter assembly first. This often involves unscrewing a few bolts or clips. Remember the order of parts you remove.
Then, disconnect all lines and linkages attached to the carburetor. These include the fuel line, throttle linkage, and choke linkage. Take photos with your phone as you go. This helps immensely during reassembly. Labeling wires or lines can also prevent confusion. Use pliers to carefully loosen fuel line clamps. Be gentle with plastic or rubber parts. Some carburetors, like those on push mowers, can be tricky. You can find specific tips on how to clean carburetor on push mower.
Finally, unbolt the carburetor from the engine. There are usually two bolts holding it in place. These bolts also secure the intake manifold or adapter plate. Once unbolted, carefully pull the carburetor away from the engine. Watch out for gaskets that might stick to the engine block. You now have the carburetor free for cleaning.
Thorough Cleaning Process: Disassembling and Soaking Carburetor Components
With the carburetor removed, the real cleaning work begins. This phase involves carefully disassembling the carburetor into its main components. Each piece needs individual attention to ensure all clogs are removed. A thorough cleaning ensures your engine runs perfectly afterward.
Start by placing the carburetor over a clean work surface or a parts tray. This prevents small parts from getting lost. Begin disassembling the carburetor, taking pictures at each step. First, remove the fuel bowl, usually held by a single bolt or screws at the bottom. Be careful as there might be a small amount of fuel left inside. The float and needle valve assembly will be visible once the bowl is off. Gently remove these components.
Next, remove the main jet and pilot jet. These are tiny, brass fittings, often requiring a small flathead screwdriver. These jets are highly prone to clogging. Use specialized jet cleaning tools or a thin wire to clear them. Never force a wire through, as you could enlarge the jet opening. Also, look for the emulsification tube behind the main jet; it can also get clogged.
Place all metal components, except for any rubber or plastic parts, into a container. Submerge them in carburetor cleaner. Let them soak according to the cleaner’s instructions, typically for 15-30 minutes, or longer for heavily varnished parts. This process dissolves fuel varnish and carbon deposits. For more general engine cleaning, consider methods like how to clean carbon buildup in engine. Some carburetors, like those on snowblowers, might be more robust; check out tips on how to clean carburetor on snowblower for specific models.
After soaking, use a brush or rag to scrub off any remaining residue. Pay close attention to all the small passages and holes. Spray carburetor cleaner into every opening. Then, use compressed air to thoroughly blow out all passages, jets, and orifices. Make sure air flows freely through every hole. This step is critical for removing loosened debris. Ensure all parts are completely dry before reassembly.
Reassembly and Reinstallation: Putting Your Carburetor Back Together
Putting the carburetor back together is a mirror image of disassembly. Precision is key here. Each component must go back in its correct place. Proper reassembly ensures the carburetor functions correctly. If you were thorough in taking pictures during disassembly, they will be very helpful now.
First, ensure all parts are clean and dry. Replace any old gaskets or O-rings with new ones. These seals are crucial for preventing fuel leaks and ensuring proper air-fuel mixture. A worn gasket can cause air leaks. Air leaks lead to an engine running lean. This causes poor performance.
Begin reassembling the internal components. Install the main jet and pilot jet back into their proper locations. They screw in snugly but avoid overtightening. Then, carefully reinstall the float and needle valve assembly. Ensure the float pivots freely. The needle valve must seat properly to regulate fuel flow into the bowl. If you are working on a specific model like a Briggs and Stratton, there might be unique considerations, so check our guide on how to clean Briggs and Stratton carburetor.
Next, attach the fuel bowl to the carburetor body. Make sure the new bowl gasket is properly seated. Tighten the bowl bolt or screws securely. Do not overtighten, as this can strip threads or crack the bowl. Attach any other small components you removed, such as accelerator pumps or mixture screws. Refer to your photos often during this stage.
Finally, reinstall the carburetor onto the engine. Align the carburetor with the engine’s intake manifold studs. Slide on any new mounting gaskets. Secure the carburetor with its mounting bolts. Reconnect all fuel lines, throttle linkages, and choke linkages. Ensure all connections are tight and secure. Double-check all moving parts to confirm they operate smoothly. Reattach the air filter assembly last. A proper reinstallation is vital for your engine to run reliably.
Post-Cleaning Tips and Maintenance for Peak Engine Performance
Cleaning your carburetor is a great start. However, ongoing maintenance helps prevent future issues. A few simple practices can keep your small engine running at its best. These habits prolong the life of your carburetor and engine. They also ensure your equipment is always ready for use.
First, always use fresh fuel. Stale fuel is the primary cause of carburetor clogs. Fuel degrades over time, especially when stored in a tank. If your equipment sits for more than a few weeks, drain the old fuel. Then, replace it with fresh fuel. Consider using a fuel stabilizer. Fuel stabilizers prevent degradation. They keep fuel fresh for longer periods. This is especially important for equipment stored over winter.
Second, consider using premium fuel if your engine manufacturer recommends it. Some premium fuels contain detergents. These detergents help keep the fuel system cleaner. Always check your engine manual for specific fuel recommendations. Using the right fuel can make a difference in performance.
Third, regularly check and replace your air filter. A dirty air filter restricts airflow. This can cause the engine to run rich, which means too much fuel. A rich mixture can lead to carbon buildup and affect carburetor performance. Clean or replace the air filter as part of your routine maintenance. This is an easy task that makes a big impact.
Finally, run your engine regularly. Even if you do not use it often, start it once a month. Let it run for 10-15 minutes. This circulates fresh fuel through the carburetor. It prevents fuel from sitting stagnant and forming deposits. This simple habit goes a long way in preventing future carburetor problems. For specific guidance on certain models, like Stihl hedge trimmers, you can find useful information on how to clean carburetor on Stihl hedge trimmer. Adhering to these tips keeps your small engine carburetor clean.
FAQ Section
How often should I clean my small engine carburetor?
The cleaning frequency depends on usage and fuel quality. If you use fresh, stabilized fuel, cleaning every 1-2 years is often sufficient. If your engine experiences frequent performance issues or uses old fuel, more frequent cleaning may be necessary, perhaps annually or every six months.
Can I clean a carburetor without removing it from the engine?
Yes, sometimes you can clean a carburetor without full removal. This often involves spraying carburetor cleaner directly into the intake or fuel inlet. This method might clear minor clogs. However, for severe clogs, full disassembly and cleaning are usually needed. For specific methods, see our guide on how to clean lawn mower carburetor without removing.
What type of carburetor cleaner should I use?
Use a dedicated carburetor cleaner spray or dip. Look for products designed to dissolve gum, varnish, and carbon deposits. Some cleaners are designed to be safe for plastic and rubber parts. Always check the product label for specific instructions and warnings regarding materials.
Why is my engine still running rough after cleaning the carburetor?
If your engine still runs rough, the issue might not be the carburetor. Check for other problems like a dirty spark plug, clogged fuel filter, or incorrect valve lash. Vacuum leaks at the intake manifold or faulty ignition components can also cause rough running. Sometimes, the carburetor needs adjustment after cleaning.
What are common signs of a dirty carburetor?
Common signs include difficulty starting, rough idling, surging engine speed, lack of power, or the engine dying unexpectedly. You might also notice black smoke from the exhaust, indicating a rich fuel mixture. These symptoms point to improper fuel delivery from a clogged carburetor.
Can old fuel damage a small engine carburetor?
Yes, old fuel is a leading cause of carburetor damage. Fuel degrades over time, forming gummy, varnish-like deposits. These deposits clog the tiny passages and jets inside the carburetor. This restricts fuel flow, causing performance issues and requiring a thorough cleaning or rebuild.
Conclusion
Cleaning a small engine carburetor can seem like a big job, but it is a manageable task. You now understand the steps involved in cleaning a small engine carburetor. From diagnosing problems to gathering tools and executing the cleaning process, you have a clear roadmap. Remember that a clean carburetor is vital for engine health. It ensures your equipment starts easily and runs smoothly.
By following the detailed steps, you can restore your engine’s performance. Regular maintenance, including using fresh fuel and stabilizers, helps prevent future issues. Do not let a dirty carburetor sideline your outdoor power equipment. Take charge of your engine’s maintenance today. Keep your small engines running strong for years to come.
- small engine carburetor
- engine cleaning
- DIY repair
- fuel system maintenance
- outdoor power equipment