· Home Improvement · 13 min read
How To Clean Spray Foam Gun
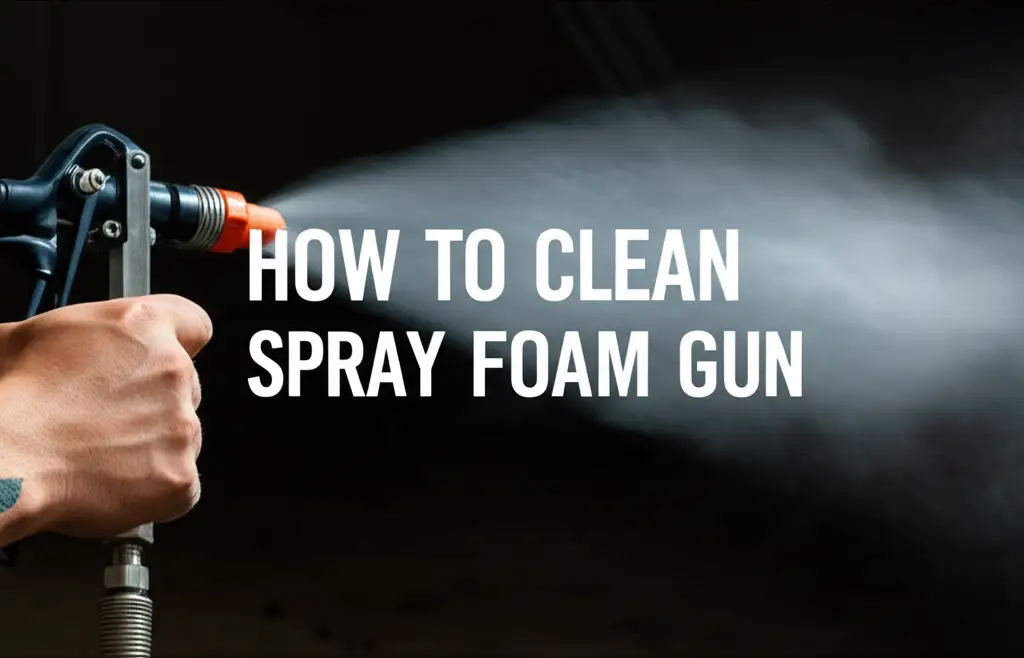
How to Clean Your Spray Foam Gun for Flawless Results
Spray foam is an amazing tool for sealing gaps and insulating spaces. However, a spray foam gun can quickly become useless if you do not clean it correctly. Dried foam clogs internal parts, stopping the gun from working. Keeping your foam gun clean extends its lifespan. It also ensures every project looks smooth and professional. This guide will show you exactly how to clean a spray foam gun, whether the foam is fresh or already cured. We cover tools, steps, and important safety tips.
Takeaway
Cleaning your spray foam gun immediately after use saves money and effort.
- Always use a proper foam gun cleaner.
- Never let foam cure inside the gun.
- Regular maintenance prevents costly replacements.
To clean a spray foam gun, immediately flush it with a specialized foam gun cleaner solvent after use. Attach the cleaner can to the gun, spray until the solvent comes out clear, and then clean the nozzle and needle thoroughly with a brush and wipes. For cured foam, partial disassembly and mechanical removal with a pick or brush may be necessary, followed by solvent soaking.
Understanding Your Spray Foam Gun: Parts and Purpose
A spray foam gun is a precision instrument designed for controlled application of polyurethane foam. Knowing its parts helps you clean it well. The gun connects to a foam can. It has a trigger that controls foam flow. A long barrel guides the foam. The nozzle is at the end of the barrel, shaping the foam stream. Inside the barrel is a needle. This needle opens and closes a valve for the foam.
Key Components of a Foam Gun
The main body of the foam gun holds everything together. The trigger mechanism allows you to start and stop the foam flow. The adjustment knob on the back controls the bead size. Turning it changes how much foam comes out. The adapter basket connects the foam can to the gun. Foam passes through the barrel to the nozzle. Each part must be clean for the gun to work right. A clogged nozzle or sticky needle will ruin your project.
Why Regular Cleaning Matters
Regular cleaning keeps your spray foam gun in good working order. Foam hardens quickly when exposed to air. If you leave uncured foam in the gun, it will harden inside. This hard foam blocks the internal passages. A blocked gun cannot spray foam. You cannot use it again. Cleaning saves you money because you do not need to buy a new gun. It also saves you time by avoiding project delays.
Essential Cleaning Supplies for Spray Foam Guns
Having the right tools makes the cleaning process easy. Do not try to clean a foam gun without specific products. Regular water or general household cleaners will not work for polyurethane foam. You need a dedicated foam gun cleaner. You also need safety gear. Gather all supplies before you start.
Foam Gun Cleaner Solvent
A specialized foam gun cleaner is a must-have. These cleaners contain solvents that dissolve uncured polyurethane foam. Some cleaners can also soften cured foam, but they work best on fresh foam. You attach the cleaner can to your foam gun, just like a foam can. Pressing the trigger flushes the solvent through the gun’s internal parts. Always use the cleaner recommended by your foam gun manufacturer.
Protective Gear
Protecting yourself is very important when cleaning a foam gun. Polyurethane foam and its cleaners contain strong chemicals. Wear chemical-resistant gloves. Nitrile or neoprene gloves work well. You should also wear safety glasses. This protects your eyes from splashes. Long sleeves and old clothes are also a good idea. Work in a well-ventilated area to avoid breathing in fumes. Open windows or use a fan.
Cleaning Brushes and Wipes
You will need a few simple tools for external cleaning. A small wire brush or a stiff bristled brush helps clean the nozzle. Some foam gun cleaner cans come with a small cleaning tip. This tip can help clear blockages in the nozzle. Use clean rags or paper towels to wipe down the gun’s exterior. These items help remove any foam residue from the outside surfaces. Having these on hand makes the cleanup faster.
Step-by-Step: How to Clean a Spray Foam Gun Immediately After Use (Uncured Foam)
Cleaning your foam gun right after using it is critical. Uncured foam is much easier to remove than cured foam. This process takes only a few minutes but saves hours of trouble later. Follow these steps every time you finish a foam project. Do not wait even an hour.
Preparing for Cleanup
First, make sure the foam can is empty or almost empty. If it is full, you can leave it attached and store the gun for a short time. For cleaning, remove the foam can. Wear your protective gloves and safety glasses. Have your foam gun cleaner ready. Also, keep some rags or paper towels nearby. Point the gun into a garbage can or an area where foam residue can fall safely.
Flushing the Gun
Attach the foam gun cleaner can to the gun’s adapter basket. Screw it on tightly. Hold the gun with the nozzle pointed safely away from you. Press the trigger for about 5-10 seconds. You will see solvent spray out. It may look cloudy or foamy at first. Keep spraying until the solvent comes out clear. This means all the uncured foam inside the gun is flushed out. This step is the most important part of the cleaning process. It cleans the needle valve and the barrel.
After flushing, let the cleaner sit inside the gun for a few minutes. This allows the solvent to break down any remaining foam. Then, spray again for a few seconds until the cleaner is clear once more. This ensures the internal passages are truly clean. You might find this process similar to how you would clean various spray heads, ensuring all internal mechanisms are free from obstruction, like cleaning a kitchen faucet spray head to prevent mineral buildup.
Cleaning the Nozzle and Barrel
After flushing, remove the cleaner can. Use a rag or paper towel to wipe down the outside of the gun. Pay special attention to the nozzle. Any uncured foam on the outside will harden. Use a small wire brush or a pick to clean inside the nozzle opening. Some foam gun cleaner cans have a small, plastic nozzle tip. You can use this tip to spray solvent directly into the nozzle for extra cleaning. Make sure no foam remains visible on the exterior parts or inside the tip. This thorough external clean prevents future problems.
Tackling Cured Foam: When the Foam Dries Inside Your Gun
Sometimes, foam dries inside the gun. This happens if you forget to clean it, or if it sits unused for too long with a can attached. Cured foam is very hard. It is much harder to remove than uncured foam. This process requires more patience and effort. A completely clogged gun might be beyond repair.
Initial Assessment and Disassembly
First, try to remove as much external cured foam as possible. Use a utility knife or scraper carefully. Do not scratch the gun’s metal parts. Then, try to screw on a fresh can of cleaner. If it attaches, try flushing. Sometimes, the pressure from the cleaner can dislodge small bits of cured foam. If flushing does not work, you might need to disassemble parts. Remove the nozzle if it is removable. Some guns allow you to remove the needle or the adjustment knob. Check your gun’s manual for specific instructions. Be careful not to lose small parts.
Soaking and Scraping Methods
For stubborn cured foam, you can try soaking parts. If the nozzle is removable, soak it in a small container of foam gun cleaner solvent overnight. This might soften the cured foam enough to scrape it out. For internal clogs, some people try soaking the entire gun barrel in solvent, but this is risky. Solvent can damage seals or plastic parts. Use a thin wire or a dental pick to carefully scrape out cured foam from the nozzle and barrel. Do not force anything. For incredibly tough residues, think about the effort you’d put into cleaning an oven after self-clean, where stubborn, baked-on grime needs careful scraping and powerful solutions. If you encounter hardened foam on surfaces, it can act like a stubborn stain, similar to cleaning stains on wood where specific methods are needed for effective removal.
If you scrape foam from the needle valve area, be gentle. The needle is a delicate part. Bending or damaging it will make the gun unusable. Only attempt disassembly if you are comfortable with tools. Many guns are not designed for full user disassembly beyond the nozzle. Sometimes, a gun with extensive cured foam is not salvageable. It might be more cost-effective to buy a new one.
Reassembly and Testing
After cleaning cured foam, reassemble any parts you removed. Make sure all components fit back correctly. Then, attach a can of foam gun cleaner. Flush the gun thoroughly, just as you would for uncured foam. This final flush removes any loosened debris. Spray until the solvent runs clear. Test the gun with a new can of foam on a scrap piece of material. Check for consistent flow and no leaks. A successfully cleaned gun will spray a smooth, even bead. If it still sprays poorly or leaks, you may have missed some cured foam, or the gun is damaged.
Preventive Maintenance Tips for Your Spray Foam Gun
Prevention is always better than cure, especially with spray foam guns. A little care goes a long way in keeping your gun ready for action. Implementing simple habits will save you from future headaches and the cost of replacing your equipment. Think of it as a small investment of time that pays off big.
Storing Your Foam Gun Correctly
Proper storage is key to preventing clogs. If you plan to use the gun again soon (within a few weeks), you can leave a partially used can of foam attached. The foam acts as a seal, preventing air from entering the gun. Make sure the gun is stored upright. Always twist the adjustment knob to the closed position. This prevents the needle from drying out and sticking. If you store it with a can attached, test the spray briefly before your next project. This confirms it is still working.
Regular Inspections
Before and after each use, inspect your spray foam gun. Check the nozzle for any dried foam. Look at the adapter basket where the can attaches. Make sure it is clean. A quick visual check can spot potential problems early. If you see foam residue building up, address it immediately. This prevents small issues from becoming big problems. Keep the trigger mechanism clean. A sticky trigger can cause inconsistent spray.
Using Quality Foam and Cleaners
The quality of your foam and cleaner matters. Cheap foam may have impurities that can clog your gun more easily. Good quality foam is formulated for smooth application and easier cleanup. Similarly, use a reputable brand of foam gun cleaner. These cleaners are designed to dissolve polyurethane effectively without damaging your gun’s internal components. Always read the cleaner’s instructions for best results. Using the right products helps ensure your gun lasts longer and performs better.
Troubleshooting Common Spray Foam Gun Issues
Even with good cleaning habits, you might encounter issues. Knowing how to troubleshoot can save your project. Many problems come from incomplete cleaning or dried foam. A few simple checks can often fix the issue.
Blocked Nozzle
A blocked nozzle is a common problem. It often happens when small bits of foam dry on the outside or just inside the tip. First, remove the foam can for safety. Then, use a small pick, wire, or a thin tool to clear the opening of the nozzle. You can also spray cleaner directly into the nozzle using the special tip on the cleaner can. Sometimes, unscrewing the entire nozzle piece and soaking it in cleaner helps. Ensure the nozzle opening is completely clear.
Leaking Gun
If your spray foam gun leaks, it is usually from the connection point or the nozzle. First, check that the foam can or cleaner can is screwed on tightly. A loose connection can cause leaks. Next, inspect the gasket (O-ring) in the adapter basket. If this O-ring is worn or damaged, it will leak. Some gun models allow you to replace this O-ring. Leaks from the nozzle or barrel might mean internal damage or a problem with the needle valve. In some cases, a persistent leak means the gun is beyond repair.
Inconsistent Spray Pattern
An inconsistent spray pattern indicates a partial clog or a problem with the internal needle valve. The foam might sputter, come out unevenly, or stop and start. This usually means uncured foam is drying inside the gun’s barrel or around the needle. The best solution is a thorough internal flush with foam gun cleaner. Attach the cleaner can and spray until it flows smoothly and clearly. Also, check the adjustment knob on the back of the gun. Ensure it is set correctly for the bead size you want. An improperly adjusted knob can affect spray consistency.
Safety First: Handling Chemicals and Foam
Working with spray foam and its cleaners involves chemicals. Safety is not an option; it is a requirement. Always put your personal safety first. Taking proper precautions protects your health and prevents accidents.
Personal Protective Equipment (PPE)
Always wear appropriate personal protective equipment. This includes chemical-resistant gloves to protect your skin. Nitrile gloves are commonly used. Wear safety glasses or goggles to shield your eyes from splashes. Polyurethane foam can be irritating to skin and eyes. The cleaner solvents are also harsh. Wearing long sleeves and pants helps protect more skin. Do not touch your face or eyes when handling foam or cleaner. Wash your hands thoroughly with soap and water after completing your work.
Ventilation Requirements
Work in a well-ventilated area. This means outdoors or in a space with open windows and good airflow. The fumes from spray foam and cleaning solvents can cause dizziness or respiratory irritation. If working indoors, use fans to move air out of the room. Do not work in confined spaces without proper ventilation. If you start to feel light-headed or unwell, immediately move to fresh air. Consider using a respirator if ventilation is poor or if you are sensitive to chemical fumes.
Proper Disposal
Dispose of empty foam cans, cleaner cans, and foam residue properly. Most empty aerosol cans are recyclable, but check local regulations. Never puncture or incinerate aerosol cans, even empty ones. Cured foam can usually be disposed of with general waste. For uncured foam or solvent-soaked rags, special disposal might be needed. Check local hazardous waste guidelines. Do not pour cleaning solvents down drains. Proper disposal protects the environment and prevents contamination.
Conclusion
Cleaning your spray foam gun is an essential part of using this versatile tool effectively. I hope this guide helps you keep your equipment in top condition. Regular cleaning prevents clogs and extends the life of your gun. It ensures every project has a professional finish. Remember to clean your gun immediately after use to remove uncured foam. If foam cures, it becomes a much harder task. Always prioritize safety by wearing protective gear and working in a well-ventilated area. By following these simple steps, you can ensure your spray foam gun remains a reliable tool for years to come. Do you have a clever cleaning tip for spray foam guns? Share your experiences in the comments below.
- spray foam gun cleaning
- foam gun maintenance
- polyurethane foam
- DIY cleaning tips