· Home Maintenance · 16 min read
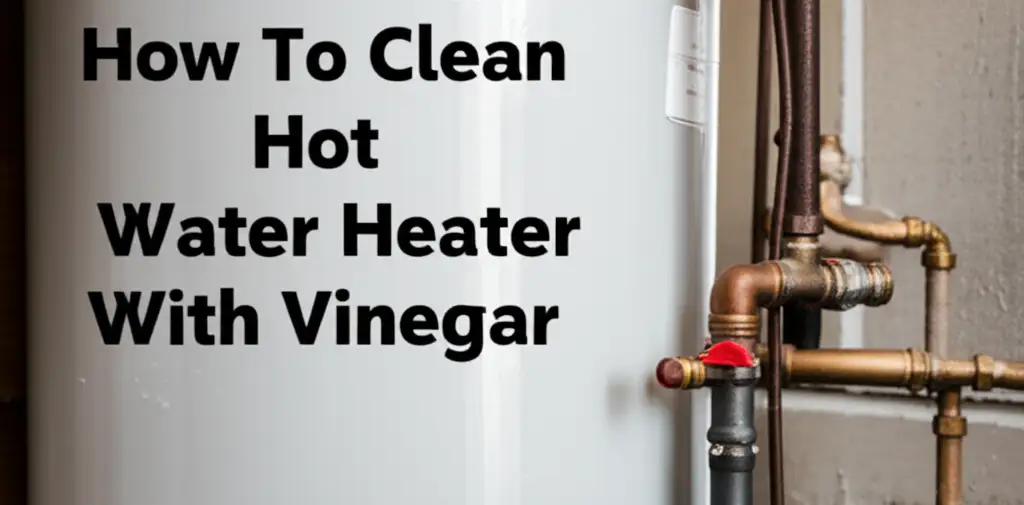
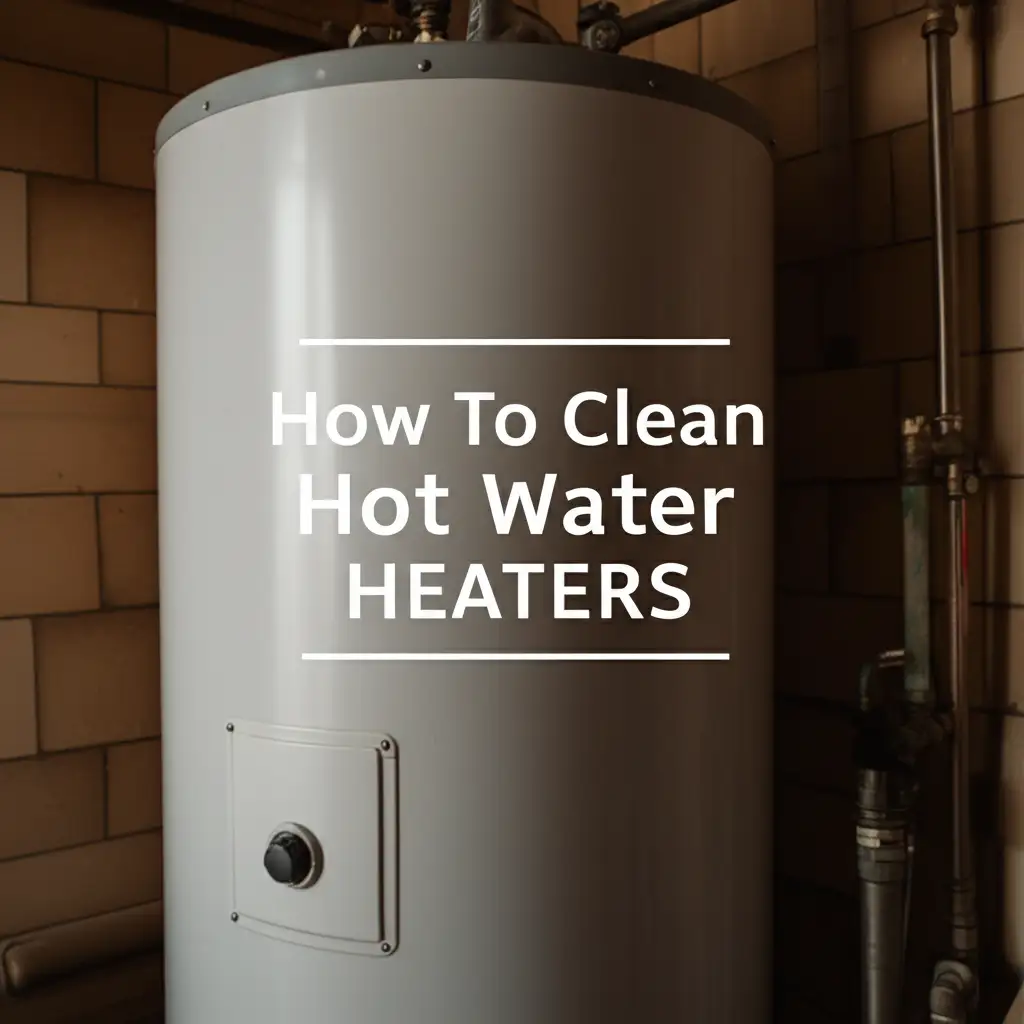
How To Clean Tankless Water Heater
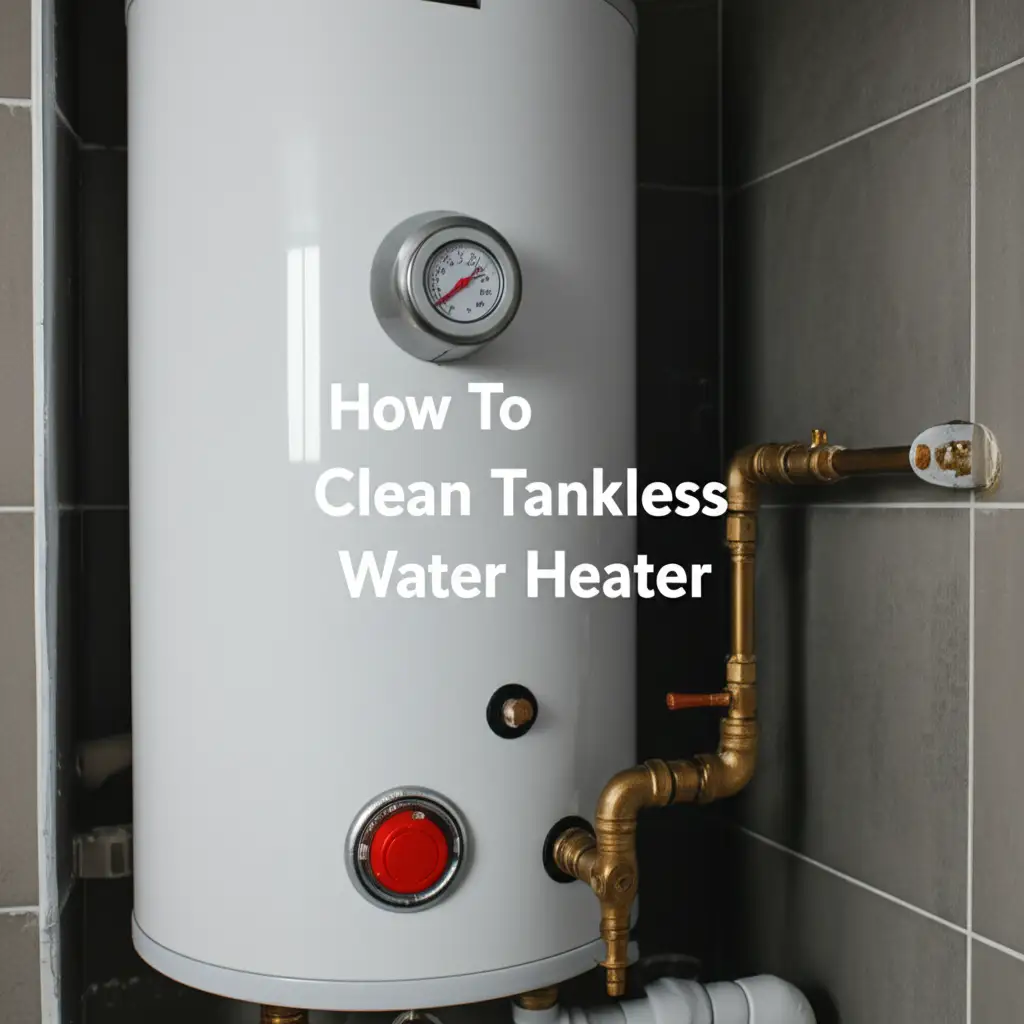
Clean Your Tankless Water Heater for Optimal Performance
Imagine stepping into a warm shower, only to have the water turn cold unexpectedly. This can be a frustrating experience. For homeowners with tankless water heaters, inconsistent hot water often points to a single issue: mineral buildup. These modern appliances heat water on demand, offering efficiency and endless hot water. However, they need regular cleaning to perform their best. Hard water, common in many areas, leaves mineral deposits inside your heater’s coils. This article helps you understand why and how to clean your tankless water heater, ensuring it works efficiently. We cover everything from gathering supplies to the detailed flushing process. Keeping your tankless heater clean extends its life and saves you money.
Takeaway
Regularly cleaning your tankless water heater prevents mineral buildup and maintains its efficiency. You can flush the system yourself with simple tools and white vinegar. This process saves energy and extends the life of your appliance. Neglecting this maintenance leads to higher utility bills and system failures.
To clean your tankless water heater, you must flush its internal coils with a descaling solution, like white vinegar. This removes mineral deposits that reduce efficiency and restrict water flow. This maintenance step improves performance and extends the appliance’s operational life.
Why Cleaning Your Tankless Water Heater Matters
Your tankless water heater provides hot water whenever you need it. This convenience relies on clear internal pathways. Over time, minerals in your home’s water supply can accumulate inside these pathways. This mineral buildup, called scale, coats the heat exchanger. Scale acts as an insulator. It makes your heater work harder to warm the water. This increases your energy bills. It also reduces the amount of hot water your unit can produce.
Scale buildup impacts water flow. As deposits grow, they narrow the pipes within your heater. This leads to reduced water pressure at your taps. You might notice your shower feels less powerful. Your appliance also runs for longer periods to heat water. This puts extra strain on its components. This constant strain can shorten the heater’s lifespan significantly. Regular cleaning removes these harmful deposits. It restores your unit’s efficiency. It also helps you avoid costly repairs.
A clean tankless heater ensures consistent hot water. When the heat exchanger is clear, water heats up quickly and evenly. You will not experience sudden temperature drops. This is especially true during peak usage times. Think about the comfort of knowing you have endless hot water. Neglecting to clean your tankless unit puts that comfort at risk. Cleaning also helps your unit meet its factory specifications. This means it uses less energy. This helps you save money monthly. It also ensures the appliance lasts for many years. Regular maintenance protects your investment. You can learn more about how sediment impacts traditional heaters and how crucial flushing is.
When to Clean Your Tankless Water Heater
Knowing when to clean your tankless water heater is key to its performance. Most manufacturers recommend flushing your unit annually. This general guideline works well for many households. However, your specific situation might require more frequent cleaning. The hardness of your water supply is the biggest factor. Areas with very hard water have higher mineral content. These minerals cause buildup faster. If you live in such an area, you might need to clean your heater every six to nine months. You can test your water hardness with a simple kit.
Your tankless water heater might give you signs it needs cleaning. Pay attention to changes in its operation. One common sign is reduced hot water flow. If your shower pressure feels weaker than usual, mineral buildup might be restricting water lines. Another indicator is inconsistent water temperature. You might experience hot and cold fluctuations during a shower. This happens when scale prevents even heat transfer. Your unit might also make strange noises. Popping, cracking, or rumbling sounds come from minerals breaking loose. These noises indicate significant buildup.
Error codes on your heater’s display also signal a problem. Many tankless units have diagnostic displays. These screens show codes when internal issues arise. A common code relates to flow restrictions or overheating. These are direct results of scale buildup. If you see such a code, it is time for a flush. Do not ignore these warnings. Addressing them promptly prevents more severe damage. Regularly checking for these signs helps you maintain your heater properly. Ignoring these symptoms can lead to system failure. You can also see how hard water affects other appliances by learning how to clean hard water from a shower head.
Gathering Your Tools and Supplies for Tankless Water Heater Cleaning
Before you begin the cleaning process, you need to gather specific tools and supplies. Having everything ready saves time and ensures a smooth operation. You will need a descaling kit. These kits usually include two hoses, a submersible pump, and a bucket. These components form a closed loop for the cleaning solution. If you do not have a kit, you can buy the parts separately. Ensure the hoses are long enough to reach from your heater’s service ports to a bucket on the floor. The pump should be able to circulate the cleaning solution.
The most common cleaning solution is plain white vinegar. You will need about two to three gallons. White vinegar is acidic enough to dissolve mineral deposits. It is also safe for your plumbing system. Some people prefer commercial descaling solutions. These are often stronger and work faster. Always follow the manufacturer’s instructions for any commercial product. You will also need a bucket large enough to hold the vinegar and the pump. A five-gallon bucket usually works well. Make sure it is clean before you start.
Additionally, gather some basic hand tools. You will likely need an adjustable wrench or pliers to open and close the service valves. Keep a few old towels or rags handy. Spills can happen, and you want to clean them up quickly. Safety glasses are also a good idea. They protect your eyes from splashes, especially when dealing with acidic solutions. I always recommend wearing gloves. This protects your hands from the descaling solution. Having all these items organized makes the cleaning process much easier. If you are curious about cleaning hot water heaters with vinegar in general, that article provides more insights.
Step-by-Step Guide to Flushing Your Tankless Water Heater
Cleaning your tankless water heater involves a precise series of steps. Following these steps ensures a thorough and safe flush. I find that taking my time with each part makes the whole process smoother.
Shutting Off Power and Water
First, locate your tankless water heater. You need to turn off its power supply. For electric units, find the breaker in your home’s electrical panel and flip it to the “off” position. For gas units, turn the gas supply valve to the “off” position. Next, close the cold water inlet valve. This valve is usually blue and located on the cold water line entering the heater. Then, close the hot water outlet valve, typically red, on the hot water line leaving the heater. This isolates the unit from your home’s water system.
Connecting Hoses
Most tankless water heaters have two service valves at the bottom. These are often black or brass and have caps. Remove the caps from both service valves. Connect one hose from your descaling kit to the cold water service valve. This is usually the valve on the right. Connect the other hose to the hot water service valve on the left. Ensure both connections are hand-tight. You do not want any leaks during the flush.
Setting Up the Cleaning Loop
Place your submersible pump into a clean, empty five-gallon bucket. The bucket should be on a stable surface below the water heater. Connect the hose from the cold water service valve to the outlet of your submersible pump. Connect the hose from the hot water service valve into the top of your bucket. This creates a closed loop system. The pump will draw solution from the bucket, push it through the cold water inlet, through the heater, and back into the bucket via the hot water outlet.
Starting the Descaling Process
Fill the bucket with two to three gallons of white vinegar. Make sure the pump is fully submerged in the vinegar. Open both service valves on your tankless water heater. You will hear a hiss as air vents from the lines. Plug in the submersible pump. The pump will start circulating the vinegar through your heater. Let the solution circulate for at least 45 minutes to an hour. For heavy scale buildup, you can let it circulate for up to two hours. The vinegar slowly dissolves the mineral deposits inside the unit.
Flushing with Fresh Water
After the descaling is complete, unplug the pump. Close both service valves on your tankless water heater. Disconnect the hose from the hot water service valve first, allowing any remaining solution in the hose to drain into the bucket. Then, disconnect the hose from the cold water service valve. You may need another bucket to catch any remaining solution from the heater itself. Flush the heater thoroughly with fresh water. To do this, open the cold water inlet valve slowly. Let fresh water run through the unit and out the hot water service valve. Catch this water in a separate bucket until it runs clear. This removes any leftover descaling solution and loose mineral particles. This step is similar to how you might clean sediment from water lines in a home.
Restoring Power and Water
Once the flush is complete and water runs clear, close the hot water service valve. Reattach the caps to both service valves. Slowly open the hot water outlet valve on the top of the heater. Then, slowly open the cold water inlet valve completely. As water fills the unit, open a hot water faucet inside your house to purge air from the lines. Let the water run until it flows smoothly and air bubbles stop. Finally, restore power to your tankless water heater. For gas units, turn the gas supply valve back on. For electric units, flip the breaker back to “on.” Your tankless water heater is now clean and ready for use.
Troubleshooting Common Tankless Water Heater Cleaning Issues
Even with careful steps, you might encounter issues when cleaning your tankless water heater. Do not panic if something does not go as planned. Many common problems have simple solutions. One frequent issue is the cleaning solution not circulating properly. This often happens if the pump is not fully submerged in the vinegar. Make sure the pump is at the bottom of the bucket and covered by the solution. Air pockets in the hoses can also prevent circulation. Try gently shaking the hoses to dislodge any trapped air. Ensure all connections are secure. A loose connection means the pump pulls air instead of liquid.
Another problem involves stubborn mineral buildup. Sometimes, an hour of circulation is not enough to clear severe scale. If your unit has not been cleaned in a long time, or you have extremely hard water, extend the circulation time. You can let the vinegar run for up to two hours. If the problem persists, you might need a stronger commercial descaling solution. Always follow the product’s instructions carefully. These solutions often contain stronger acids. Wear proper protective gear. Remember, if you have any doubts, it is always best to stop and reassess. For general water heater cleaning concerns, looking into how to clean hot water heaters might offer broader insights.
You might also notice error codes still appearing after a flush. This can indicate that the internal sensors are still detecting a problem. Sometimes, scale is so severe that a single flush does not remove it all. In these cases, you might need to repeat the descaling process. If error codes continue, the issue might be mechanical, not just scale related. This is when calling a professional is a good idea. A qualified technician can diagnose complex problems. They have specialized tools to check components you cannot access easily. Do not force anything or try to disassemble parts unless you are trained. This could cause more damage or create a safety hazard. Your safety comes first.
Maintaining Your Tankless Water Heater Between Cleanings
Cleaning your tankless water heater is a vital step. However, what you do between cleanings also matters a lot. Proactive steps can reduce how quickly mineral buildup occurs. This extends the time between flushes. One effective strategy is to install a water softener for your entire home. A water softener removes minerals like calcium and magnesium from your water supply. These are the main culprits behind scale formation. A softener protects not just your tankless heater but all your water-using appliances. This includes dishwashers, washing machines, and even your showerheads.
Regular visual inspections are also helpful. Periodically check the exterior of your tankless water heater. Look for any leaks or corrosion around connections. Small leaks can indicate a developing problem. Address these promptly to prevent larger issues. If your unit has an air filter, clean it regularly according to the manufacturer’s instructions. A clogged air filter can reduce combustion efficiency in gas models. This can also lead to operational issues. These checks do not take long but can prevent future headaches.
Consider having a professional inspect your tankless water heater annually. Even if you perform DIY flushing, a technician can spot things you might miss. They can check gas pressure, ventilation, and critical components. They also have specialized tools for more in-depth diagnostics. This professional oversight can catch problems early. It helps your unit run at peak performance. It also helps you avoid unexpected breakdowns. Preventative care saves money in the long run. If your water comes from a well, learning how to clean water lines from a well might provide additional context for maintaining water quality throughout your home.
Safety Precautions for Tankless Water Heater Maintenance
Working with any home appliance, especially one connected to water, electricity, and possibly gas, requires caution. Your safety is always the top priority when cleaning your tankless water heater. Before you start any work, always ensure the power supply to the unit is completely off. For electric heaters, this means turning off the circuit breaker. For gas heaters, shut off the gas valve. Accidental activation of the heating element while disconnected from water can cause severe damage to the unit. It also presents an electrical shock hazard. Never work on the unit with power still connected.
When using descaling solutions, even white vinegar, wear appropriate personal protective equipment. Safety glasses protect your eyes from splashes. Descaling solutions are acidic. They can cause irritation or chemical burns if they come into contact with your skin or eyes. Gloves are essential to protect your hands. Ensure the work area is well-ventilated, especially if using stronger commercial descalers. Fumes can be irritating or harmful if inhaled in confined spaces. Open windows and doors if possible.
Be mindful of hot water. Even after turning off the unit, some residual hot water might remain in the lines. Allow the unit to cool down before handling hoses and valves. Be careful when disconnecting hoses, as there might be pressure or residual hot water that can spray out. Have towels ready to quickly wipe up any spills. Never try to force connections or overtighten valves. This can strip threads or damage components. If a connection feels too tight or stubborn, reassess your approach. If you are unsure about any step, or if you encounter resistance, stop and consult your owner’s manual or a qualified professional. It is better to seek help than to risk injury or damage to your appliance.
Frequently Asked Questions
How often should I clean my tankless water heater?
You should clean your tankless water heater at least once a year. If you live in an area with very hard water, consider cleaning it every six to nine months. Your water quality and usage habits impact the frequency. Regular cleaning prevents mineral buildup.
What cleaning solution should I use for descaling?
The most common and safest cleaning solution is white vinegar. It effectively dissolves mineral deposits. You can also use commercial descaling solutions designed specifically for tankless water heaters. Always follow the product’s instructions carefully.
Can I clean a tankless water heater myself, or do I need a professional?
Many homeowners can clean their tankless water heater themselves. The process involves simple steps and basic tools. However, if you are uncomfortable with the process, or if your unit has complex issues, hiring a professional is a good idea. Safety comes first.
What are the signs my tankless water heater needs cleaning?
Common signs include reduced hot water flow, inconsistent water temperature, or strange noises like popping or rumbling. Your unit might also display an error code. These indicators suggest mineral buildup is impacting performance. Address them quickly.
How long does it take to clean a tankless water heater?
The entire cleaning process, including setup, circulation, and flushing, typically takes about one to two hours. The circulation time for the descaling solution usually ranges from 45 minutes to two hours, depending on the severity of mineral buildup.
What happens if I don’t clean my tankless water heater?
If you do not clean your tankless water heater, mineral buildup will accumulate. This reduces efficiency, increases energy bills, and shortens the appliance’s lifespan. It can lead to inconsistent hot water, reduced flow, and eventually, system failure.
Conclusion
Keeping your tankless water heater clean is a simple yet crucial task. It extends the life of your appliance. It also ensures you always have hot water when you need it. Regular flushing prevents frustrating issues like reduced flow or fluctuating temperatures. We have covered the importance of this maintenance and provided a clear guide to help you. You now know why cleaning your tankless water heater matters. You also know when to clean it. You have a list of tools to gather. The step-by-step instructions help you flush the system yourself. Remember the troubleshooting tips and safety precautions.
Taking care of your tankless water heater means a healthier home and lower energy costs. Make cleaning your tankless water heater a routine part of your home maintenance schedule. It is an investment in your comfort and your wallet. Do not wait for problems to start. Take action today to maintain your hot water heater. Your future self will thank you for consistent, efficient hot water.
- tankless water heater maintenance
- descaling
- water heater cleaning
- home plumbing
- hard water solutions
- DIY appliance care