· Home Care, Appliance Maintenance · 12 min read
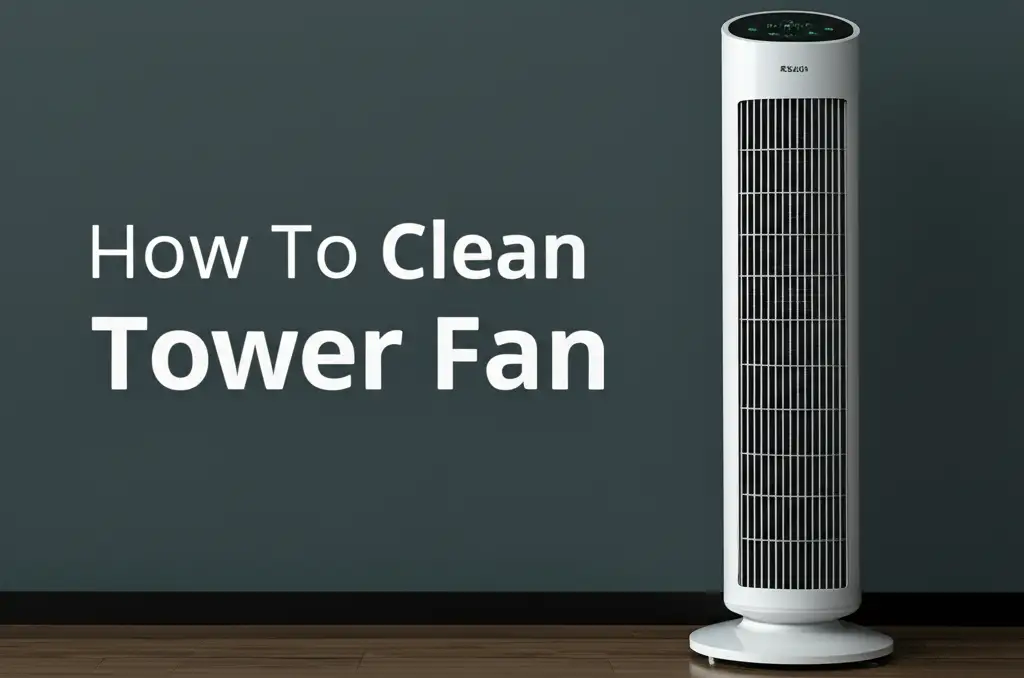
How To Clean Tower Fan
How to Clean Your Tower Fan: A Step-by-Step Guide
Tower fans are a great way to stay cool. They provide a slim design and efficient airflow. However, these fans attract dust like a magnet. Dust buildup can reduce airflow and spread allergens in your home. Learning how to clean tower fan units keeps your air fresh and your fan working well. This guide will show you simple ways to clean your tower fan. We will cover everything from simple exterior wipes to a full interior deep clean.
Keeping your tower fan clean is a simple task. It helps you breathe easier. A clean fan also lasts longer. We will discuss the right tools to use. We will also give you clear instructions for each cleaning step. This article helps you understand why cleaning is important. It provides actionable advice to keep your fan in top shape.
Takeaway
- Always unplug your tower fan before cleaning for safety.
- Use a vacuum and damp cloth for quick exterior dust removal.
- Deep clean the interior by disassembling the fan carefully.
- Utilize compressed air or a soft brush to remove stubborn internal dust.
- Regular maintenance prevents dust buildup and improves air quality.
To clean a tower fan, first unplug it. Use a vacuum with a brush attachment on the exterior grilles. For a deeper clean, disassemble the fan if possible, then use compressed air or a soft brush to remove dust from the internal blades and motor. Wipe all surfaces clean before reassembling the fan.
Why Cleaning Your Tower Fan Is Important
A tower fan pushes air around your room. It feels nice on a hot day. But over time, these fans pull in more than just air. They also pull in dust, pet hair, and other airborne particles. These particles build up inside the fan. This buildup can cause several problems.
First, dust buildup reduces the fan’s efficiency. The motor has to work harder to push air through clogged grilles. This can make your fan use more electricity. It also means you get less airflow. Your room will not feel as cool. The fan might also make more noise.
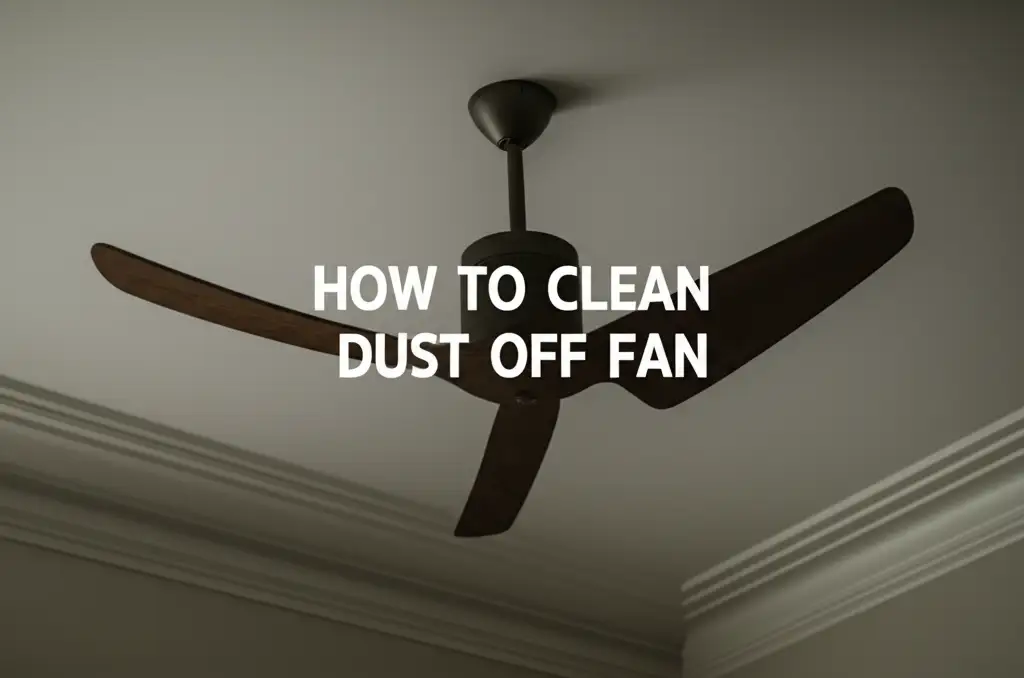
Second, a dusty fan affects your indoor air quality. When the fan runs, it can blow dust and allergens back into the room. This is bad for anyone with allergies or asthma. You might notice more sneezing or coughing. A clean fan helps keep your air clean. It reduces the amount of dust circulating. Learning how to clean dust off fan surfaces is essential for health.
Third, cleaning extends your fan’s lifespan. Dust can get into the motor bearings. This causes friction and heat. Overheating can damage the motor. Regular cleaning prevents this damage. It helps your fan last for many years. A well-maintained fan performs better and saves you money. Cleaning is a simple task that offers many benefits.
Essential Tools and Safety First
Before you start cleaning your tower fan, gather the right tools. Having everything ready makes the job easier. It also ensures you clean the fan safely and effectively. You probably have most of these items already in your home.
Gathering Your Cleaning Supplies
You will need a few basic items. A vacuum cleaner with a brush attachment is very helpful. This helps remove surface dust. Microfiber cloths are good for wiping surfaces. They pick up dust without scratching. A soft-bristle brush, like an old toothbrush or a paint brush, can reach small areas. Compressed air cans are excellent for blowing dust out of tight spots. You might also need a screwdriver if your fan requires disassembly. A mild dish soap mixed with water can clean stubborn grime.
Prioritizing Electrical Safety
Safety is the most important step. Always unplug your tower fan before you start cleaning. This prevents electric shock. Do not clean a fan that is plugged in. Water and electricity do not mix. Make sure the fan is completely dry before plugging it back in. This protects both you and the fan. Take your time during the cleaning process. Ensure all parts are handled carefully. We want your fan to work perfectly after cleaning.
Step-by-Step Exterior Cleaning of Your Tower Fan
Cleaning the outside of your tower fan is usually simple. This step removes visible dust and grime. It also prepares the fan for a deeper interior clean if needed. You can do this type of cleaning regularly.
First, unplug the fan from the power outlet. This is a critical safety step. Do not skip it. Next, use your vacuum cleaner with the brush attachment. Run the vacuum over all the grilles and vents. Move the brush slowly to pick up as much dust as possible. Pay extra attention to the intake vents at the back or sides. These areas often collect a lot of dust.
After vacuuming, dampen a microfiber cloth with water. You can add a drop of mild dish soap to the water for a deeper clean. Wring out the cloth well. It should be damp, not wet. Wipe down all exterior surfaces of the fan. This includes the front grille, sides, base, and control panel. The damp cloth will pick up any remaining dust and smudges. You can also use a similar method to clean table fan surfaces.
For very narrow slots, a cotton swab can help. Dip the swab in the damp cloth to make it slightly moist. Then carefully run it along the edges of the grilles. This gets into areas the vacuum cannot reach. Once you finish wiping, use a dry microfiber cloth. Wipe down the entire fan again. This removes any moisture and leaves the surface streak-free. This exterior clean makes your fan look new. It also helps with basic air flow. Similarly, when you clean box fan units, a thorough exterior clean is the first step.
Deep Cleaning Your Tower Fan’s Interior (Disassembly)
Exterior cleaning is good for quick dust removal. But dust often builds up inside the tower fan. This requires opening the unit. Disassembly varies by brand and model. Many tower fans, like Lasko, Honeywell, or Holmes, have different ways to open them. We will give general guidance here.
Accessing the Fan Blades and Motor
First, unplug your fan. Look for screws on the back or bottom of the fan casing. These are often Phillips head screws. Use a screwdriver to remove them. Some fans may have clips or latches instead of screws. Gently pry open these clips with a flat tool or your fingers. Be careful not to break plastic tabs. Once the screws or clips are undone, carefully separate the two halves of the fan casing. You might need to wiggle them a bit. This will expose the internal components. You will likely see the fan blade assembly and the motor.
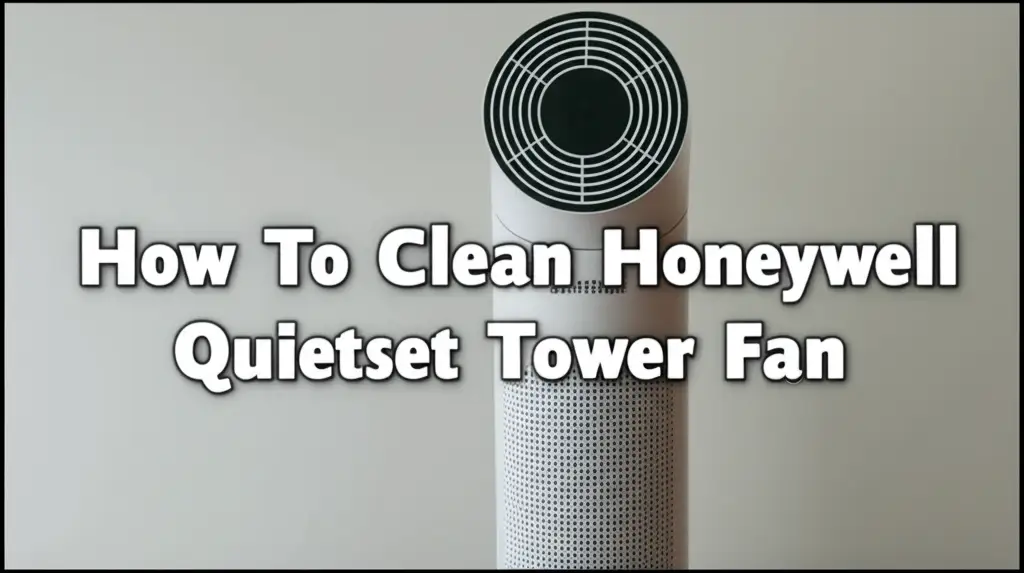
For specific models, the process might differ. For example, how to clean holmes tower fan models often have a specific screw pattern. Similarly, if you want to know how to clean honeywell quietset tower fan units, they might have unique disassembly points. Knowing your model helps. Look for specific guides online if you have trouble. Some fans, like certain how to clean lasko fan models, might have a single large screw at the base or a rotating collar.
Cleaning Internal Components
Once the fan is open, you will see a lot of dust. Use a soft-bristle brush to gently sweep away dust from the fan blades. Brush the dust into a pile and vacuum it up. Do not use excessive force. The blades are delicate. For very stubborn dust, a slightly damp cloth can wipe the blades. Ensure the cloth is barely damp. Avoid getting water near the motor or electronic parts.
Next, use compressed air. This is perfect for reaching tight spaces. Blow air into the motor housing and any crevices. Watch the dust fly out. You might want to do this outside or in a well-ventilated area. This prevents dust from settling back into your home. A vacuum nozzle can also suck dust directly from the motor area if it has a small attachment. Pay attention to the grilles on the inside. Wipe them down too. Make sure all dust is gone from the blades, motor, and internal vents. This deep clean helps the fan perform its best.
Reassembling and Testing Your Clean Tower Fan
After thoroughly cleaning the interior and exterior of your tower fan, it is time to put it back together. Reassembly is just as important as disassembly. Doing it correctly ensures your fan works safely and effectively. Take your time with this step.
First, make sure all internal components are dry. If you used a damp cloth, let the parts air dry completely. Moisture can damage the electrical parts. Place the fan blade assembly back into its proper position. Ensure it sits securely on the motor shaft. Check that any wires are tucked away and not in the path of the fan blades. Loose wires can cause noise or damage when the fan operates.
Align the two halves of the fan casing. Make sure the tabs and slots match up perfectly. Press the halves together gently. You should feel them click into place if there are clips. If your fan uses screws, insert them back into their respective holes. Tighten each screw firmly but do not overtighten. Overtightening can strip the plastic or crack the casing. Double-check that all screws are in place. Ensure there are no loose parts rattling around.
Once the fan is fully reassembled, place it on a flat, stable surface. Plug the fan back into the power outlet. Turn it on at a low setting first. Listen for any unusual noises. Check if the fan blades spin smoothly. Feel the airflow. It should be stronger and smoother now. Test all settings, including oscillation if your fan has that feature. A properly reassembled fan will run quietly and efficiently. You will notice a big difference in its performance.
Regular Maintenance Tips for a Dust-Free Fan
Cleaning your tower fan once is good. Cleaning it regularly is even better. Regular maintenance prevents heavy dust buildup. This keeps your fan running well all year long. It also maintains good air quality in your home.
You can do a quick exterior clean every week or two. Use a vacuum cleaner with a brush attachment. Go over the grilles and vents. This takes only a few minutes. It stops dust from settling deep inside. A quick wipe with a damp microfiber cloth also helps. This routine prevents the need for frequent deep cleans.
Plan a deep interior clean a few times a year. For example, clean it at the start of summer and then again after summer. If you use your fan year-round, clean it every three to four months. If you have pets or allergies, you might need to clean it more often. Pet hair adds to dust buildup quickly. For fans that oscillate, regular cleaning also helps keep the oscillating mechanism free from dust. Just like cleaning an oscillating fan, keeping the movement parts free from grit is key.
When you store your tower fan for the off-season, clean it thoroughly first. Then, cover it with a sheet or a fan cover. This protects it from dust while not in use. Store it in a dry place. This simple step keeps your fan clean and ready for the next time you need it. Regular maintenance extends the life of your tower fan. It saves you money on replacements. It also ensures you always have clean, fresh air circulating in your home.
FAQ Section
How often should I clean my tower fan?
You should do a quick exterior clean weekly or bi-weekly. A deeper interior clean, involving disassembly, is recommended every 2-3 months. If you have pets, allergies, or use the fan daily, clean it more frequently. Regular cleaning keeps it efficient and improves air quality.
Can I use water to clean my tower fan’s interior?
No, do not use water directly on the interior electrical components or motor. Water can cause damage and create an electrical hazard. Use a dry soft brush, vacuum, or compressed air for internal parts. Only use a slightly damp cloth for fan blades and external surfaces.
Why is my tower fan still dusty after cleaning?
If your fan is still dusty, you might only be cleaning the exterior. Dust often builds up heavily inside the fan casing, on the blades, and around the motor. A full disassembly and deep clean of the internal components are often necessary to remove all the hidden dust.
Is it hard to take apart a tower fan?
Taking apart a tower fan can be easy or challenging, depending on the model. Many fans use simple screws that are easy to remove. Some have hidden clips or more complex designs. Always check your fan’s manual or look for online videos specific to your model before starting.
What if my tower fan makes noise after cleaning?
If your fan makes noise after cleaning, check for loose screws or improperly seated components. Ensure the fan blades are reinstalled correctly and not rubbing against the casing. Sometimes, a small piece of dust or debris might still be caught inside. Unplug and recheck all parts.
Conclusion
Keeping your tower fan clean is a simple task that offers big rewards. A clean fan moves air better and uses less power. It also helps you breathe cleaner air by removing dust and allergens from circulation. We covered everything from quick exterior wipes to a full interior deep clean. You now know the tools to use and the safety steps to follow.
Remember to always unplug your fan before you begin cleaning. Start with the easy exterior vacuuming and wiping. Then, tackle the interior by carefully disassembling the unit. Use brushes and compressed air to remove stubborn dust from blades and the motor. Reassemble the fan carefully, ensuring all parts fit well. By following these steps on how to clean tower fan units, you extend its life. You ensure it always provides fresh, cool air. Make regular tower fan cleaning a part of your home maintenance routine. Your health and your fan will thank you.
- tower fan cleaning
- fan maintenance
- dust removal
- air quality