· Electronics Cleaning · 16 min read
How To Clean Wax Out Of Airpods
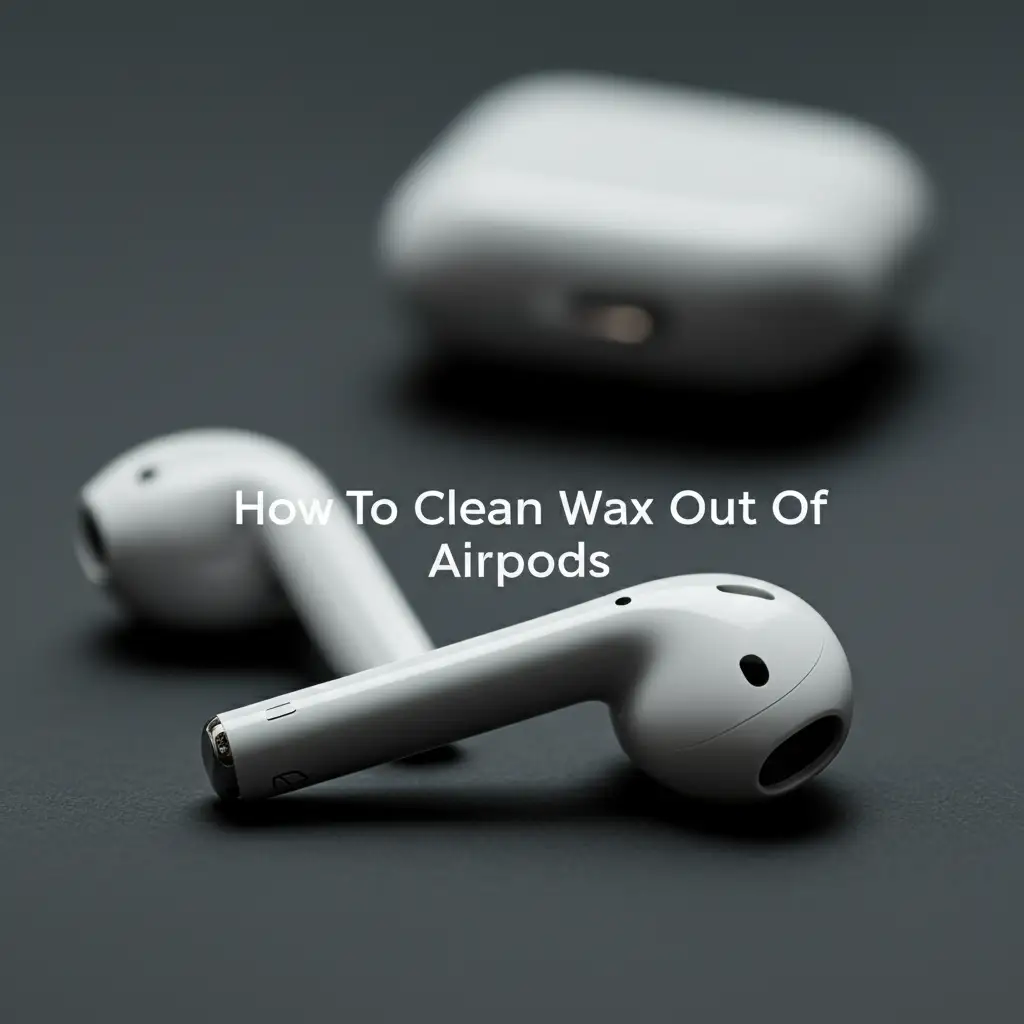
How To Clean Wax Out Of Airpods Safely and Effectively
Have you ever noticed your AirPods sounding muffled? Or perhaps you see a visible buildup of earwax in the mesh grilles? This is a common issue for many users. Earwax, dirt, and debris naturally accumulate over time. Knowing how to clean wax out of AirPods properly is important for sound quality and hygiene.
Dirty AirPods can cause more than just poor audio. They can harbor bacteria and lead to ear infections. Regular cleaning also extends the life of your device. This guide will walk you through safe and effective methods to remove earwax from your AirPods. We will cover the tools you need and simple step-by-step instructions. You will learn preventative measures to keep your AirPods pristine.
Takeaway:
- Gather the right, safe tools.
- Use gentle, precise movements.
- Avoid liquids and sharp objects directly on speakers.
- Clean regularly to prevent buildup.
To clean wax out of AirPods, you need specific, gentle tools. Use a soft, dry microfiber cloth, a cotton swab, a soft-bristled brush, and a toothpick or dental pick. Carefully remove wax and debris from the mesh speaker grilles and charging case, avoiding moisture or harsh chemicals that can damage the electronics.
Understanding Earwax and AirPods: Why It Accumulates
Earwax, or cerumen, is a natural substance your body produces. It helps protect your ears by trapping dust and foreign particles. When you use AirPods, they sit directly in your ear canal. This position can push earwax deeper into the ear or onto the speaker mesh. Over time, this wax can build up on the AirPods. It mixes with skin oils, dirt, and lint.
This accumulation affects sound quality. It can block the sound output from the speakers. It also interferes with microphone clarity. A dirty AirPod can look unappealing. It can also become a breeding ground for bacteria. Regular cleaning is not just about aesthetics. It is about maintaining optimal performance and hygiene. Ignoring earwax buildup can lead to permanent damage to the delicate components. Understanding how wax forms and sticks helps you approach cleaning with the right mindset. Prevention also plays a large role in keeping your AirPods clean.
The design of AirPods makes them prone to wax collection. The speaker grilles have tiny openings. Earwax easily sticks to these openings. As you insert and remove the AirPods, you transfer more wax. Even sweat and moisture can make the wax stickier. This creates a challenging cleaning task if not done correctly. Proper tools and techniques are essential to avoid pushing wax further in. They also prevent damage to the tiny speakers and microphones. Taking care of your AirPods means taking care of your ears too.
Essential Tools for Safe AirPods Cleaning
Before you start cleaning, gather the right tools. Using the wrong tools can damage your AirPods. You want to be gentle and precise. Avoid anything abrasive or overly sharp.
Here is a list of safe and effective tools:
- Microfiber Cloth: A soft, dry, lint-free cloth is essential. It wipes away surface grime and fingerprints. It will not scratch the glossy finish of your AirPods or case. This is your first line of defense for general cleaning.
- Cotton Swabs: These are good for getting into crevices. Make sure they are dry. You can lightly dampen them with isopropyl alcohol (IPA) later for stubborn spots, but use extreme caution.
- Soft-Bristled Brush: A clean, dry toothbrush with soft bristles works well. You can also use a small, soft paint brush. This brush is perfect for dislodging dry wax and dirt from the speaker grilles. Brush gently in a downward motion.
- Toothpick or Dental Pick: A wooden toothpick is often recommended. Plastic dental picks are also good. Use these for carefully scraping away dried, hard wax from the mesh. Be extremely gentle. Do not push the pick deep into the grilles. The goal is to lift the wax, not embed it.
- Blu Tack or Sticky Putty: This is a surprisingly effective tool. You press it onto the speaker grilles and then pull it off. The stickiness lifts out wax and debris. It is safe because it leaves no residue.
- Isopropyl Alcohol (IPA) 70% or higher: Use this sparingly and on a cotton swab. It helps dissolve stubborn wax or oil. Ensure the cotton swab is only slightly damp, not wet. Do not apply alcohol directly to the AirPods.
- Compressed Air (Carefully Used): Some people use compressed air. However, Apple advises against it. If you use it, do so very briefly and from a distance. High pressure can damage internal components or push debris further in. I advise extreme caution with this method.
Having these tools ready makes the cleaning process smooth. You will protect your investment while making your AirPods look new. Using only these approved tools protects your AirPods. Always start with the least invasive method first. This helps prevent any accidental damage.
Step-by-Step Guide: Gentle Wax Removal
Cleaning your AirPods requires patience and precision. Follow these steps carefully to remove wax without causing damage.
Step 1: Initial Wipe Down
Start with a dry, soft microfiber cloth. Gently wipe down the entire surface of your AirPods. This removes surface dirt, oils, and loose dust. Wipe the charging case as well. This initial step prepares the AirPods for deeper cleaning. It gets rid of easy-to-remove grime. Do not use any liquids at this stage. You simply want to clean the outer casing.
Step 2: Tackle the Speaker Mesh (The Most Important Part)
This is where most of the earwax accumulates. Use a soft-bristled brush. Gently brush the speaker grilles and microphone meshes. Brush in a downward motion to dislodge dry wax and debris. Do not brush hard. The bristles should sweep the wax out, not push it in.
For stubborn, dried wax, use a toothpick or a plastic dental pick. Hold the AirPod with the speaker facing down. This allows gravity to help. Gently scrape the surface of the mesh. Work from the center outwards. Do not poke or dig into the mesh. The goal is to lift the wax off the surface. You are carefully picking away the dried bits. Move slowly and watch what you are doing. Remember, these components are very delicate.
Step 3: Using Blu Tack or Sticky Putty
Blu Tack is excellent for lifting embedded wax. Take a small piece of Blu Tack or similar sticky putty. Roll it into a ball. Press it firmly onto the speaker mesh. Do not push it deep. Just press it on. Then, quickly pull it off. The wax and debris will stick to the putty. Repeat this process several times. Use a fresh piece of putty each time if the first piece gets too dirty. This method is effective and very safe for the delicate grilles. It helps pull out tiny particles that brushing might miss.
Step 4: Cleaning Crevices and Charging Contacts
Use a dry cotton swab to clean around the edges of the AirPods. Swab inside the charging case. Focus on the charging contacts at the bottom of the AirPod stems and inside the case. These contacts need to be clean for proper charging. A small amount of isopropyl alcohol can be used on a cotton swab for these contacts if they are very dirty. Just make sure the swab is barely damp. Let it dry completely before placing the AirPods back in the case.
For very specific cleaning needs, some users might consider how to clean AirPods with hydrogen peroxide. However, always use extreme caution and only apply with a cotton swab, never directly to the device.
Dealing with Stubborn Wax & Residue
Sometimes, earwax can be very sticky or hardened. It might not come off with just brushing or picking. This is when you need to be extra careful and consider slightly more advanced methods.
Using Isopropyl Alcohol (IPA) Wisely
Isopropyl alcohol (70% or higher) is a good solvent for wax and oils. It evaporates quickly and leaves no residue. However, it can damage plastic or rubber parts if used excessively.
Here is how to use it safely:
- Dampen, Do Not Soak: Dip a fresh cotton swab into IPA. Squeeze out any excess liquid. The swab should be barely damp, not dripping wet.
- Target Stubborn Spots: Gently dab the damp cotton swab onto the hardened wax on the mesh. Do not scrub vigorously. The alcohol will start to dissolve the wax.
- Wipe Immediately: Use a clean, dry section of the swab or a microfiber cloth to wipe away the dissolved wax immediately. Do not let the alcohol sit on the AirPods for too long.
- Air Dry: Allow the AirPods to air dry completely for several minutes before placing them back in the charging case or using them. Ensure no moisture remains.
Never pour or spray alcohol directly onto your AirPods. Avoid getting it into any openings apart from the mesh surface you are cleaning.
The Role of Specific Wax Removers (Use Caution)
While there are specialized cleaning kits for electronics, be wary of general wax removers. Products designed for things like cleaning candle wax off glass or cleaning wax off a dab pen often contain stronger solvents. These solvents are too harsh for delicate AirPod components. Always stick to mild solutions like IPA. Avoid anything greasy or oily. These can attract more dirt or leave a residue.
If wax is truly embedded and not coming out, repeat the Blu Tack method. Sometimes, multiple applications are needed. You can also try very gently warming the AirPod slightly with your body heat (hold in your hand) to soften the wax before using the pick or Blu Tack. Never use external heat sources like hair dryers. They can melt internal components. Patience is key when dealing with stubborn buildup. Do not force anything. For incredibly persistent spots, sometimes a second, careful pass with the soft brush after a very light IPA treatment can help dislodge residue.
Maintaining Clean AirPods: Prevention Tips
Regular cleaning is the best way to prevent severe wax buildup. However, some habits can help keep your AirPods cleaner for longer. Prevention is often easier than a deep clean.
Here are some effective prevention tips:
- Clean Your Ears Regularly: This is the most effective preventative measure. Less earwax in your ears means less earwax transferring to your AirPods. You do not need to over-clean your ears. Normal hygiene practices are usually enough.
- Wipe After Each Use: Make it a habit to quickly wipe your AirPods with a dry microfiber cloth after every listening session. This removes fresh wax, sweat, and oils before they harden. This simple step takes only a few seconds. It makes a big difference.
- Store Properly: When not in use, always store your AirPods in their charging case. The case protects them from dust, lint, and debris. Keeping the case clean also helps.
- Avoid Extreme Conditions: Try not to use your AirPods in very dusty or dirty environments. If you must, consider cleaning them immediately afterward. Excessive moisture from sweat can also make wax stickier. Wipe them down after intense workouts.
- Do Not Share: Sharing AirPods can transfer earwax and bacteria. If you must share, clean them thoroughly before and after use. This helps maintain hygiene for both users.
- Regular Light Cleaning: Perform a light cleaning session weekly. Use the soft brush and a dry cotton swab. This prevents wax from hardening and becoming a major problem. It is much easier to remove small amounts of fresh wax.
By adopting these simple habits, you can significantly reduce the amount of wax that accumulates on your AirPods. This means less frequent deep cleaning. It ensures your AirPods always perform at their best. Clean AirPods also feel more comfortable in your ears. They maintain their pristine appearance. Make these tips a part of your routine. You will enjoy crystal-clear audio for longer.
What Not to Do When Cleaning AirPods
Knowing what not to do is as important as knowing what to do. Improper cleaning methods can easily damage your AirPods. They can ruin the sound, the appearance, or even render them useless.
Avoid these common mistakes:
- Do Not Use Water or Soaking: AirPods are water-resistant, but they are not waterproof. Submerging them or rinsing them under a tap will cause damage. Water can get into the speakers, microphones, and internal electronics. Even heavy moisture can corrode components. Never use a wet cloth that is dripping. Cleaning with vinegar and baking soda mixtures, while great for household tasks, are not for delicate electronics like AirPods.
- Do Not Use Sharp Metal Objects: While a plastic dental pick or wooden toothpick is okay, never use metal tools like needles, knives, or metal paperclips. They can scratch the plastic casing. More dangerously, they can puncture the speaker mesh or damage the delicate speaker cones underneath. This can permanently impair sound quality.
- Do Not Use Harsh Chemicals: Avoid cleaning solutions like bleach, window cleaner, hydrogen peroxide directly, abrasive cleaners, or anything containing strong solvents. These can strip protective coatings, discolor plastic, or damage internal components. Even strong alcohol should be used sparingly and only on a cotton swab.
- Do Not Use Compressed Air Directly or Forcefully: While some manufacturers suggest light air, Apple specifically advises against compressed air for AirPods. It can force debris deeper into the device. It can also damage the delicate acoustic mesh. If you must use it, use it from a significant distance and in very short, gentle bursts. I generally advise against it.
- Do Not Use Abrasive Materials: Avoid paper towels, rough cloths, or sponges. These can scratch the polished surface of your AirPods and their charging case. Always use a soft, lint-free microfiber cloth.
- Do Not Over-Clean: While regular cleaning is good, excessive or aggressive cleaning can also cause wear and tear. Stick to gentle methods and only clean as needed.
Following these “don’ts” will safeguard your AirPods. It helps ensure they continue to deliver great sound for a long time. Remember, AirPods are precision electronic devices. They require careful handling. Treating them with care during cleaning extends their lifespan and maintains their performance.
When to Seek Professional Help or Replace
Despite your best efforts, some wax buildup might be too stubborn or difficult to remove safely. In rare cases, your AirPods might develop issues that cleaning cannot fix. Knowing when to stop and consider other options is important.
Here are signs it is time for professional help or replacement:
- Persistent Muffled Sound: If you have thoroughly cleaned your AirPods using all safe methods, but the sound remains muffled, the speaker might be damaged. Wax could be irrevocably lodged. This warrants professional inspection.
- Damage from Cleaning Attempts: If you accidentally poked through the mesh or damaged the speaker during your cleaning efforts, further attempts might worsen the issue. A professional can assess the damage.
- Charging Issues: If one or both AirPods stop charging reliably, and you have cleaned the charging contacts, there might be an internal issue. This is not a wax problem but an electronic one.
- Physical Damage: If your AirPods have been dropped, exposed to excessive water, or show visible cracks, cleaning will not help. These issues usually require repair or replacement.
- Warranty Status: Check your AirPods’ warranty status. If they are still under warranty or AppleCare+, Apple might offer a repair or replacement. Attempting deep repairs yourself could void the warranty.
- Cost vs. Repair: Compare the cost of professional repair to the cost of a new pair of AirPods. For older models, replacement might be more cost-effective. Official Apple repair services can be expensive.
- Uncertainty About Severity: If you are unsure about the extent of the wax buildup or potential damage, it is best to consult an Apple Store or an authorized service provider. They have specialized tools and expertise. They can safely diagnose and address complex issues.
Remember, AirPods are designed with tiny, integrated components. They are not easily user-repairable. Trying to open them up can cause irreversible damage. When in doubt, seek expert advice. This helps protect your investment. It ensures you get the best performance from your audio devices.
FAQ Section
Q1: How often should I clean my AirPods? A1: You should wipe your AirPods with a dry microfiber cloth after every use. A light cleaning with a brush and cotton swab is recommended weekly. Perform a deeper clean with a toothpick or Blu Tack once a month, or whenever you notice wax buildup. Regular light cleaning prevents heavy accumulation.
Q2: Can I use rubbing alcohol to clean my AirPods? A2: Yes, you can use isopropyl alcohol (70% or higher) sparingly. Apply it to a cotton swab, ensuring it is barely damp. Gently wipe stubborn wax on the mesh. Do not spray or pour alcohol directly onto the AirPods. It can damage internal components or the finish if used excessively.
Q3: Is it safe to use a toothpick on the speaker mesh? A3: Yes, a wooden toothpick or a plastic dental pick is safe for gently scraping wax. Use it with extreme caution. Do not poke or dig hard. The goal is to lift the wax from the surface of the mesh, not to push it deeper or damage the delicate speaker components underneath.
Q4: What if I accidentally get water in my AirPods? A4: If your AirPods get wet, immediately wipe them dry with a lint-free cloth. Do not attempt to charge them or put them back in the case. Let them air dry completely for several hours, ideally overnight, before using them again. Avoid using heat sources like hair dryers.
Q5: Can I clean the charging case with the same tools? A5: Yes, you can clean the charging case with a dry microfiber cloth and cotton swabs. For the charging ports inside the case, you can use a dry soft brush or a cotton swab very lightly dampened with isopropyl alcohol. Ensure no liquid drips into the charging pins.
Q6: Will earwax buildup void my Apple warranty? A6: Earwax buildup itself usually does not void the warranty. However, damage caused by improper cleaning methods (like poking holes in the mesh or water damage from aggressive cleaning) could void the warranty. Always follow Apple’s recommended cleaning guidelines or seek professional help if unsure.
Conclusion
Keeping your AirPods clean is important for both sound quality and hygiene. Earwax buildup is a common problem, but it is easily managed with the right approach. We explored how to clean wax out of AirPods using safe, simple tools. Remember to always use a gentle hand and avoid harsh chemicals or sharp metal objects.
By following the step-by-step guide, you can effectively remove earwax and restore your AirPods’ performance. Implementing preventative measures, like regular wiping and proper storage, will also significantly extend the life and clarity of your audio experience. Do not let muffled sound or dirty grilles diminish your enjoyment. Take a few moments regularly to give your AirPods the care they deserve. Your ears and your music will thank you. Clean AirPods mean clear sound and a more enjoyable listening experience.
- Airpods cleaning
- earwax removal
- Airpods maintenance
- headphone cleaning
- sticky residue
- audio device care