· Tech Maintenance · 17 min read
How To Clean Air Pods
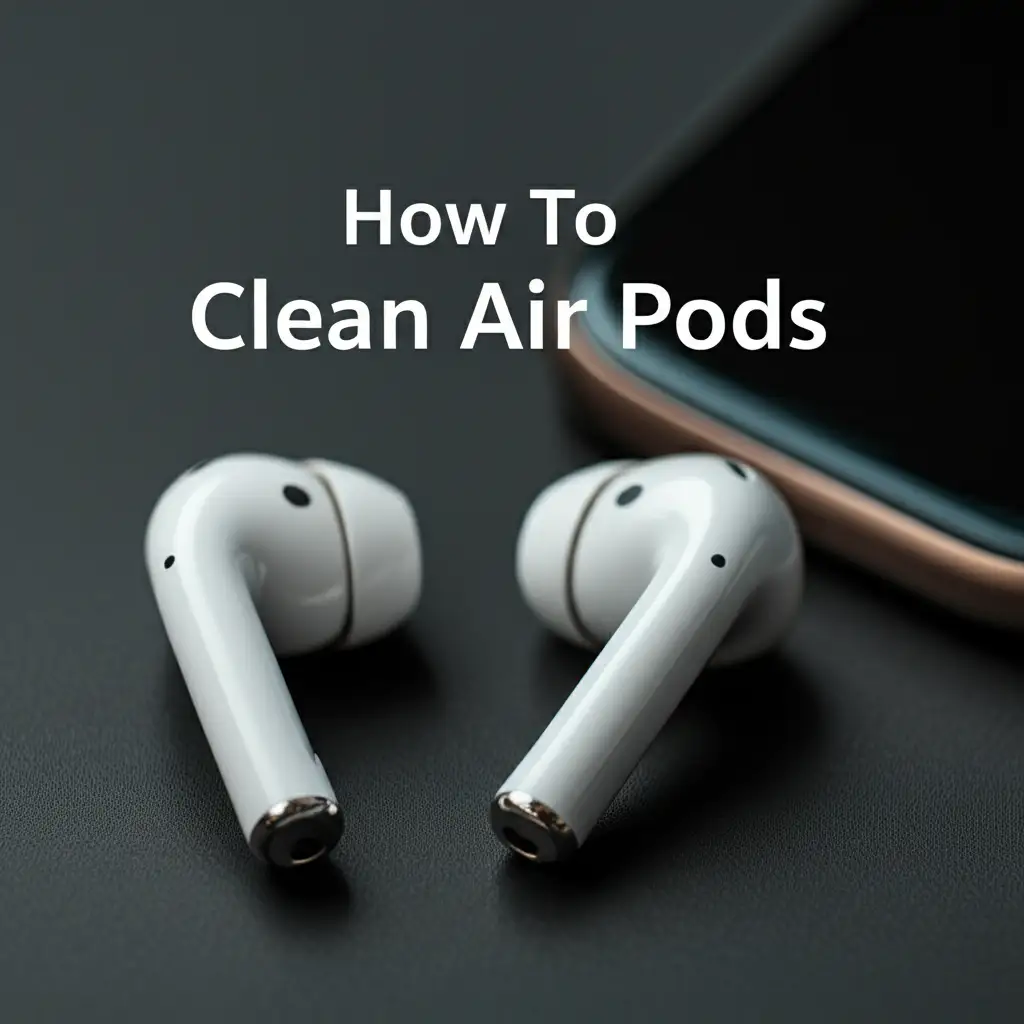
Clean AirPods: A Complete Guide to Pristine Sound and Hygiene
Have you ever looked closely at your AirPods? You might be surprised by what you see. Earbuds, especially ones used daily, collect dirt, earwax, and debris. This buildup affects sound quality and creates a hygiene issue. Keeping your AirPods clean is important for both performance and health.
This guide gives you simple steps to clean AirPods properly. We will cover essential tools you need for the job. You will learn how to clean the earbuds and their charging case. We will also share tips for AirPods Pro and discuss how to keep them clean daily. Get ready to give your AirPods a fresh start.
Takeaway
- Gather Safe Tools: Use soft, lint-free cloths, cotton swabs, and soft-bristled brushes.
- Wipe Down Regularly: Gently clean the outer surfaces of AirPods and the case.
- Focus on Mesh: Carefully remove earwax and debris from speaker meshes.
- Clean Ear Tips: For AirPods Pro, remove and wash silicone tips with water.
- Prevent Buildup: Store AirPods in their case and clean them often.
Cleaning your AirPods involves using soft, dry, lint-free cloths and cotton swabs to gently remove earwax and debris from the speaker mesh and all surfaces. For AirPods Pro tips, wash them with water and dry them completely before reattaching. Always avoid harsh chemicals and excessive moisture.
Why Cleaning Your AirPods Matters for Sound and Health
Your AirPods go into your ears every day. They pick up a lot more than just your favorite songs. Earwax, skin oils, dust, and even lint from your pockets can build up. This buildup is not just unsightly; it can cause real problems.
Neglecting to clean AirPods can lead to several issues. Dirty speaker meshes can muffle sound. You might notice your music sounds quieter or less clear. Over time, debris can block the sound completely. Think of it like a clogged drain for sound.
Beyond sound quality, there is a hygiene aspect. Your ears are sensitive. Introducing dirty earbuds can lead to ear infections or skin irritation. Keeping them clean protects your health. Just as you clean your car’s engine air filter for optimal performance and longevity, keeping your AirPods clean ensures clear audio and extends their lifespan.
The Hidden Dangers of Dirty AirPods
Dirty AirPods are a breeding ground for germs. Bacteria and fungi can grow in warm, moist environments. Your earbuds become warm from body heat and sometimes collect moisture. This mix creates perfect conditions for microbes. When you insert dirty AirPods, you transfer these microbes directly into your ear canal. This can cause discomfort or even infections.
Moreover, excessive earwax and debris can damage your AirPods. The small speaker grilles are delicate. Pushing wax deeper or letting it harden can block the sound drivers. This damage might be permanent, forcing you to buy new AirPods. Protecting your ears and your investment requires regular cleaning.
Protecting Your Investment
AirPods are an expensive piece of technology. Regular cleaning helps them last longer. Buildup can prevent the AirPods from charging correctly in their case. Dirt in the charging ports can block the connection. This means your AirPods might not charge when you need them.
Proper maintenance prevents wear and tear. Similar to maintaining a Dyson air filter for air quality, cleaning AirPods maintains sound quality and preserves battery contact points. A clean device always works better and looks better. It also holds its value if you ever decide to sell or upgrade. Take a few minutes each week to clean your AirPods. This simple habit keeps them working like new.
Essential Tools for Cleaning AirPods Safely
Cleaning your AirPods does not require many special tools. In fact, most items you need are probably already in your home. It is important to use the right tools to avoid damaging the delicate components. You want to be gentle and precise.
Gather these items before you start cleaning. A soft, lint-free cloth is crucial. Microfiber cloths work best. You will also need cotton swabs. These are good for tight spaces. A soft-bristled brush, like a clean, dry toothbrush or a specific anti-static brush, is very helpful.
Some people use sticky tack or Blu-Tack. This material is excellent for lifting stubborn earwax from speaker grilles. Finally, a small amount of isopropyl alcohol (70%) is useful for sanitizing, but use it sparingly. Remember, cleaning your AirPods is about careful removal, not harsh scrubbing.
Safe Cleaning Solutions and Materials
When choosing cleaning solutions, “less is more” is a good rule. Water alone is often enough for silicone tips. For the main body of AirPods, a very slightly dampened cloth with isopropyl alcohol can sanitize. Ensure the cloth is barely damp. Do not spray anything directly onto your AirPods. Moisture can enter the tiny openings and cause permanent damage.
Here is a list of safe tools and materials:
- Soft, lint-free cloth: A microfiber cloth is ideal for wiping surfaces without scratching.
- Cotton swabs: Perfect for reaching into small crevices and around the speaker grilles.
- Soft-bristled brush: A clean, dry toothbrush or a dedicated cleaning brush helps dislodge dry debris.
- Sticky tack (e.g., Blu-Tack): Excellent for gently pulling out earwax from the speaker mesh.
- 70% Isopropyl alcohol: Use sparingly on a cloth for sanitizing outer surfaces.
- Toothpick or dental pick (use with extreme caution): Only for very stubborn, hard earwax, and only on the grilles, never poking inside.
Tools to Avoid
Just as important as knowing what to use is knowing what not to use. Harsh chemicals can damage the finish and internal components of your AirPods. Do not use bleach, abrasive cleaners, or aerosol sprays. These can strip protective coatings or leave residue.
Avoid anything too sharp or metallic. Metal picks, paperclips, or needles can easily scratch or puncture the speaker mesh. This can permanently damage the sound quality. Do not use compressed air. It can force dirt deeper into the AirPods or damage delicate membranes. Preventing buildup is key for all devices, whether it’s your AirPods or clearing mold around air vents to improve air flow. Always prioritize gentle methods over aggressive ones.
Step-by-Step Guide to Cleaning Your AirPods (All Models)
Cleaning your AirPods should be a regular part of your tech routine. Following these steps ensures a thorough and safe clean. Always start by turning off Bluetooth on your device or putting AirPods back in their case. This prevents accidental playback or connection issues during cleaning.
Remember to be gentle. AirPods are delicate devices. Work slowly and methodically. This process covers both the earbuds and their charging case.
Cleaning the Earbuds (Mesh and Body)
This is where most of the grime collects. Pay special attention to the speaker mesh.
- Wipe the Body: Use a soft, lint-free cloth to wipe the entire outer surface of each AirPod. This removes oils and general grime. If needed, dampen the cloth very slightly with 70% isopropyl alcohol for sanitizing, then wipe dry immediately.
- Clean the Speaker Mesh: This is the most crucial part.
- Take your soft-bristled brush. Gently brush across the speaker mesh to dislodge loose debris. Brush from the center outwards.
- For stubborn earwax, take a small piece of sticky tack. Roll it into a ball, then press it onto the speaker mesh. Pull it off quickly. The tack will lift out the earwax. Repeat this several times until the mesh looks clean.
- If earwax is still present, use a dry cotton swab to gently dab at the mesh. For extremely stubborn, hardened wax, a dry toothpick or dental pick can be used very carefully to scrape the wax off the surface of the mesh. Do not push into the mesh. Angle it almost flat against the surface.
- Clean the Microphone Grilles: AirPods have small microphone grilles. Use your soft-bristled brush or a dry cotton swab to gently clean these areas. They look like tiny black dots or slits.
- Clean the Sensors: AirPods have optical sensors that detect when they are in your ear. Wipe these black dots with a dry cotton swab or a lint-free cloth. Ensure they are free of debris for proper function.
Cleaning the Charging Case
The charging case also collects dirt and lint. Its inner crevices can gather a lot of grime.
- Wipe the Exterior: Use a soft, lint-free cloth to wipe the outside of the charging case. If scuffs or marks are present, a very slightly dampened cloth with 70% isopropyl alcohol can help.
- Clean the Charging Port: The Lightning port on the bottom can collect lint from pockets. Use a dry, soft-bristled brush or a toothpick to gently dislodge lint from inside the port. Be careful not to damage the charging pins.
- Clean the Earbud Cavities: Inside the case, where the AirPods sit, dust and debris can accumulate. Use a dry cotton swab to clean these cavities. Pay attention to the charging contacts at the bottom of each cavity.
- Clean the Lid and Hinge: Wipe the inside of the lid and around the hinge area with a dry cloth. Lint and dirt often get trapped here.
Once you finish cleaning, let everything air dry completely before closing the case or using your AirPods. This prevents moisture damage. Proper maintenance applies to all Apple devices, from cleaning your MacBook Air to your AirPods.
Deep Cleaning AirPods Pro (with Silicone Tips)
AirPods Pro come with silicone ear tips. These tips sit deeper in your ear canal and can collect more earwax and grime. Cleaning AirPods Pro requires an extra step compared to standard AirPods. The good news is that these tips are removable and washable. This makes deep cleaning very easy.
Always remove the silicone tips first. You can then access the speaker mesh underneath them more directly. This two-part cleaning process ensures both the tips and the earbud itself are thoroughly clean. Be gentle when removing and reattaching the tips to avoid tearing them.
Removing and Cleaning Silicone Ear Tips
- Gently Remove Tips: Hold the AirPod Pro firmly. Grasp the silicone ear tip at its base and pull it off. It detaches with a slight pop. Do not twist the tip, just pull directly away from the AirPod.
- Wash the Tips: Place the silicone ear tips under clear, running water. You can use a mild soap if desired, but water often suffices. Gently rub the tips between your fingers to remove any earwax or debris.
- Rinse and Dry Thoroughly: Rinse the tips completely to remove any soap residue. Shake off excess water. Now, dry the tips completely with a soft, lint-free cloth. Make sure no moisture remains inside or outside. Let them air dry for a few minutes to be extra sure.
- Reattach Tips: Once fully dry, align the oval shape of the tip with the oval connector on the AirPod Pro. Push the tip firmly until it clicks back into place.
Cleaning the Speaker Mesh Beneath the Tips
After removing the silicone tips, you will see a black speaker mesh on the AirPod Pro. This mesh is critical for sound quality and needs careful attention.
- Brush Off Loose Debris: Use a soft-bristled brush to gently brush across the black speaker mesh. This dislodges any dry earwax or dust. Brush from the center outwards.
- Use Sticky Tack for Wax: For stubborn earwax on the mesh, use sticky tack (Blu-Tack). Roll a small piece into a ball. Press it onto the mesh and pull it away quickly. The tack will lift the wax. Repeat this process until the mesh appears clean.
- Wipe the Body: With the tips off, you have better access to the AirPod’s body. Use a soft, lint-free cloth to wipe the entire surface. If necessary, lightly dampen the cloth with 70% isopropyl alcohol for sanitizing, but ensure no liquid enters any openings.
- Check Microphones and Sensors: Ensure the microphone grilles and optical sensors are clean. Use a dry cotton swab for these small areas.
By cleaning both the silicone tips and the underlying speaker mesh, you ensure your AirPods Pro deliver the best possible sound and stay hygienic. Just as you remove grease from an air fryer, you need to remove earwax and debris from your AirPods to maintain cleanliness and functionality.
Maintaining Clean AirPods: Prevention and Routine
Cleaning your AirPods is not a one-time event. It is an ongoing process. Regular maintenance prevents heavy buildup and keeps your AirPods looking and sounding great. Incorporating a few simple habits into your daily routine can make a big difference. This proactive approach saves you time and effort in the long run.
Think about how often you use your AirPods. If you use them daily for hours, they will get dirty faster. If you only use them occasionally, they might need less frequent deep cleans. The key is consistency. A quick wipe down often is better than a thorough clean once a year.
Daily Habits for Cleaner Earbuds
Small actions every day add up to cleaner AirPods.
- Quick Wipe Down: After each use, take a soft, lint-free cloth and give your AirPods a quick wipe. This removes fresh earwax and oils before they harden.
- Wipe Your Ears: Regularly clean your ears. This reduces the amount of earwax that transfers to your AirPods.
- Wash Your Hands: Before handling your AirPods, make sure your hands are clean. This prevents transferring dirt and oils from your hands to the earbuds.
- Avoid Grime: Try not to handle your AirPods immediately after applying lotions, makeup, or hair products. These products can leave residues.
- Check Before Storing: Before placing AirPods back in their case, quickly check for visible dirt. Remove it right away.
Storing Your AirPods Properly
How you store your AirPods also impacts how clean they stay.
- Use the Charging Case: Always store your AirPods in their charging case when not in use. The case protects them from dust, lint, and physical damage.
- Keep the Case Clean: Ensure the charging case itself is clean. A dirty case can transfer dirt back to your freshly cleaned AirPods. Wipe the inside of the case regularly with a dry cotton swab.
- Avoid Pockets with Lint: While the case protects, try to keep your AirPods case in a clean pocket or bag. Lint from denim or other fabrics can still enter the charging port or collect on the case’s surface.
- Do Not Leave Them Exposed: Avoid leaving AirPods lying around on dirty surfaces, like tables or floors, where they can accumulate dust and debris.
By following these simple prevention tips and making regular cleaning a habit, your AirPods will stay cleaner for longer. This ensures consistent sound quality and better hygiene. Just like cleaning your air purifier filter keeps the air in your home fresh, maintaining your AirPods keeps your listening experience clear and healthy.
Troubleshooting Common Cleaning Challenges
Even with regular cleaning, you might encounter some stubborn issues. Certain types of earwax or specific damage require different approaches. Knowing how to handle these challenges helps you keep your AirPods in top condition. Always proceed with caution to avoid further damage.
The most common challenge is stubborn earwax stuck in the speaker mesh. This can be very frustrating. Another issue might involve accidental exposure to water. While AirPods are somewhat water-resistant, they are not waterproof. Discoloration can also occur over time.
Dealing with Stubborn Earwax
Stubborn earwax is often dry and hardened. It can be difficult to remove without pushing it deeper.
- Sticky Tack is Your Best Friend: For dried wax, the sticky tack method is usually the most effective and safest. Press it firmly onto the mesh and pull it away. Repeat many times.
- Micro-brush or Dry Toothbrush: Use a very fine, stiff-bristled brush (like a specialized electronics cleaning brush or a dry, clean toothbrush) to gently scrape the surface of the mesh. Use light pressure.
- Toothpick (Extreme Caution): If wax is still stuck after tack and brushing, use a dry toothpick or wooden dental pick. Hold it almost flat against the mesh. Gently scrape the hardened wax off the surface of the mesh. Do not poke or push into the mesh holes. This is a last resort and requires extreme care.
- Avoid Liquids: Do not use liquid solutions directly on the mesh. They can dissolve the wax and push it into the speaker, causing permanent damage.
What to Do About Water Damage
Cleaning often involves liquids, but AirPods are sensitive to moisture. If your AirPods get wet, act quickly.
- Do Not Charge: Do not place wet AirPods in their charging case or try to charge them. This can cause short circuits.
- Dry Thoroughly: Wipe them immediately with a dry, lint-free cloth.
- Air Dry: Leave them out in a dry, open area for at least 24-48 hours. Place them on a towel.
- Avoid Heat: Do not use hair dryers or other heat sources to speed up drying. High heat can damage internal components.
- Rice is Not Recommended: While a common tip for electronics, rice can leave dust or starch inside. It is better to just let them air dry.
- Professional Help: If they still do not work after thorough drying, contact Apple Support.
Discoloration Issues
Over time, the white plastic of AirPods can become discolored. This is often due to oils, sweat, or even just exposure to air and light.
- Isopropyl Alcohol for Surface Stains: For light discoloration or persistent grime, a soft cloth very lightly dampened with 70% isopropyl alcohol can help. Wipe the affected area gently. Always dry immediately.
- Regular Cleaning: Consistent, regular cleaning prevents grime from building up and setting into the plastic, which can cause permanent stains.
- Prevention: Storing AirPods in their case and keeping them away from direct sunlight or extreme temperatures can help prevent premature yellowing.
Remember, prevention is always easier than cure. Regular cleaning minimizes these challenges. Consistent application of these methods will keep your AirPods looking and performing their best.
Frequently Asked Questions About Cleaning AirPods
How often should I clean my AirPods?
The frequency depends on your usage. If you use your AirPods daily for extended periods, a quick wipe-down after each use is good. A more thorough clean, focusing on the speaker mesh and case, should be done at least once a week. People with more earwax may need to clean them more often. Regular light cleaning prevents heavy buildup.
Can I use alcohol to clean AirPods?
You can use 70% isopropyl alcohol sparingly. Dampen a soft, lint-free cloth with a small amount of alcohol. Wipe the outer surfaces of the AirPods and case. Do not spray alcohol directly onto them. Ensure no liquid enters any openings, especially the speaker mesh or charging port. Alcohol helps sanitize and remove oils.
How do I clean the speaker mesh?
The speaker mesh is delicate. First, use a soft-bristled brush to gently sweep away loose debris. For stubborn earwax, use sticky tack (like Blu-Tack). Press it onto the mesh and quickly pull it off to lift the wax. For very hard wax, a dry toothpick can be used extremely carefully to scrape the surface, never poking into the mesh.
What if my AirPods get wet?
If your AirPods get wet, wipe them immediately with a dry, lint-free cloth. Do not place them in the charging case or attempt to charge them. Leave them in a dry, open area to air dry completely for at least 24-48 hours. Avoid using heat sources like hair dryers, as this can cause more damage. Do not put them in rice.
Can I use hydrogen peroxide?
No, do not use hydrogen peroxide to clean your AirPods. Hydrogen peroxide is a strong chemical that can damage the delicate components, coatings, and plastic of your AirPods. It can also cause discoloration. Stick to soft cloths, cotton swabs, and isopropyl alcohol for sanitizing the outer surfaces. Water is only for AirPods Pro silicone tips.
Why do my AirPods get so dirty?
AirPods get dirty because they are inserted directly into your ear canal. Your ears produce earwax and oils, which transfer to the AirPods. Dust, lint from pockets, and environmental debris also stick to the surfaces. The small openings and crevices trap this grime easily. Regular use naturally leads to dirt accumulation.
Conclusion
Cleaning your AirPods is a simple yet essential practice. It keeps your sound clear and your ears healthy. We covered why cleaning matters for sound quality and hygiene. We discussed the right tools to use, emphasizing safety and gentleness. You learned step-by-step methods for cleaning both the earbuds and their charging case. We also provided specific tips for AirPods Pro and strategies for maintaining cleanliness daily.
By following these guidelines, you can significantly extend the life of your AirPods. You will also enjoy a better listening experience. Make cleaning your AirPods a regular part of your routine. It takes only a few minutes. This small effort yields big rewards. Keep your AirPods pristine and enjoy your music with confidence.
- AirPods cleaning
- earbud hygiene
- tech care
- Apple accessories
- wireless earbuds
- device maintenance