· Tech Maintenance · 18 min read
How To Clean Lighting Port
How to Clean Your Lighting Port for Optimal Performance
Have you noticed your iPhone struggling to charge? Does your charging cable feel loose when you plug it in? These common problems often point to a dirty Lighting Port. Over time, lint, dust, and other debris build up inside this small opening. This debris blocks the connection between your device and its charger. Learning how to clean Lighting Port effectively can save you money and keep your device working well. I will walk you through the simple steps to restore your port’s function.
Cleaning your Lighting Port is an important part of device care. A clean port ensures reliable charging and data transfer. It also extends the lifespan of your phone or tablet. Many people think their charger is broken when the real issue lies in the port itself. This guide provides clear instructions to help you safely clean your Lighting Port. We will cover necessary tools, step-by-step procedures, and important safety tips. You will learn how to identify common issues and prevent future build-up. Let’s get your device charging properly again!
Takeaway
- Turn Off Device: Always power down your iPhone or iPad before cleaning.
- Use Non-Conductive Tools: Opt for wood or plastic toothpicks, not metal.
- Gentle Motions: Scrape debris out carefully; avoid pushing it deeper.
- Use Compressed Air (Carefully): Short bursts, held at a distance.
- Avoid Liquids: Do not use water or cleaning solutions inside the port.
- Inspect Thoroughly: Check for remaining debris and bent pins.
- Prevent Future Buildup: Use port covers or proper storage.
Answer
To clean a Lighting Port, first turn off your device. Use a non-conductive tool like a wooden toothpick to gently scrape out lint and debris. Work carefully around the pins. Alternatively, use short, controlled bursts of compressed air held at a distance. Avoid using any liquids or metal objects, which can cause damage.
Understanding Your Lighting Port and Why It Gets Dirty
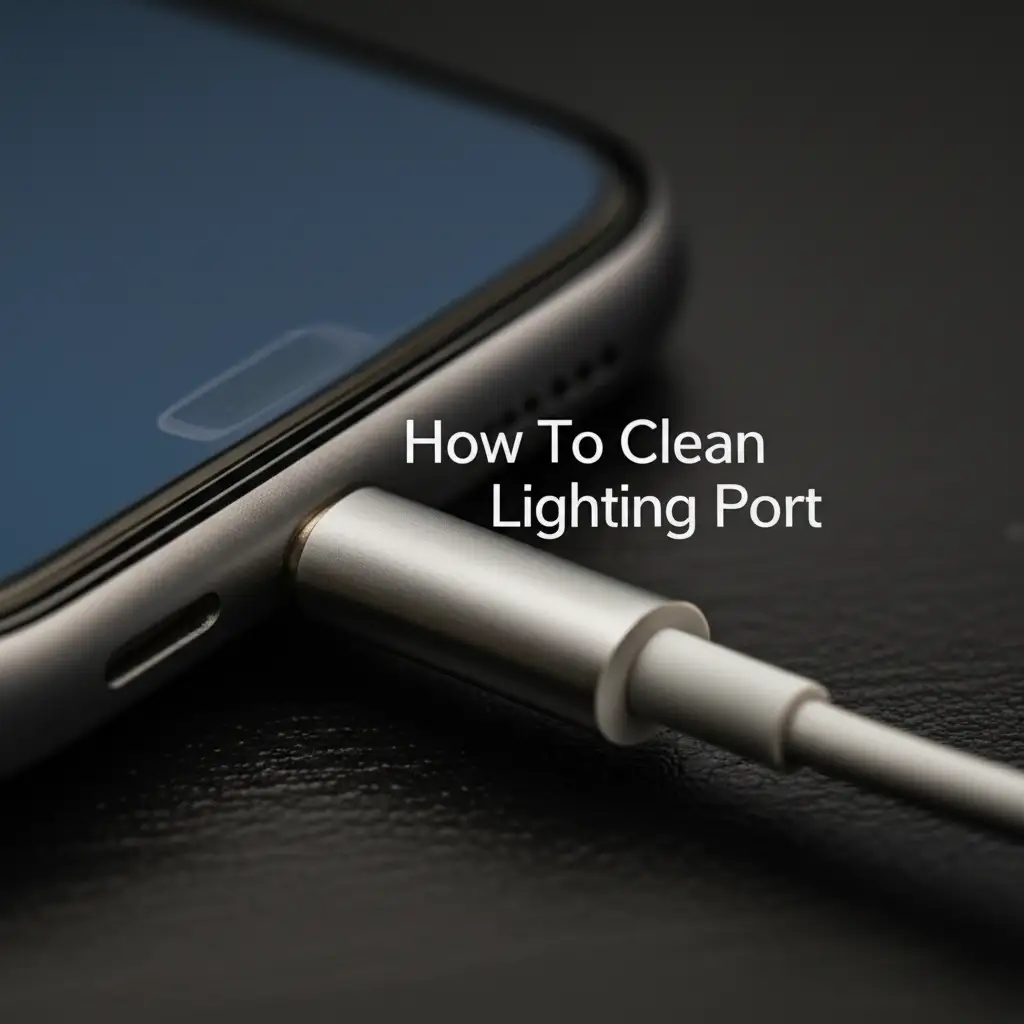
Your Lighting Port serves as the main gateway for power and data on many Apple devices. It is where you plug in your charger, headphones (with an adapter), and other accessories. This port is a small, recessed opening at the bottom of your iPhone or iPad. It contains several tiny pins that make contact with your charging cable. These pins are crucial for proper function.
Despite its importance, the Lighting Port is very vulnerable to dirt. Your phone often rides in pockets, bags, or purses. These places are full of lint, dust, and small fibers. Over time, these tiny particles accumulate inside the port. They pack down tightly at the very bottom of the port. This compacted debris prevents your charging cable from making a full connection. It feels like the cable is loose or not clicking in properly.
A dirty Lighting Port causes many frustrating issues. The most common problem is unreliable charging. Your phone might charge slowly, or only charge when held at a specific angle. Sometimes, it might not charge at all. Data transfer problems can also occur. The device may not connect to your computer. Even audio accessories might not work correctly. Understanding these symptoms helps you know when it is time to clean your Lighting Port.
The unique design of the Lighting Port makes it prone to collecting debris. Unlike older, open ports, its snug fit means lint gets trapped easily. Once inside, it is hard for the lint to fall out on its own. This is why a manual clean is often necessary. Regular inspection can help you spot buildup before it causes major problems. A simple clean can often resolve these frustrating connectivity issues quickly.
Gathering Your Tools: What You Need for a Safe Clean
Before you begin cleaning your Lighting Port, gather the right tools. Using the correct items is very important for safety and effectiveness. The wrong tools can damage the delicate pins inside the port. We want to avoid causing more problems than we solve. Luckily, most of the tools you need are common household items. They are also inexpensive and easy to find.
First, you will need a good light source. A bright desk lamp or a flashlight will help you see inside the dark port. Seeing clearly is essential to avoid damaging the internal components. You can use your phone’s flashlight, but remember to turn off the device you are cleaning beforehand. A magnifying glass can also be useful for a closer look. It helps you identify exactly where the debris is located.
Next, choose your cleaning tool carefully. The best options are non-conductive and small enough to fit without force. A wooden or plastic toothpick is ideal. The soft material of wood or plastic reduces the risk of scratching the metal pins. Some people use a plastic dental pick or a small, soft-bristled brush, like an unused toothbrush. Just ensure the bristles are fine enough to get into tight spaces. You can also find specialized cleaning kits online for device ports.
Finally, consider using compressed air. Canned compressed air can help blow out loose dust. Make sure it is “air duster” designed for electronics, not just regular compressed air from a compressor. It comes with a thin straw for precise application. Remember, proper technique is key with compressed air to prevent damage. We will discuss this more in the next section. Avoid using metal objects like paper clips or needles. They can easily scratch or bend the pins, leading to permanent damage to your charging port. For a comprehensive guide on various cleaning methods for different devices, you can refer to how to clean phone charging port.
Step-by-Step Guide: Safely Cleaning Your Lighting Port
Cleaning your Lighting Port requires patience and a gentle touch. Follow these steps carefully to ensure you do not damage your device. This process aims to remove stubborn lint and debris without harming the delicate internal components. Always remember that safety comes first when working with electronics.
Step 1: Power Off Your Device
This is the most important first step. Always turn off your iPhone or iPad completely. Do not just put it to sleep. A powered-off device prevents accidental short circuits or data corruption. It also stops any current from flowing through the port. This makes the cleaning process safer for you and your device. If you accidentally poke a live pin, it could cause damage.
Step 2: Shine a Light and Inspect
Use a bright light source, like a flashlight, to illuminate the Lighting Port. Look closely inside the port. You will likely see compacted lint or dust at the bottom. It often looks like a solid block of grey or black material. Notice the small, flat pins at the very bottom of the port. These are what make contact with your charging cable. Your goal is to remove the debris without bending or scratching these pins. This detailed inspection is crucial before you start cleaning.
Step 3: Gently Scrape Out Debris
Take your chosen non-conductive tool, like a wooden toothpick. Carefully insert the tip into the Lighting Port. Do not force it. Angle the toothpick so it goes against the walls of the port, not directly into the pins. Gently scrape along the inside surfaces, moving from one side to the other. Imagine you are scooping out the debris. You will often see a surprising amount of lint come out. Pull the toothpick out periodically to remove the collected debris. Repeat this process until you have removed as much as you can see. For specific instructions related to iPhones, you might find useful information in how to clean iPhone charging port.
Step 4: Use Compressed Air (Optional, but Recommended)
Once you have manually removed most of the larger debris, compressed air can help. Hold the can upright and away from the port, about 6-8 inches. Use short, quick bursts of air. Do not spray continuously, as this can introduce moisture or extreme cold, which can damage the device. The air stream will blow out any remaining loose dust particles. Avoid holding the can upside down, which can release propellant rather than air. This step helps ensure all fine particles are cleared. If you’re working on an iPad, remember the process is similar to how to clean iPad charger port.
Step 5: Re-Inspect and Test
After cleaning, shine your light into the port again. Look for any remaining lint or bent pins. The bottom of the port should now look much clearer. The metal pins should be visible and straight. Once you are satisfied, turn your device back on. Plug in your charger to test the connection. The cable should now seat firmly and click into place. Your device should begin charging immediately. If problems persist, consider additional troubleshooting steps.
Cleaning Your Lighting Port: Advanced Techniques and Considerations
Sometimes, basic cleaning might not be enough. Stubborn grime or compacted debris might require a slightly different approach. These advanced techniques should only be used if the initial scraping and compressed air methods fail. Always proceed with extreme caution to avoid damaging your device. Understanding these methods can help when facing more challenging cleaning scenarios.
One advanced method involves using a very small amount of rubbing alcohol. This is a delicate technique. Only use 90% isopropyl alcohol or higher, as it evaporates quickly and leaves no residue. Dip the very tip of a wooden toothpick or a non-abrasive cotton swab (one designed for electronics, with minimal fibers) into the alcohol. Ensure it is barely damp, not dripping wet. Gently wipe the inside surfaces of the port, avoiding the pins as much as possible. The alcohol helps to dissolve sticky residue. Immediately follow up with a dry toothpick to remove any loosened gunk. Allow the port to air dry completely for at least 30 minutes before turning on your device or plugging anything in. For more details on using alcohol for cleaning, refer to how to clean iPhone charging port with alcohol.
Another consideration is dealing with bent pins. If, upon inspection, you notice one or more of the tiny gold pins inside the Lighting Port are bent, this is a serious issue. Cleaning will not fix this. Do not attempt to straighten bent pins yourself with metal tools. This can easily break them off or cause a short circuit. If pins are bent, professional repair is usually necessary. A damaged pin means the port cannot make a proper connection, regardless of how clean it is. This situation often requires a port replacement.
Consider the environment where your device is used. If you work in dusty conditions or regularly carry your phone in lint-filled pockets, your port will get dirty faster. Regular, proactive cleaning can prevent severe buildup. Think about adding a small port plug. These inexpensive silicone plugs fit into the Lighting Port when not in use. They create a physical barrier against dust and lint. Using them is a simple, effective way to maintain a clean port between uses. A clean port improves charging efficiency and device longevity.
Troubleshooting After Cleaning: Still Having Issues?
You have meticulously followed all the cleaning steps, but your Lighting Port still isn’t working right. Don’t worry; there are other possibilities to consider. Sometimes, the issue lies beyond simple lint and dust. Troubleshooting helps you identify the real problem. This section guides you through the next steps if your device still refuses to charge or connect properly after a thorough cleaning.
First, test with a different charging cable and power adapter. A faulty cable is a very common cause of charging problems. The internal wires can break, or the connectors can get damaged. Try a cable you know works with another device. Also, swap out the wall adapter or try a different USB port. If a new cable or adapter fixes the problem, your port was likely fine all along. This simple test often rules out common external issues. This applies to any phone, not just Apple ones. You might find more general troubleshooting useful by checking how to clean phone charger port.
Next, restart your device. A simple reboot can sometimes resolve software glitches that prevent proper charging recognition. Turn your device off completely, wait a few seconds, and then turn it back on. This refreshes the system and can clear temporary bugs. It is a quick and easy step that costs nothing to try. Sometimes, the software just needs a fresh start to communicate correctly with the hardware.
If the problem persists, inspect the Lighting Port pins again, but very carefully. Are all the pins perfectly straight? Even a slightly bent pin can prevent a connection. As mentioned before, do not try to straighten them yourself. If you see bent pins, or any signs of corrosion (greenish or bluish discoloration), this indicates a more serious hardware problem. Corrosion can happen if the device has been exposed to moisture.
Finally, if none of these steps work, it is likely a hardware issue with the Lighting Port itself or another internal component. This is when it is best to seek professional help. An authorized service center has specialized tools and diagnostic equipment. They can properly assess the damage and perform necessary repairs or replacements. Attempting further DIY repairs without expertise could cause more harm. Sometimes, knowing when to call a professional is the best solution for your device’s health.
Preventive Measures: Keeping Your Lighting Port Clean Longer
Cleaning your Lighting Port is an effective fix, but prevention is even better. Taking a few simple steps can drastically reduce the amount of lint and debris that accumulates inside. These habits help maintain your device’s charging performance over time. A clean port from the start saves you the hassle of frequent cleaning. Incorporating these practices into your daily routine is easy.
One of the most effective preventive measures is how you carry your device. Avoid putting your phone or tablet directly into pockets that are full of lint. Jeans pockets, especially, are notorious for collecting fabric fibers. Instead, consider using a separate, clean pocket or a dedicated compartment in your bag. If you must use a lint-prone pocket, turn the device so the Lighting Port faces upwards. This simple change reduces the port’s exposure to debris.
Using a phone case with a built-in port cover is another excellent strategy. Many rugged phone cases include small flaps that cover the Lighting Port when it’s not in use. These covers provide a physical barrier against dust, dirt, and moisture. They are generally made of soft silicone or rubber, so they do not scratch your device. If your current case does not have one, you can purchase standalone port plugs online. These small silicone stoppers fit snugly into the port, protecting it from ingress. Remember to remove them gently before charging.
Regular, light cleaning can also help prevent severe buildup. Instead of waiting for charging issues, give your port a quick check every few months. Use a puff of compressed air or a soft brush to dislodge any loose dust. This proactive approach stops small particles from compacting into stubborn plugs. Think of it like brushing your teeth – regular small efforts prevent bigger problems later on.
Storing your device properly also plays a role. When you are not using your iPhone or iPad, store it in a clean environment. Avoid leaving it exposed on dusty surfaces or in areas where it might collect debris. If you have a habit of placing your phone face-down, lint can easily gather in the port. Instead, store it on a clean table or in a protective case. These small actions contribute greatly to the longevity and performance of your Lighting Port.
Common Mistakes to Avoid When Cleaning Your Lighting Port
While cleaning your Lighting Port can be straightforward, making mistakes can lead to serious damage. Knowing what not to do is just as important as knowing what to do. These common errors can range from minor scratches to permanent hardware failure. Avoid these pitfalls to ensure a safe and successful cleaning process for your valuable device.
1. Using Metal Objects: This is the most common and dangerous mistake. Never use metal tools like paper clips, needles, safety pins, or knives to clean your Lighting Port. Metal conducts electricity and can easily scratch, bend, or short-circuit the delicate pins inside the port. Bending a pin can break the connection permanently, rendering the port useless. Shorting out pins can damage the device’s internal circuits. Always stick to non-conductive materials like wood or plastic.
2. Applying Excessive Force: Be gentle. The components inside the Lighting Port are very fragile. Forcing a tool into the port or scraping too aggressively can cause irreversible damage to the pins or the port housing. The goal is to carefully dislodge debris, not to dig it out. Use light pressure and patient, methodical movements. If a piece of debris feels stuck, try a different angle rather than pushing harder.
3. Using Liquids or Chemicals: Do not introduce any liquids into the Lighting Port. This includes water, rubbing alcohol (unless used with extreme caution on a barely damp tip, as an advanced technique), or other cleaning solutions. Liquids can corrode the metal pins, short out the internal electronics, and void your device’s warranty. Electronic devices and liquids do not mix well. Always ensure your tools are dry before inserting them.
4. Blowing with Your Mouth: Avoid blowing into the port with your mouth. Your breath contains moisture, which can introduce humidity into the device. This moisture can lead to corrosion over time, especially within the sensitive port area. Use only compressed air specifically designed for electronics. These cans provide dry, high-pressure air.
5. Not Turning Off the Device: As emphasized earlier, always power down your device completely before cleaning. Working on a live device carries the risk of short circuits if you accidentally touch two pins together. It is also safer for you, preventing any potential static discharge or minor shocks. Taking an extra minute to power down is a crucial safety step.
By avoiding these common mistakes, you significantly reduce the risk of damaging your device. Proper technique and the right tools make cleaning your Lighting Port a safe and effective maintenance task. Prioritizing safety ensures your device remains functional and reliable.
FAQ Section
Q1: How often should I clean my Lighting Port?
The frequency depends on your usage and environment. If you carry your phone in lint-prone pockets, clean it every few months. If you notice charging issues, clean it immediately. Regular light cleaning can prevent major buildup. It helps maintain reliable performance.
Q2: Can a dirty Lighting Port affect audio or data transfer?
Yes, a dirty Lighting Port can affect more than just charging. The same pins responsible for power also handle audio output (with an adapter) and data transfer. If debris blocks these connections, audio might cut out or your device might not connect to a computer. Cleaning often resolves these issues.
Q3: What if I accidentally used a metal object to clean my port?
If you used a metal object, immediately stop. Turn off your device. Inspect the port very carefully for bent or broken pins. If you see damage, do not attempt to charge or use the port. Seek professional repair. Continuing to use a damaged port can cause further harm.
Q4: Can I use a vacuum cleaner to clean my Lighting Port?
No, do not use a vacuum cleaner. While they create suction, they are not designed for delicate electronics. The static electricity generated by a vacuum cleaner can potentially damage internal components of your device. Stick to compressed air or manual non-conductive tools.
Q5: Will cleaning my Lighting Port void my warranty?
Generally, cleaning your Lighting Port with recommended non-conductive tools and proper methods will not void your warranty. However, causing damage by using improper tools or techniques, like scratching pins or introducing liquids, might void it. Always clean carefully and gently.
Q6: My charger still feels loose after cleaning, what now?
If your charger still feels loose, inspect the port again. Ensure all debris is gone and pins are straight. If the problem persists, the issue might be with your charging cable or the port itself. Try a new cable. If that does not work, the port may have internal damage and requires professional repair.
Conclusion
Keeping your Lighting Port clean is a simple yet vital task for any Apple device owner. A clean port ensures your device charges reliably, transfers data smoothly, and maintains its overall health. We have explored the common reasons why these ports get dirty and provided a clear, step-by-step guide on how to clean Lighting Port effectively and safely. Remember to always power down your device first and use only non-conductive tools.
By following the advice in this guide, you can confidently tackle most charging and connectivity issues yourself. You learned about preventing future buildup through careful carrying habits and using port covers. We also covered important troubleshooting steps and common mistakes to avoid. Taking a proactive approach to device maintenance saves you time, money, and frustration. Embrace these cleaning practices to keep your iPhone or iPad performing at its best. Your device will thank you for the care!
- Lighting Port cleaning
- iPhone charging port
- device maintenance
- charging issues fix
- phone cleaning guide

