· Electronics Maintenance · 15 min read
How To Clean Circuit Board
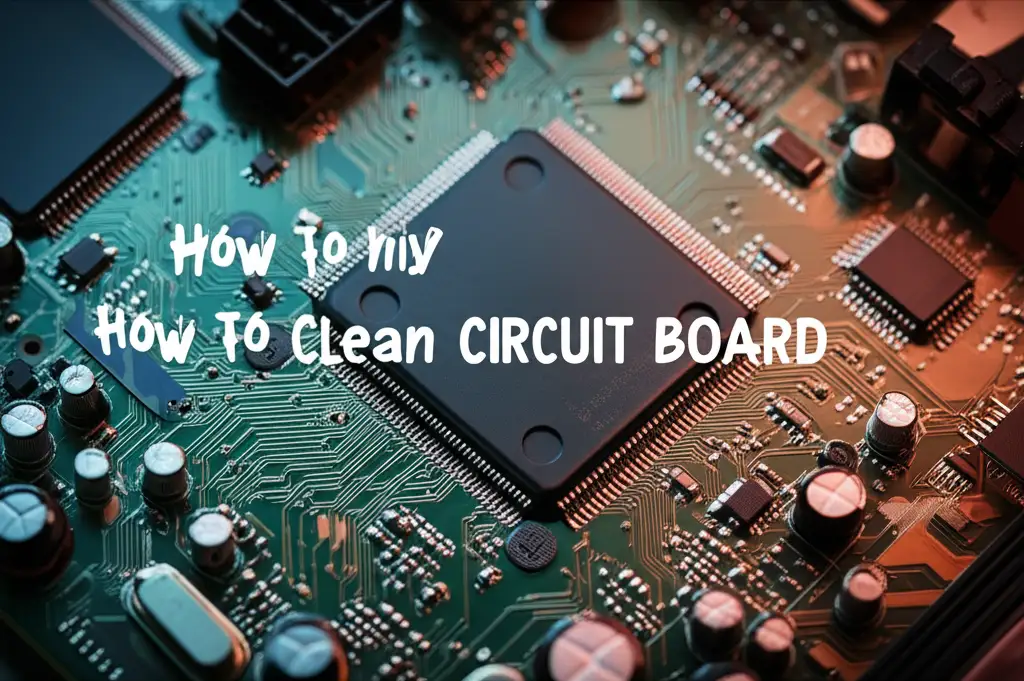
How to Clean Circuit Board Safely and Effectively
Have you ever wondered if the dust inside your computer or electronic device is hurting it? You are right to think that way. Dust and grime can definitely cause problems for sensitive electronics. Learning how to clean circuit board components is a very important skill. This process keeps your devices running well and makes them last longer.
Many people feel nervous about cleaning electronics. They worry about causing damage. However, with the right information and tools, cleaning a circuit board is straightforward. We will guide you through the entire process. This article covers why cleaning is important, the tools you need, and step-by-step instructions. We will discuss methods for different types of dirt. By the end, you will feel confident to clean your own circuit boards.
Takeaway
- Gather Tools: Obtain isopropyl alcohol (90%+), anti-static brushes, compressed air, and safety gear before starting.
- Disconnect Power: Always unplug and discharge devices to prevent electric shock and damage.
- Remove Dust First: Use compressed air or a soft brush to clear loose debris before applying liquids.
- Use Proper Liquids: Apply isopropyl alcohol with swabs or cloths for stubborn grime and residues.
- Allow Thorough Drying: Ensure the circuit board is completely dry before reassembly and power-up.
How do you clean a circuit board?
You clean a circuit board by first disconnecting power and using anti-static tools. Remove loose dust with compressed air or a soft brush. For stubborn grime, use high-purity isopropyl alcohol and lint-free swabs. Ensure the board dries completely before reconnecting power. This protects sensitive components.
Why Circuit Board Cleaning Matters: Preventing Damage
Circuit boards are the brain of electronic devices. They contain many tiny components. Over time, dust, dirt, and moisture build up on these boards. This buildup causes significant problems. Understanding these issues helps you see why cleaning is not just an option, but a necessity.
Dust acts like an insulating layer. This layer traps heat around components. Overheating is a leading cause of electronic failure. Components designed to run at certain temperatures will fail faster if they get too hot. Cleaning dust away allows heat to escape. This helps devices maintain proper operating temperatures.
Moisture and grime create conductive paths. Water or corrosive substances can bridge connections on the board. This leads to short circuits. A short circuit sends electricity where it should not go. This can permanently damage components or even destroy the entire board. Preventing these paths protects the device.
Corrosion is another serious threat. It happens when metals on the circuit board react with air or moisture. This reaction forms rust or other compounds. Corrosion interferes with electrical signals. It reduces the board’s performance. In severe cases, it can completely break connections. Regular cleaning helps prevent this type of damage. Maintaining your circuit board helps prevent these issues.
Essential Tools for Cleaning Your Circuit Board
To clean a circuit board properly, you need the right tools. Using incorrect tools can cause damage. We will list the essential items for safe and effective cleaning. Gathering these tools before you start makes the process smooth. Each tool has a specific purpose in the cleaning process.
First, you need high-purity isopropyl alcohol (IPA). Look for IPA that is 90% pure or higher. Lower purity levels contain more water, which is bad for electronics. IPA evaporates quickly and leaves no residue. This makes it ideal for electronics cleaning. This chemical is safe for most components.
Compressed air is also vital. You use it to blow away loose dust and debris. Do not use an air compressor meant for tires. These can contain moisture and oil. Always use electronics-grade compressed air cans. Hold the can upright during use to prevent propellant from spraying out.
You need soft brushes. Anti-static brushes are best. They prevent static electricity from building up. Static discharge can harm sensitive components. A soft-bristled toothbrush can also work if it is new and clean. Use these brushes to gently sweep away dust. These brushes reach small areas.
Cotton swabs or foam swabs are useful for precision cleaning. Regular cotton swabs can leave lint. Lint is not good for electronics. Foam swabs are lint-free. You can also use lint-free microfiber cloths. These are perfect for wiping surfaces with IPA. They do not scratch components.
Safety gear is important. Wear anti-static gloves to protect components from static electricity and oils from your hands. Safety glasses protect your eyes from dust and cleaning solutions. Work in a well-ventilated area. This helps disperse fumes from the cleaning agents. Take precautions when cleaning any equipment that uses strong chemicals, similar to how you would when handling solutions to clean a gas can.
Finally, have a good light source. A bright desk lamp or headlamp helps you see small details. You need to see all the dust and grime. A small magnifying glass can also be helpful. It helps identify hard-to-reach areas or tiny bits of dirt. Having everything ready saves time and ensures a good job.
Step-by-Step Cleaning: Removing Dust and Light Grime
Cleaning a circuit board usually starts with removing loose dust. This is the simplest and safest step. You should always begin here before moving to liquid cleaners. This method helps prevent scratching sensitive surfaces. Follow these steps carefully to ensure a good outcome.
First, always disconnect the power. Unplug the device from the wall. If it has a battery, remove that too. Press the power button a few times after unplugging. This helps discharge any remaining power. This step is critical for safety and preventing damage. Never clean an energized circuit board.
Next, open the device casing. You might need small screwdrivers for this. Be careful not to force anything open. Some cases have hidden clips. Take photos as you go. This helps you remember how to reassemble everything later. Gentle handling prevents damage to the case or internal parts.
Now, use compressed air to remove loose dust. Hold the can about 6-10 inches away from the board. Use short bursts of air. Do not spray continuously. Continuous spraying can make the can very cold. This can cause moisture to condense on the board. Work systematically across the board. You can tilt the board. This helps gravity pull dust away.
After using compressed air, use an anti-static brush. Gently sweep over the surface of the board. Pay attention to areas between components. Dust loves to collect there. Use light strokes. Do not press hard. The goal is to dislodge stubborn dust, not to scrub. This ensures no scratches occur.
For areas with light, stuck-on grime, use a dry cotton or foam swab. Gently wipe the surface. You can also use a lint-free cloth. This helps pick up any remaining particles that air or brushing missed. Be very gentle around fragile components. Never use abrasive materials. This basic cleaning often makes a big difference. It can solve many performance issues.
Tackling Stubborn Contaminants: Corrosion and Flux Residue
Sometimes, dust and light grime are not the only problems. Circuit boards can develop more stubborn issues. Corrosion and flux residue are common examples. These require more specific cleaning methods. You need to approach these issues with caution. Using the right technique helps restore the board.
Corrosion often looks like green, blue, or white fuzzy spots. It happens when metal reacts with moisture or chemicals. If you see corrosion, you need to act quickly. Mild corrosion can sometimes be cleaned with high-purity isopropyl alcohol. Apply IPA to a foam swab. Gently rub the corroded area. You might need several applications. The process is similar to carefully cleaning hard-to-reach areas, much like when you need to clean the bottom of an oven where grime builds up.
For tougher corrosion, you might need a non-abrasive tool. A plastic pick or a very soft toothbrush can help. Use it gently to scrape away the corroded layer. Be extremely careful not to damage the underlying traces or components. Some technicians use a fiberglass pen. These can be very effective but require a very light touch. Always follow up with an IPA wipe. This cleans away any loose corrosion particles.
Flux residue is another common contaminant. It comes from the soldering process. Flux helps solder flow well. However, if not cleaned, it can become sticky. It attracts dust and can even cause intermittent electrical issues over time. It often looks like a yellowish or brownish crust. You will find it around solder joints.
High-purity IPA is excellent for cleaning flux residue. Saturate a foam swab with IPA. Rub the residue until it dissolves. It may take some scrubbing. For really old or stubborn flux, you might need a specialized flux remover. These products are stronger than IPA. Always check the product label for compatibility with circuit board materials. Use good ventilation with these chemicals. This job demands attention to detail, much like removing old marks from a dry erase board, where persistence and the right solution are key.
After cleaning corrosion or flux, inspect the area closely. Make sure all residue is gone. Look for any remaining discoloration. A clean surface helps ensure proper electrical conductivity. This step is critical for board performance.
Advanced Cleaning Techniques and Professional Considerations
While basic cleaning handles most issues, some situations call for more advanced techniques. These methods are often used by professionals. They can achieve a deeper clean for severe contamination. Understanding these options helps you decide when to seek expert help. It also shows you other possibilities beyond a simple wipe down.
One advanced method is ultrasonic cleaning. This involves submerging the circuit board in a special cleaning solution. The cleaner then generates high-frequency sound waves. These waves create tiny bubbles. The bubbles collapse, creating a scrubbing action. This action reaches every part of the board, including under components. Ultrasonic cleaning is very effective for removing deep-seated dirt or flux. However, it requires specific equipment and expertise. Incorrect settings or solutions can damage components. This method is usually reserved for very dirty or corroded boards. It also works for items like a water filter, where precision cleaning is crucial for functionality.
Another consideration is using deionized water. Regular tap water contains minerals. These minerals can leave conductive residues. Deionized water has had these minerals removed. It is sometimes used for rinsing boards after a more aggressive wash. It does not conduct electricity when pure. However, it can absorb impurities from the board. It still needs to be thoroughly dried. Deionized water is not a common DIY cleaning agent. It is more for specialized industrial processes.
For very delicate components or sensitive areas, specialized cleaning pens exist. These pens dispense precise amounts of cleaning fluid. They have very fine tips. This allows for targeted cleaning without affecting nearby parts. They are useful for tiny connectors or very small surface-mount devices. These pens often use solvent-based cleaners. These cleaners are stronger than IPA.
Sometimes, after extensive cleaning, a circuit board might need a conformal coating. This is a protective layer. It shields the board from moisture, dust, and chemicals. Many industrial boards have this coating. If you heavily clean a board, you might remove its original coating. Professionals can reapply this. This step ensures long-term protection.
Deciding between DIY and professional cleaning depends on the severity of the problem. If you have light dust or minor grime, DIY is fine. If you face heavy corrosion, liquid spills, or persistent issues after basic cleaning, a professional repair shop is a better choice. They have the tools and experience to handle complex situations. They can also perform diagnostics. This helps identify the true cause of the problem.
Safety Precautions and Best Practices for Circuit Board Cleaning
Cleaning circuit boards involves specific risks. Ignoring safety precautions can lead to damage to the device or injury to yourself. It is crucial to follow best practices. These rules protect both you and the sensitive electronics. Always prioritize safety during the cleaning process.
First, static electricity is a major concern. It is called Electrostatic Discharge (ESD). A static shock might feel small to you. However, it can instantly destroy electronic components. Always use an anti-static wrist strap. Connect the strap to a grounded metal object. This equalizes your body’s electrical charge with the device. Work on an anti-static mat. Avoid wearing wool or synthetic clothing. These materials generate static easily. Taking these steps prevents ESD damage.
Proper ventilation is also important. Isopropyl alcohol and other cleaning solvents release fumes. These fumes can be irritating. They can also be harmful if inhaled in large amounts. Work in a well-ventilated room. Open windows or use a fan. Do not work in a confined space. This helps keep the air clear.
Never use water for cleaning circuit boards. Tap water contains minerals and impurities. These impurities conduct electricity. They also leave residues when they dry. This can cause short circuits and corrosion. Even a tiny amount of water can ruin a board. Stick to high-purity isopropyl alcohol. It evaporates cleanly.
Be gentle when handling components. Circuit boards are fragile. Many components are tiny and easily broken. Avoid bending the board. Do not apply too much pressure when brushing or wiping. Connectors and pins are especially delicate. Hold the board by its edges if possible. This prevents damage to the surface.
Patience is key. Do not rush the cleaning process. Take your time to clean each area thoroughly. Let the board dry completely before reassembly. This can take several hours, especially in humid conditions. Using a fan can speed up drying. Never use a heat gun or hair dryer directly on the board. Too much heat can melt solder or damage components.
Proper storage of cleaning chemicals matters. Keep isopropyl alcohol and other solvents in sealed containers. Store them away from heat sources and open flames. They are flammable. Keep them out of reach of children and pets. Always read the safety data sheet (SDS) for any chemical you use. It contains important safety information. Following these practices ensures a safe and effective cleaning experience.
Troubleshooting Common Cleaning Issues and Post-Cleaning Checks
After cleaning your circuit board, it is important to perform some checks. This ensures the cleaning was successful. It also helps you troubleshoot any new problems. Sometimes, issues arise that were not present before. Knowing what to look for helps you address them.
A common issue is leaving residue behind. Even with IPA, sometimes old, dried grime or flux can be stubborn. If the board looks dull or hazy, residue might remain. You might see streaks. If this happens, repeat the cleaning process on those specific areas. Use fresh swabs. Ensure you are rubbing firmly enough to lift the dirt but gently enough not to damage components. Sometimes a different type of cleaner, like a dedicated flux remover, is necessary for specific residues.
Another problem can be component damage. This usually happens from too much force or ESD. Look for bent pins, cracked components, or broken solder joints. Use a magnifying glass to inspect closely. If you see physical damage, the board may require professional repair. Sometimes, a tiny component might have snapped off. Prevention through gentle handling is always the best approach.
After cleaning, the board must be completely dry. If you reassemble and power on a damp board, it will likely short circuit. This can cause permanent damage. Visually check for any damp spots. You can also use a small fan to aid drying. Give it several hours, or even a full day, to air dry. Do not use heat sources like a hair dryer. These can overheat and damage parts. This thorough drying process is similar to ensuring a wooden chopping board is completely dry to prevent warping or mold.
Once the board is completely dry and free of residue, it is time for reassembly. Put the device back together carefully. Refer to the photos you took earlier if needed. Ensure all screws are in their correct places. Double-check all connections. Make sure cables are fully seated. This prevents loose connections which cause problems.
Finally, test the device. Power it on and check its functionality. Does it boot up? Are all features working? Listen for unusual noises. Look for strange lights. If the device does not work, disconnect power immediately. Re-open the device. Check all connections again. Look for anything you might have missed during cleaning or reassembly. If problems persist, consider seeking professional help. A technician can diagnose complex issues.
Conclusion
You have now learned how to clean circuit board components safely and effectively. This process is crucial for maintaining your electronic devices. Cleaning prevents problems like overheating, short circuits, and corrosion. It extends the life of your valuable electronics. You learned about gathering the right tools, from high-purity isopropyl alcohol to anti-static brushes.
We covered the importance of disconnecting power and working in a well-ventilated area. You now understand how to remove loose dust with compressed air. You also know how to tackle stubborn issues like corrosion and flux residue using the correct techniques. Remember the critical safety precautions, especially regarding static electricity and avoiding water. Finally, we discussed troubleshooting and post-cleaning checks. This ensures your cleaning efforts pay off.
Taking care of your circuit boards is a valuable skill. It can save you money on repairs and replacements. By following these steps, you can keep your electronics running smoothly. Do not let dust and grime shorten the life of your favorite gadgets. Take action today to clean your circuit boards. This simple maintenance makes a big difference. Embrace this knowledge. Keep your electronics clean and efficient.
- circuit board cleaning
- electronics cleaning
- PCB maintenance
- dust removal
- corrosion cleaning
- safe cleaning
- tech repair

