· Device Maintenance · 15 min read
How To Clean Your Crafty Plus Vaporizer
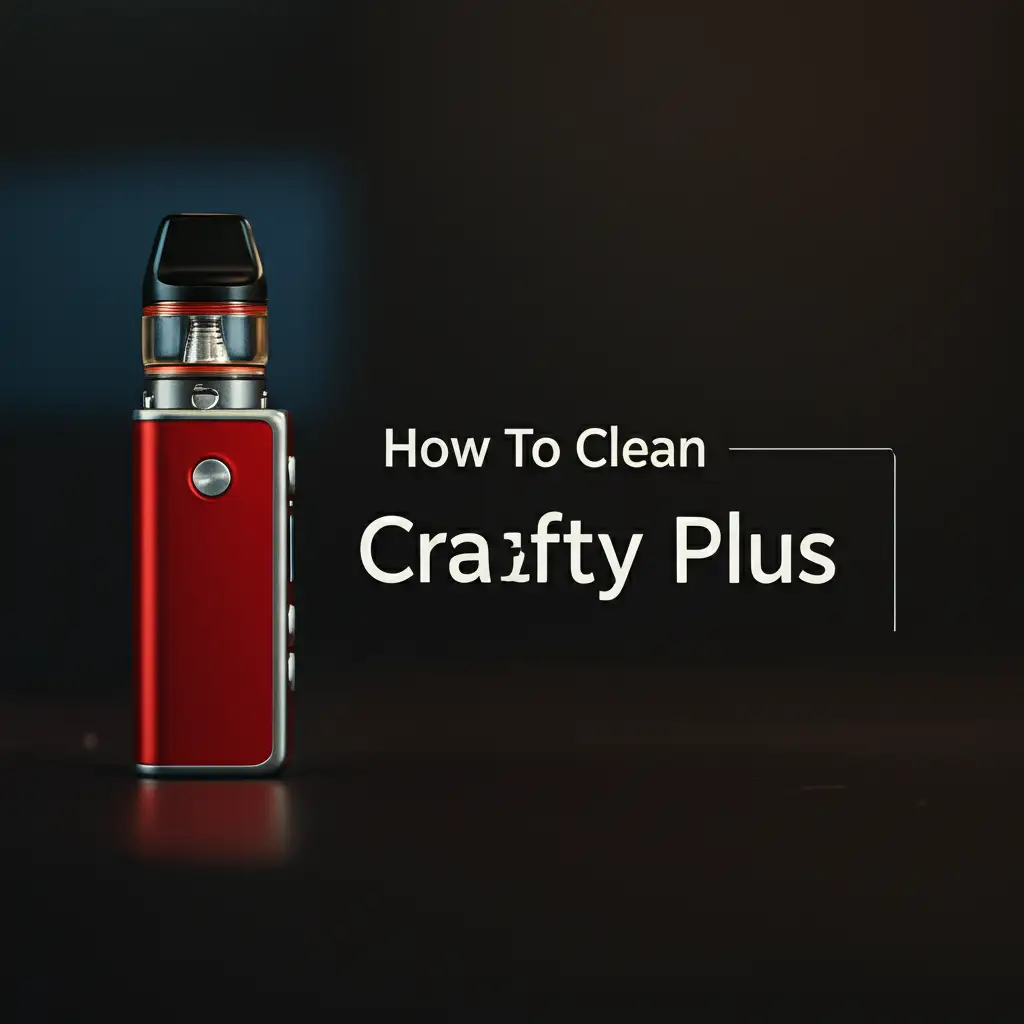
Unlock Freshness: How To Clean Your Crafty Plus Vaporizer
A clean Crafty Plus delivers the best vapor experience. Over time, resin and debris build up inside your device. This buildup affects flavor, vapor quality, and airflow. Regular cleaning keeps your Crafty Plus working like new. I will guide you through simple steps to restore your vaporizer. You will learn how to clean Crafty Plus components thoroughly. This guide covers daily maintenance and deep cleaning methods.
Takeaway: Keep Your Crafty Plus Performing at Its Best
- Disassemble parts carefully before cleaning.
- Use isopropyl alcohol for effective resin removal.
- Clean components regularly for optimal vapor quality.
- Replace worn-out screens to maintain airflow.
- Ensure all parts are dry before reassembly.
How do I clean my Crafty Plus?
To clean your Crafty Plus, first disassemble the cooling unit and remove screens. Soak these parts in isopropyl alcohol. Use a brush to clean the filling chamber and any remaining debris. Rinse all parts with water and dry completely before reassembling your device. This process keeps your Crafty+ clean and functional.
Why Regular Cleaning Makes a Difference for Your Crafty Plus
Keeping your Crafty Plus clean is important for several reasons. Dirty vaporizers produce harsh, poor-tasting vapor. Residue builds up in the vapor path and heating chamber. This affects flavor purity and overall vapor production. I always notice a big difference in taste after cleaning my own Crafty Plus.
A clean Crafty Plus also ensures better airflow. Blocked air paths make it harder to draw vapor. This can strain the device and reduce its efficiency. Regular cleaning prevents these blockages from forming. It helps maintain consistent vapor density and warmth.
Proper cleaning extends the life of your device. Built-up resin can corrode materials over time. It can also cause components to stick or malfunction. By removing this buildup, you protect your Crafty Plus from wear and tear. This simple habit saves you money on replacement parts or new devices. My cleaning routine keeps my device in top shape.
Hygiene is another key factor. You inhale vapor directly from your device. A dirty mouthpiece or cooling unit can harbor bacteria. Cleaning removes these contaminants. This ensures a healthier and more enjoyable experience. I feel much better knowing my device is sanitary.
Regular maintenance also helps with troubleshooting. If your device performs poorly, a clean starting point helps identify other issues. You eliminate cleaning as a variable. This makes it easier to diagnose any problems. A clean device allows you to fully appreciate its design and features.
Gathering Your Cleaning Arsenal: Essential Tools
Before you start cleaning your Crafty Plus, collect all necessary items. Having everything ready makes the process smoother. You will need a few simple tools and cleaning agents. These items are readily available. I keep my cleaning kit organized for quick access.
First, you need isopropyl alcohol (IPA). Look for a concentration of 90% or higher. IPA is the most effective solvent for dissolving stubborn resin. It evaporates quickly and leaves no residue. Avoid using rubbing alcohol with added oils or dyes, as these can leave unwanted films.
Next, gather some cotton swabs and pipe cleaners. Cotton swabs are useful for detailed cleaning of small areas. Pipe cleaners, especially fuzzy ones, help reach inside narrow passages. They are flexible and absorb liquid well. I find them indispensable for the cooling unit.
You will also need the cleaning brush that came with your Crafty Plus. This small brush is perfect for sweeping out loose herb particles. If you lost yours, a small stiff-bristled brush will work. This brush removes the initial debris. You can also use a small stiff brush to reach hard-to-clean spots.
A small container or glass bowl is essential for soaking parts. Choose one that can hold enough isopropyl alcohol to submerge the smaller components. A clear glass bowl lets you see the cleaning action. I prefer glass over plastic for soaking with IPA.
Finally, have some paper towels or a clean cloth ready. These are for drying the cleaned parts. Ensure the cloth is lint-free to prevent fibers from sticking to components. A micro-fiber cloth works well for this purpose. These materials help with the final drying step.
Optional items include gloves to protect your hands from IPA. A toothpick or dab tool can help scrape away very tough resin. A ziploc bag can also serve as a good container for soaking parts, allowing you to shake the components gently for better cleaning. Cleaning electronics or delicate devices often requires specific tools and care, much like cleaning an Xbox One.
Step-by-Step Routine Cleaning for Your Crafty Plus
Routine cleaning keeps your Crafty Plus performing well between deep cleans. This process is quick and simple. I perform these steps after every few uses. It prevents major buildup and maintains flavor.
First, make sure your Crafty Plus is cooled down and turned off. Never attempt to clean a hot device. Remove the cooling unit from the top of the device. Gently twist it to detach. This prevents any accidental burns or damage.
Next, detach the mouthpiece from the cooling unit. You can simply pull it off. Use the included cleaning brush to brush out any loose herb material from the filling chamber. Turn the device upside down and tap it gently. This helps dislodge stuck particles.
Inspect the small screen in the cooling unit. If it looks clogged, gently push it out using the pointy end of the stirring tool. You will find extra screens in your Crafty Plus accessory kit. Replace the old screen with a fresh one if it is too dirty to clean. Replacing screens is part of good maintenance, similar to cleaning a water filter.
Use a cotton swab dipped in isopropyl alcohol to wipe down the inside of the filling chamber. Be careful not to let liquid drip into the device’s interior. Wipe the top edge of the filling chamber where the cooling unit sits. This area collects residue.
Clean the mouthpiece and the small parts of the cooling unit that are accessible. Use cotton swabs or a pipe cleaner with a small amount of IPA. Wipe away any visible resin. Let these parts air dry completely before reassembling. Routine cleaning prevents stubborn residue.
Reassemble the cooling unit and mouthpiece. Place the cooling unit back onto your Crafty Plus. Give your device a quick wipe down with a dry cloth. This removes any smudges or fingerprints. Your Crafty Plus is now ready for its next session, fresh and clean.
Deep Cleaning Your Crafty Plus Cooling Unit
The cooling unit is where most resin builds up. It requires a more thorough cleaning than routine maintenance. I typically deep clean my cooling unit once every few weeks. This ensures maximum airflow and vapor purity.
Start by fully disassembling the cooling unit. Remove the mouthpiece by pulling it off. Then, carefully twist the two halves of the cooling unit apart. This reveals the internal components. You will see several small O-rings and the cooling spiral.
Remove all silicone O-rings and the small black O-ring on the mouthpiece. Also, take out the cooling spiral. Place these small parts, along with the two halves of the cooling unit, into a small container. Make sure you do not lose any of the small parts.
Now, pour enough isopropyl alcohol (IPA) into the container to fully submerge all the disassembled parts. Let them soak for at least 30 minutes. For heavily soiled units, you can soak them for a few hours. The IPA will dissolve the sticky resin. Some users prefer to use vinegar for cleaning certain parts of a device, similar to how you might clean glass with vinegar, but for Crafty+ resin, IPA is generally superior.
After soaking, remove the parts from the IPA. Use a small brush or pipe cleaner to scrub away any remaining resin. Pay close attention to the cooling spiral and the narrow channels within the cooling unit halves. Ensure all surfaces are free of residue.
Rinse all the cleaned parts thoroughly under warm running water. This removes any leftover IPA and dissolved resin. Check each part closely to ensure no residue remains. If you see any, repeat the scrubbing and rinsing steps.
Lay all the parts out on a clean paper towel to air dry completely. This is a critical step. Any moisture left behind can affect device performance or cause issues. You can also use a gentle fan to speed up drying. Once dry, carefully reassemble the cooling unit. Make sure all O-rings are correctly seated. Your cooling unit is now spotless and ready for action.
Cleaning the Filling Chamber and Oven
The filling chamber, also known as the oven, is where your herbs are heated. This area needs regular attention to prevent charring and residue buildup. A clean filling chamber ensures even heating and better vapor production. I clean this section every few uses.
First, ensure your Crafty Plus is completely cool and turned off. Remove the cooling unit from the top of the device. Use the cleaning brush that came with your Crafty Plus. Brush out all loose herb material from the filling chamber. Turn the device upside down and tap it gently on a surface to help dislodge any stubborn bits.
Inspect the large screen at the bottom of the filling chamber. If it is heavily clogged, you can gently push it out from the inside using the stirring tool. Soak this screen in isopropyl alcohol (IPA) with your cooling unit parts, or replace it with a fresh one. Storz & Bickel provides extra screens in the accessory kit.
Dip a cotton swab in isopropyl alcohol (IPA). Gently wipe the inside walls of the filling chamber. Be careful not to press too hard or let excess liquid drip down into the heater. The aim is to wipe away resin and sticky residues. Pay attention to the corners and the rim where the cooling unit sits.
For stubborn, baked-on residue, you might need to use a toothpick or the included stir tool. Gently scrape away any hardened bits. Be very careful not to scratch the heating chamber surface. Work slowly and methodically. This takes a little patience.
Once you have cleaned the chamber with IPA, take a fresh cotton swab dipped in clean water. Wipe the inside of the filling chamber again. This helps remove any lingering IPA residue. It also ensures the chamber is truly clean.
Finally, allow the filling chamber to air dry completely. You can leave the cooling unit off for a while to promote airflow. Make sure there is no moisture left before turning on your device. A dry chamber prevents any unpleasant tastes or issues during your next session. A clean chamber ensures the best flavor from your herbs.
Advanced Tips & Tricks for a Spotless Crafty Plus
Beyond routine and deep cleaning, a few advanced tips can help you maintain your Crafty Plus. These techniques address common challenges and extend your device’s pristine condition. I use these methods to keep my device in top shape.
One useful tip is to clean screens regularly. Screens clog quickly with fine herb particles and resin. By cleaning or replacing them often, you maintain excellent airflow. You can soak screens in IPA alongside other cooling unit parts. Keep a stock of replacement screens on hand for easy swaps. This saves time and ensures good performance.
For heavily encrusted parts, particularly the cooling unit spiral, consider a longer IPA soak. If standard 30-minute soaks do not fully dissolve the resin, try soaking for several hours or even overnight. This gives the IPA more time to break down stubborn buildup. After a long soak, a light brush will remove any remaining gunk.
Using a “burn-off” cycle can help clean the filling chamber. After a thorough manual cleaning of the oven, reassemble your device without any material. Turn the Crafty Plus on and set it to its highest temperature. Let it run through a full heating cycle. This can vaporize any tiny residues left in the chamber. Ensure good ventilation during this process.
Maintain your O-rings. The silicone O-rings are crucial for a tight seal and proper airflow. Over time, IPA can dry them out. After cleaning, you can gently lubricate them with a tiny amount of food-grade silicone grease or even a thin layer of olive oil. This keeps them pliable and prevents cracking. This small step prolongs their life and ensures a good seal.
Consider using dosing capsules. Dosing capsules fit inside the filling chamber. They keep the chamber much cleaner by containing the herb. You only need to clean the capsule, not the chamber itself as often. This significantly reduces the frequency of deep cleaning your device’s oven. It also makes loading and unloading much easier.
Store your Crafty Plus properly. When not in use, keep your device in a clean, dust-free environment. This prevents dust and debris from entering the mouthpiece or filling chamber. A protective case is ideal for storage and transport. Proper storage contributes to overall cleanliness. These small efforts make a big difference over time.
Maintenance for Longevity: Best Practices
Maintaining your Crafty Plus goes beyond just cleaning. It involves a set of best practices that ensure your device lasts a long time. These habits protect your investment and guarantee consistent performance. I follow these practices diligently to maximize my device’s lifespan.
Store your device upright when not in use. This helps prevent any lingering residue or condensation from settling into critical components. It also minimizes the chance of spills if you leave any material in the chamber. An upright position promotes airflow through the device.
Avoid overpacking the filling chamber. Overpacking restricts airflow. It also puts undue strain on the heater. This can lead to uneven vaporization and more residue buildup. Leave a little space at the top for proper air circulation. A correctly packed chamber vaporizes more efficiently.
Charge your battery properly. The Crafty Plus uses a lithium-ion battery. Avoid fully draining the battery often. Charge it before it completely dies. Do not leave it plugged in indefinitely after it reaches full charge. Proper charging habits extend battery life.
Use only dry herbs. The Crafty Plus is designed for dry herb use. Using concentrates directly in the oven without a concentrate pad can cause a mess. It can also damage the heating chamber. If you want to use concentrates, ensure you use the proper liquid pad or dosing capsules designed for concentrates. This protects the oven.
Handle parts with care. The Crafty Plus has several small, delicate parts, especially the O-rings and screens. Be gentle when disassembling and reassembling. Force can break components or cause them to wear out faster. Take your time during cleaning and maintenance.
Replace worn parts promptly. O-rings can wear out, screens can tear, and the cooling unit might eventually show signs of wear. Storz & Bickel offers replacement parts. Replacing these components as needed maintains optimal performance and seal. Do not wait for a part to fail completely. Proactive replacement ensures your device always functions perfectly.
Keep the exterior clean. Wipe down the exterior of your Crafty Plus regularly with a damp cloth. This removes fingerprints, dust, and any external grime. A clean exterior reflects good overall care for your device. These small steps ensure your Crafty Plus serves you well for many years.
FAQ Section
How often should I clean my Crafty Plus?
For optimal performance and hygiene, routine cleaning after every 1-2 sessions is recommended. A deep clean of the cooling unit and filling chamber should be done every 10-15 sessions. Heavy users might need to clean more frequently. Regular care prevents difficult buildup.
Can I use water to clean the Crafty Plus?
You can rinse disassembled parts of the cooling unit and screens with water after cleaning them with isopropyl alcohol. However, do not use water on the main device body or the heating chamber directly. Water can damage the electronics. Always ensure all parts are completely dry before reassembly.
What is the best cleaning solution for the Crafty Plus?
High-purity isopropyl alcohol (IPA), 90% or higher, is the best cleaning solution for the Crafty Plus. It effectively dissolves resin and evaporates cleanly without leaving residue. Avoid using harsh chemicals or abrasive cleaners. The original cleaning tools provided by Storz & Bickel are also very helpful.
How do I remove stubborn resin from my Crafty Plus?
For stubborn resin, soak the disassembled cooling unit parts in isopropyl alcohol for an extended period, perhaps several hours or overnight. After soaking, use a small stiff brush or pipe cleaner to scrub the remaining residue. A toothpick can help dislodge very hard bits from crevices.
Can I put Crafty Plus parts in a dishwasher?
No, you should not put Crafty Plus parts in a dishwasher. The high heat and harsh detergents can damage the plastic, silicone O-rings, and other delicate components. Always clean parts manually with isopropyl alcohol and warm water rinse to ensure their longevity.
Why does my Crafty Plus smell burnt after cleaning?
A burnt smell after cleaning usually means some residual isopropyl alcohol or moisture remains. Ensure all parts are completely dry before reassembling and using the device. You can also perform a “burn-off” cycle by running the device at its highest temperature for a few minutes with an empty chamber to vaporize any lingering residue.
Conclusion
Keeping your Crafty Plus clean is essential for a superior vaporizing experience. Regular cleaning ensures pure flavor, consistent vapor production, and excellent airflow. We have covered everything from gathering your essential tools to advanced cleaning tips and best maintenance practices. By following these simple steps, you can prevent resin buildup and extend the lifespan of your device.
Remember to prioritize daily brushing and regular deep cleaning of your cooling unit with isopropyl alcohol. This proactive approach saves you time and frustration in the long run. A well-maintained Crafty Plus provides reliable, enjoyable sessions every time. Invest a little time in cleaning; your device and your taste buds will thank you. Start your cleaning routine today to truly unlock the full potential of your Crafty Plus.
- Crafty Plus
- Vaporizer Cleaning
- Device Maintenance
- Storz & Bickel
- Dry Herb Vaporizer
- Vaping Hygiene

