· Automotive Maintenance · 15 min read
How To Clean Egr Cooler
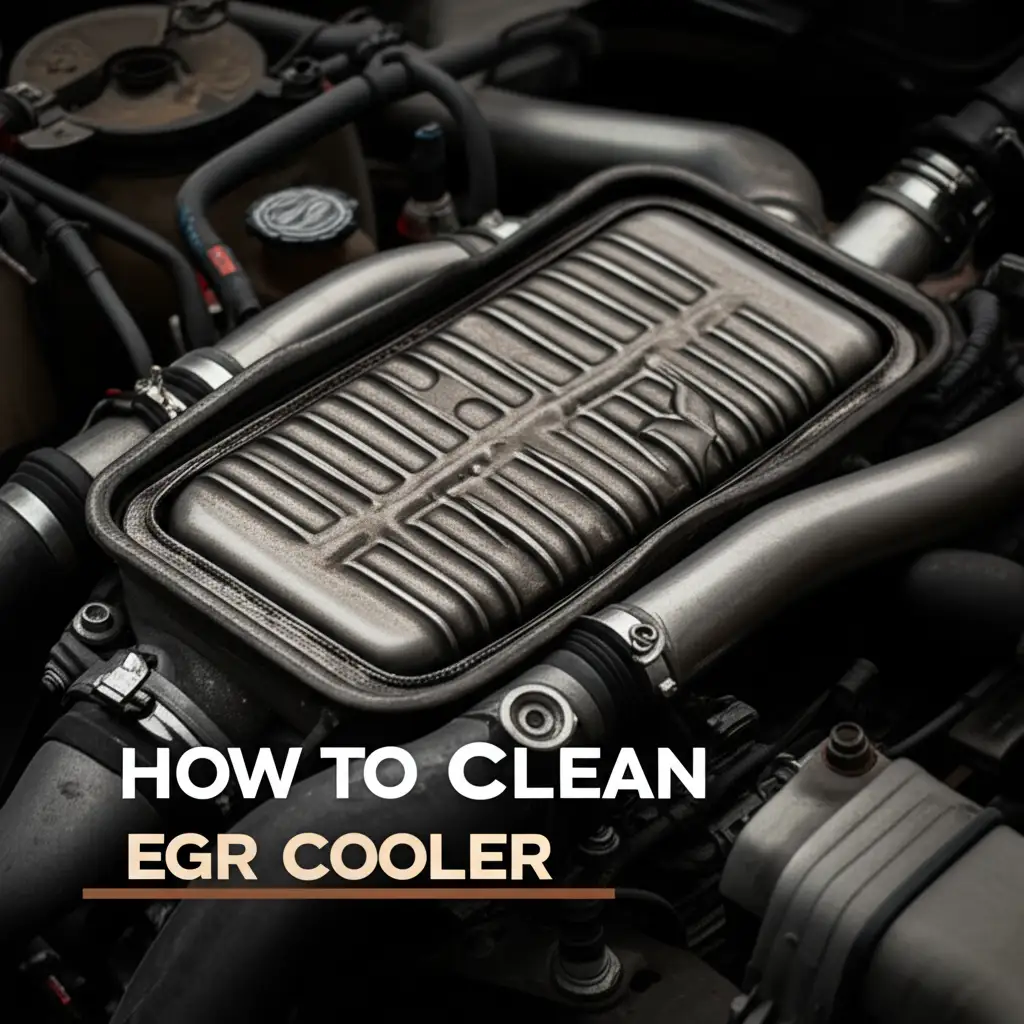
Master Your Vehicle: Comprehensive EGR Cooler Cleaning
Has your vehicle been acting a bit sluggish lately? Are you seeing that dreaded check engine light, or perhaps noticing a decrease in your fuel economy? These issues can often point to a dirty or clogged Exhaust Gas Recirculation (EGR) cooler. Learning how to clean an EGR cooler is an important skill for any vehicle owner. It helps maintain engine health and performance.
A clean EGR cooler ensures your engine runs smoothly. It also helps prevent costly repairs down the road. This guide will explain why cleaning your EGR cooler is important. It will also show you the clear steps to do it yourself. We will cover everything from understanding the EGR system to effective cleaning methods and important safety tips. Get ready to restore your vehicle’s power and efficiency.
Takeaway
- Identify Symptoms: Watch for reduced performance, poor fuel economy, and check engine lights as signs of a dirty EGR cooler.
- Prepare Safely: Always gather the right tools and safety gear before starting work on your vehicle.
- Choose Your Method: Decide between chemical soaking, mechanical cleaning, or a combination for best results.
- Prevent Future Buildup: Regular maintenance and good driving habits help keep your EGR cooler clean longer.
- Seek Help When Needed: Do not hesitate to consult a professional if the task feels too complex.
How do you clean an EGR cooler?
To clean an EGR cooler, first, you must carefully remove it from the vehicle. Then, you soak the cooler in a specialized carbon cleaner solution for several hours. After soaking, use brushes and compressed air to remove loosened carbon deposits from inside the cooler passages. Finally, rinse the cooler thoroughly with water and allow it to dry completely before reinstallation.
Understanding the EGR Cooler and Its Function
The Exhaust Gas Recirculation (EGR) system plays a vital role in your vehicle’s engine. It helps reduce harmful emissions. The EGR cooler is a key component of this system. It lowers the temperature of exhaust gases before they re-enter the engine. This cooling process is important. It makes the exhaust gases denser and less reactive. This helps to reduce nitrogen oxide (NOx) emissions. NOx contributes to smog and acid rain.
The EGR cooler works by passing hot exhaust gases through a series of fins or tubes. Engine coolant flows around these passages. This transfers heat from the exhaust to the coolant. Over time, these exhaust gases contain soot and carbon particles. These particles build up inside the cooler’s passages. This buildup restricts gas flow and reduces cooling efficiency. A clogged EGR cooler cannot do its job properly. This can lead to various engine problems.
Carbon buildup is the main culprit behind a dirty EGR cooler. This buildup acts like insulation. It prevents proper heat transfer. This causes the re-circulated exhaust gases to be hotter than they should be. Hotter gases entering the engine can lead to combustion issues. It can also cause increased engine temperatures. Understanding this function helps you see why regular EGR cooler cleaning is so important.
The EGR system, including the cooler, is a finely tuned part of your vehicle’s emission control. Keeping it clean ensures your engine operates within its designed parameters. It also helps your vehicle meet environmental standards. Ignoring a dirty EGR cooler can lead to more serious and expensive engine damage over time. This makes preventative cleaning a smart choice for any vehicle owner.
Signs Your EGR Cooler Needs Cleaning
Your vehicle often gives clear signals when something is wrong. A dirty EGR cooler is no exception. Paying attention to these signs can save you from bigger problems. One of the most common indicators is the illumination of your vehicle’s “Check Engine” light. This light comes on when the vehicle’s computer detects an issue within the engine or emission system. A clogged EGR cooler often triggers specific diagnostic trouble codes (DTCs). These codes point directly to EGR system malfunctions.
You might also notice a decrease in your vehicle’s overall performance. This can include reduced engine power or a lack of acceleration. The engine might feel sluggish or hesitant when you press the gas pedal. Another key sign is reduced fuel efficiency. A dirty EGR cooler makes the engine work harder to compensate. This extra effort consumes more fuel. You will find yourself filling up the tank more often than before.
Other symptoms can include rough idling or engine misfires. When the EGR cooler is blocked, exhaust gas flow becomes inconsistent. This can disrupt the air-fuel mixture in the cylinders. This leads to an unstable idle. You might feel the engine shake or vibrate more than usual at a standstill. In some cases, you might also see increased black smoke coming from the exhaust pipe. This indicates incomplete combustion due to the faulty EGR system.
Recognizing these signs early can prevent more significant engine problems. If you experience one or more of these symptoms, inspecting your EGR cooler is a good next step. Addressing the issue promptly helps maintain your vehicle’s reliability and performance. It also helps avoid expensive professional repairs.
Gathering Your Tools and Safety Gear
Before you begin any automotive repair, gathering the right tools is crucial. Cleaning an EGR cooler requires specific equipment. Having everything ready beforehand makes the process smoother. You will need a set of wrenches and sockets. These tools help you unbolt the EGR cooler from its mounting points. A screwdriver set may also be necessary for various clamps or smaller fasteners. Make sure you have both metric and standard sizes if your vehicle requires it.
You also need appropriate cleaning supplies. A specialized EGR cleaner or a strong degreaser is essential for breaking down carbon deposits. Some people use carb cleaner or oven cleaner, but be careful as these can be harsh. For mechanical cleaning, you will need various wire brushes. These should be small enough to fit inside the cooler’s passages. A long, flexible brush, like a bottle brush, is very useful. You might also want a scraper for stubborn buildup.
Safety should always be your top priority. Always wear safety glasses or goggles. This protects your eyes from debris and chemical splashes. Heavy-duty work gloves are also important. They protect your hands from harsh chemicals and sharp edges. Consider wearing a long-sleeved shirt and pants. This offers more skin protection. Work in a well-ventilated area. This minimizes exposure to fumes from cleaning agents.
Finally, have a collection pan or bucket ready. This will catch any coolant or cleaner that drains out during the process. Shop rags or old towels are also useful for wiping up spills. Having a clean work area and good lighting helps too. Proper preparation ensures you complete the job safely and effectively. This detailed preparation step is a cornerstone of effective automotive maintenance, much like preparing for any cleaning task such as how to clean an oil cooler radiator or a how to clean stainless steel surface.
Step-by-Step Guide to Removing the EGR Cooler
Removing the EGR cooler is often the most challenging part of the cleaning process. It requires careful attention to detail. Vehicle designs vary greatly, so always consult your specific vehicle’s service manual first. This manual provides exact locations and fastener types. Generally, you will start by locating the EGR cooler. It is typically found near the engine block, often connected to the exhaust manifold and intake manifold.
First, disconnect your vehicle’s battery. This prevents accidental electrical shorts. Then, drain a portion of your engine’s coolant. The EGR cooler is connected to the engine’s cooling system. You will see hoses attached to it. Place a drain pan underneath before you remove these hoses. This catches the draining coolant. Be ready for some coolant to spill.
Next, you need to disconnect the various pipes and hoses attached to the EGR cooler. These include exhaust gas pipes and coolant hoses. There may also be electrical connectors or vacuum lines. Use the correct wrench or socket for each fastener. Be gentle when disconnecting lines. Old hoses can be brittle. Labeling hoses and connectors can help with reassembly. Take pictures with your phone before disconnecting anything. This provides a visual reference for later.
Finally, unbolt the EGR cooler from its mounting brackets. There are usually several bolts holding it in place. Once all connections and bolts are removed, carefully pull the EGR cooler free. It may be heavy and contain residual coolant or carbon deposits. Be prepared to handle it. Set it aside on a clean, protected surface. Remember that some EGR systems also integrate a valve, and while this guide focuses on the cooler, understanding how to handle components like how to clean EGR valve without removing can provide valuable context for the entire system.
This removal process can take time. Do not rush it. Patience helps avoid damage to surrounding components. Once the cooler is out, you are ready for the cleaning stage.
Effective Methods for Cleaning the EGR Cooler
Once the EGR cooler is out, you can begin the cleaning process. There are several effective ways to remove the stubborn carbon buildup. The most common method involves soaking the cooler in a powerful cleaning solution. Find a container large enough to submerge the entire cooler. Pour in a specialized EGR cooler cleaner, or a strong carbon remover. Some mechanics use oven cleaner or concentrated degreasers. Always read the product instructions carefully. Leave the cooler to soak for several hours, or even overnight, depending on the severity of the buildup.
After soaking, the carbon deposits should be softened. Now, you can use mechanical methods to remove the loosened grime. Take various sizes of wire brushes. Use long, flexible brushes to reach deep into the cooler’s internal passages. Scrub thoroughly. Work the brushes back and forth to dislodge all remaining carbon. A small scraper can help with very stubborn, thick deposits around the openings. Be careful not to scratch or damage the delicate internal fins.
You can also use compressed air or a pressure washer. After scrubbing, blast compressed air through the passages. This helps blow out loose debris. If you have access to a pressure washer, use it carefully. Direct the high-pressure stream into the cooler’s inlets and outlets. This can powerfully dislodge remaining carbon. Always use eye protection. Be careful not to use too much pressure directly on the delicate fins. Some pressure washers are too strong for this. Start with a lower pressure setting.
Finally, rinse the EGR cooler thoroughly with clean water. Make sure all cleaning solution and carbon particles are flushed out. You might need to rinse several times until the water runs clear. After rinsing, allow the cooler to dry completely. You can use compressed air to speed up drying. Ensure no moisture remains inside before reinstallation. A dry cooler prevents rust and ensures proper function. This multi-step approach gives the best results for a truly clean EGR cooler.
Reinstallation and Post-Cleaning Checks
With your EGR cooler sparkling clean, the next step is to put it back into your vehicle. Reinstallation is essentially the reverse of the removal process. Start by carefully positioning the clean EGR cooler back into its mounting location. Ensure it aligns correctly with the bolt holes. Tighten the mounting bolts firmly but do not overtighten them. Refer to your vehicle’s service manual for specific torque specifications. This helps prevent damage to the cooler or the engine block.
Next, reattach all the pipes, hoses, and electrical connectors. Connect the exhaust gas pipes first. Ensure a tight seal to prevent exhaust leaks. Use new gaskets if the old ones were damaged or worn. Then, reattach the coolant hoses. Secure them with their clamps. Make sure these connections are also tight to prevent coolant leaks. If you took pictures during disassembly, refer to them now for correct placement. Connect any electrical or vacuum lines you removed. Double-check every connection.
Once everything is reattached, refill your engine’s cooling system. Use the correct type and amount of coolant specified for your vehicle. Bleed any air from the cooling system as recommended by your vehicle’s manufacturer. This often involves running the engine with the heater on high. Check the coolant level again after the engine cools down. Reconnect your vehicle’s battery.
Finally, perform post-cleaning checks. Start the engine and listen for any unusual noises. Look for leaks around the EGR cooler and its connections. Check for coolant or exhaust leaks. Take the vehicle for a short test drive. Pay attention to how the engine performs. The check engine light should turn off on its own after a few drive cycles. If it remains on, you may need to use an OBD-II scanner to clear the codes. If problems persist, it is wise to consult a professional mechanic.
Maintenance Tips to Prevent Future Clogging
Cleaning your EGR cooler is a great step. But regular maintenance can help prevent future clogs. Proactive care saves you time and money in the long run. One important tip is to use high-quality fuel. Better fuel often burns cleaner. This produces fewer carbon deposits. Low-quality or cheap fuel can leave more residue. This accelerates carbon buildup in your EGR system. Consider using fuel additives specifically designed to clean fuel injectors and combustion chambers. These can also help reduce carbon accumulation throughout the engine, including the EGR cooler.
Your driving habits also play a role. Short trips and constant low-speed driving can contribute to carbon buildup. This is because the engine does not get hot enough to burn off deposits efficiently. Try to include regular highway driving in your routine. Longer drives at higher engine speeds help the engine reach optimal operating temperatures. This allows the engine’s self-cleaning processes to work better. It helps burn off some of the carbon before it hardens.
Regular engine maintenance is crucial. Stick to your vehicle’s recommended service schedule. This includes oil changes, air filter replacements, and spark plug checks. A well-maintained engine runs more efficiently. An efficient engine produces fewer harmful emissions and less soot. This reduces the burden on your EGR system. Poorly maintained engines can contribute more carbon to the EGR cooler.
Consider periodic professional cleaning or inspection. Even with good habits, some buildup is inevitable. A mechanic can perform diagnostic checks to monitor your EGR system’s health. They might suggest a professional decarbonizing service. This service cleans the entire induction system. It helps keep your EGR cooler and other components clean. These preventative measures significantly extend the life of your EGR cooler. They also help your engine maintain peak performance.
Frequently Asked Questions
How often should I clean my EGR cooler?
The frequency depends on your vehicle type, driving habits, and fuel quality. For most diesel vehicles, inspecting the EGR cooler every 50,000 to 75,000 miles is a good idea. If you drive mostly short distances or in stop-and-go traffic, you might need to clean it more often. Listen to your vehicle for the signs of clogging mentioned earlier.
Can I clean the EGR cooler without removing it?
Cleaning an EGR cooler without removing it is very difficult. Some spray-on or pour-in cleaners claim to work, but they often do not fully remove stubborn carbon buildup deep within the cooler’s passages. For a thorough and effective cleaning, removing the cooler is almost always necessary to access all internal areas and physically scrub them.
What happens if I don’t clean my EGR cooler?
Ignoring a dirty EGR cooler leads to several problems. Your engine will experience reduced power and fuel efficiency. The check engine light will likely stay on. It can also cause increased exhaust emissions, engine misfires, rough idling, and even accelerate wear on other engine components. Long-term neglect can result in costly engine damage.
What is the best cleaner for an EGR cooler?
Specialized EGR cooler cleaning solutions are generally the most effective. These solutions are formulated to dissolve carbon deposits specifically. Strong degreasers or carburetor cleaners can also work but use them with caution. Always read product instructions. Some people use household items like oven cleaner, but be careful as they can damage certain materials if used improperly.
Is EGR cooler cleaning a DIY job?
Cleaning an EGR cooler can be a DIY job for those with mechanical experience and the right tools. It requires patience and careful adherence to instructions. If you are not comfortable working on your vehicle, or if the cooler is difficult to access, it is best to consult a professional mechanic. They have specialized tools and expertise.
How long does EGR cooler cleaning take?
The entire process, including removal, cleaning, drying, and reinstallation, can take several hours. For a first-timer, it might take a full day. The actual cleaning time depends on how heavily clogged the cooler is and the soaking time required for the cleaning solution to work. Prepare for a time-consuming but rewarding task.
Conclusion
Keeping your EGR cooler clean is a vital part of vehicle maintenance. You now understand its function and why carbon buildup is a problem. You also know the signs that tell you when your EGR cooler needs attention. We walked through gathering tools, safely removing the cooler, and using effective cleaning methods. Reinstallation and important post-cleaning checks were also covered. Finally, we looked at key maintenance tips to prevent future clogging.
Taking the time to clean your EGR cooler helps restore your vehicle’s performance. It improves fuel economy. It also helps reduce harmful emissions. This effort can prevent more serious and expensive engine problems later on. Remember, a well-maintained EGR system contributes to a healthier, more efficient engine.
Do not let a dirty EGR cooler compromise your vehicle’s health. Use the information in this guide to tackle the job yourself. If you ever feel uncertain, consult a qualified mechanic. Regular care ensures your vehicle runs smoothly for many miles to come. Act now to keep your engine running at its best!
- EGR cooler
- engine cleaning
- carbon buildup
- diesel engine
- vehicle maintenance