· Tile & Grout Care · 13 min read
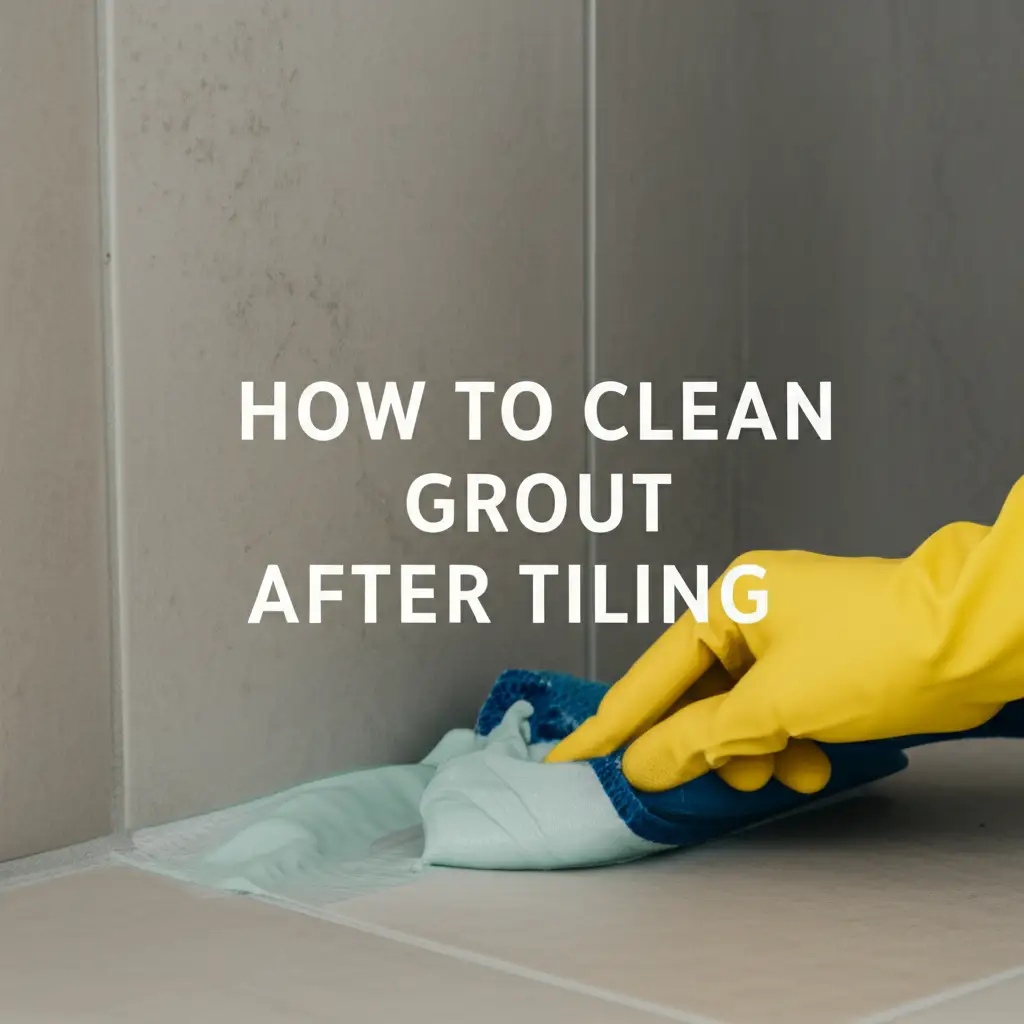
How To Clean Grout After Tiling
Master the Art of Cleaning Grout After Tiling
The fresh look of newly laid tiles brings great satisfaction. Yet, a common challenge follows: the dreaded grout haze. This thin film can dull your tiles and make the grout lines look messy. Proper initial cleaning is essential for a beautiful finish.
This article shares how to clean grout after tiling. We will cover the best timing, tools, and methods. We will also discuss common mistakes and how to avoid them. Learn to make your new tiled surfaces shine with confidence.
Takeaway
- Remove grout haze at the correct time.
- Use specific tools and cleaners for the job.
- Understand that different grout types need different care.
- Seal your grout to protect it for the future.
Clear Answer to the Main Query
To clean grout after tiling, wait for the grout to cure (usually 24-48 hours). Then, use a grout haze remover or a mild acidic solution like diluted white vinegar. Gently scrub the surface with a non-abrasive sponge. This removes residue without damaging the fresh grout lines.
Understanding Grout Haze and Its Appearance
Imagine your new tile work is complete. You step back, ready to admire your hard work. Then, you see it: a dull, cloudy film on the tile surface. This film is known as grout haze. It is a thin layer of grout residue left behind after the installation process.
Grout haze happens when excess grout is wiped away during tiling. Small particles remain on the tile face. These particles dry and create a hazy look. It is important to address this haze. Ignoring it means it can harden and become much harder to remove later. Getting rid of grout haze reveals the true beauty of your tiles.
Essential Tools and Materials for Post-Tiling Grout Cleaning
Cleaning grout after tiling requires the right gear. Using the correct tools makes the job easier and more effective. It also helps you avoid damage to your new surfaces. Gather these items before you begin your cleaning project.
You will need two clean buckets. One bucket holds your cleaning solution, and the other holds rinse water. A large sponge or grout sponge is perfect for applying solutions and wiping surfaces. Make sure your sponges are clean and soft. You also need several clean cloths for drying and final buffing.
For cleaning solutions, you will need a specialized grout haze remover. You can find this at most tile or hardware stores. Alternatively, a solution of warm water and white vinegar can work for cement-based grout. Remember to wear protective gear. This includes gloves and eye protection. A soft-bristle brush or grout brush helps with stubborn spots. However, use caution with brushes on fresh grout.
- Two Buckets: One for cleaner, one for rinse water.
- Large Sponges: For applying solutions and wiping.
- Clean Cloths: For drying and buffing.
- Grout Haze Remover: A commercial product designed for this task.
- White Vinegar: An alternative for cement-based grout, diluted with water.
- Rubber Gloves and Eye Protection: To protect your hands and eyes.
- Soft-Bristle Brush: For tough spots, used gently.
These tools are common for cleaning tile surfaces. For instance, cleaning large floor areas might benefit from a bigger sponge and mop system. For specific areas like showers, smaller brushes are sometimes useful. Consider looking at tips for how to clean tile grout on floors for more details on floor cleaning. Also, if you tiled your shower, you might want to review resources for how to clean grout in shower for specialized advice.
Step-by-Step Guide: Cleaning Grout After Tiling
Cleaning new grout needs careful steps. Following a plan ensures you remove the haze without harming your fresh tile work. Let’s walk through the process together, step by step.
1. Wait for Grout to Cure: This is the most important step. Grout needs time to harden and dry fully. Most cement-based grouts need 24 to 48 hours. Check the manufacturer’s instructions for your specific grout. Cleaning too soon can damage the grout lines. It can also cause discoloration or weaken the grout. Patience is key here.
2. Prepare Your Cleaning Solution: Mix your chosen cleaning agent. If using a commercial grout haze remover, follow its directions carefully. If using white vinegar, mix equal parts white vinegar and warm water in one of your buckets. This mild solution helps break down the haze. Ensure good ventilation in your work area.
3. Apply and Scrub Gently: Dip your clean sponge into the cleaning solution. Wring out excess liquid so the sponge is damp, not dripping. Wipe down a small section of your tiled surface. Let the solution sit for a few minutes, as recommended by the product or until the haze softens. Then, gently scrub the area with your sponge. Use circular motions. Avoid pressing too hard on the grout lines. You are lifting the haze, not scrubbing the grout itself. For very stubborn spots, a soft-bristle brush can help, but use it with extreme care.
4. Rinse Thoroughly: After scrubbing a section, immediately rinse it. Use your second bucket filled with clean, warm water. Dip a clean sponge into the rinse water. Wipe away the cleaner and loosened haze. Rinse the sponge often in the clean water bucket. It is very important to remove all cleaning solution residue. Leftover cleaner can leave its own film. Repeat this rinsing process several times until the surface feels clean and smooth.
5. Dry and Inspect: Use a clean, dry cloth to buff the section dry. Inspect the tiles and grout for any remaining haze. If you see more haze, repeat the cleaning process on that area. Continue working in small sections until all haze is gone. This careful approach helps you achieve a truly clean and professional finish. For general tips on floor cleaning techniques, you might find this article on how to clean floor grout without scrubbing useful. Also, if you have natural stone tiles, be extra cautious with cleaning agents; more information is available on how to clean natural stone tile and grout.
Specific Considerations for Different Grout Types
Not all grouts are the same. Each type has specific cleaning needs. Understanding your grout type prevents damage and ensures proper cleaning. Let’s look at the most common types.
Cement-Based Grout: This is the most common type. It is made from cement, sand, and water. After tiling, cement-based grout often leaves a visible haze. You can use mild acidic cleaners like diluted white vinegar for this type. However, avoid strong acids. Strong acids can eat away at the cement and damage the grout lines. Always test the cleaner in an inconspicuous area first. This checks for any adverse reactions with the grout or tile.
Epoxy Grout: Epoxy grout is very durable and stain-resistant. It is made from epoxy resins and a hardener. It creates a very strong bond. Epoxy grout haze is much tougher to remove than cement grout haze. Regular vinegar solutions do not work well on epoxy haze. You need a specialized epoxy grout haze remover. Apply these removers carefully. Follow the manufacturer’s instructions precisely. They are usually stronger and need immediate rinsing. Do not let them sit too long.
Unglazed and Natural Stone Tiles: These tiles need extra care. Unglazed tiles are porous and can absorb cleaners. Natural stone, like marble or travertine, is sensitive to acids. Using vinegar or strong cleaners on them can cause permanent etching or dullness. For these surfaces, only use pH-neutral cleaners specifically designed for natural stone. Always test cleaners in a hidden spot first. Be gentle when scrubbing. This helps protect the unique beauty of your natural stone. If you have marble floors, you can find more specific advice on how to clean grout on marble floors.
Knowing your grout type ensures you pick the right cleaning method. This prevents damage and leaves your tiled area looking its best.
Addressing Common Mistakes in New Grout Cleaning
Cleaning new grout seems simple, but common mistakes happen. These errors can damage your beautiful new tile work. Avoiding them ensures a perfect finish. Let’s discuss what to watch out for.
One major mistake is cleaning too soon. Grout needs time to cure and harden. Cleaning before the recommended 24-48 hour cure time can wash away fresh grout. It can also weaken its structure. Always check the grout manufacturer’s instructions for the specific curing time. Patience truly pays off here.
Another error is using harsh chemicals. While some cleaners are effective, strong acids or abrasive solutions can damage grout. They can also etch or discolor certain tile types, especially natural stone. Stick to recommended grout haze removers or mild, diluted solutions. For example, some people use hydrogen peroxide for cleaning grout, but it is typically for tougher, older stains, not fresh grout haze. If you ever need to deep clean later, you can learn how to clean grout with hydrogen peroxide.
Excessive scrubbing is also a mistake. New grout lines are still somewhat delicate. Scrubbing too hard can erode the grout surface. This creates uneven lines or even pulls grout out. Use gentle, circular motions with a soft sponge or cloth. Focus on lifting the haze, not abrading the grout.
Finally, not rinsing enough leaves residue behind. This residue can create a new film, almost like haze. Always use fresh, clean water for rinsing. Rinse several times until no cleaner or haze remains. Proper rinsing is key to a truly clean and clear surface. Taking these precautions helps keep your new tiles and grout in perfect condition.
Sealing Your Grout for Long-Term Protection
Once your grout is clean and fully cured, it is time to protect it. Sealing grout is a vital step for long-term durability and cleanliness. This process helps your grout resist stains, moisture, and mold growth.
Why Sealing Is Important: Grout is naturally porous. This means it has tiny holes that can absorb liquids. Spills, dirt, and even everyday cleaning water can penetrate unsealed grout. Over time, this leads to discoloration, stains, and the growth of mold or mildew. A good sealer forms a protective barrier. This barrier makes the grout water-resistant and much easier to clean. It keeps your grout looking fresh for years.
When to Seal: Do not seal grout immediately after cleaning. The grout must be completely dry and fully cured. This usually means waiting 48 to 72 hours after the initial cleaning, or even longer depending on humidity and grout type. Check the grout manufacturer’s instructions for precise cure times. Applying sealer too soon can trap moisture within the grout, causing problems later.
Types of Sealers: Two main types of grout sealers exist. Penetrating sealers soak into the grout. They create an invisible barrier below the surface. These are generally long-lasting and do not change the look of the grout. Surface sealers, on the other hand, form a protective layer on top of the grout. They can sometimes change the sheen of the grout. Always choose a sealer compatible with your specific grout type. For instance, some sealers are formulated for cement-based grout, while others are for epoxy.
Application Tips: Applying sealer is a straightforward process. First, ensure the grout is perfectly clean and dry. Use a small brush or applicator bottle to apply the sealer directly to the grout lines. Wipe away any excess sealer from the tile surface immediately. Let the first coat dry, then apply a second coat if recommended by the product. Buff off any remaining residue. Once sealed, your grout is ready to face everyday life. This step is crucial for maintaining cleanliness and preventing future issues like grout that has turned black over time. For ongoing maintenance tips, consider resources like how to clean shower tiles and grout as they often include sealing advice.
Maintaining Your Newly Cleaned Grout
You have successfully cleaned and sealed your new grout. Now, how do you keep it looking great? Regular maintenance prevents dirt and grime buildup. This ensures your tiles and grout stay beautiful for a long time.
Routine Cleaning Tips: Make cleaning grout a part of your regular cleaning schedule. For daily upkeep, simply wipe spills quickly. For routine cleaning, use a mild, pH-neutral cleaner. Mix it with warm water. Wipe down your tiled surfaces with a soft cloth or sponge. This gentle approach removes surface dirt without harming the grout or its sealer. Avoid harsh chemicals or abrasive scrubbers for everyday cleaning. They can break down the sealer over time.
Avoiding Future Issues: The best way to keep grout clean is to prevent it from getting dirty. In high-traffic areas, or places prone to moisture like showers, clean more often. Good ventilation helps prevent mold and mildew growth. Fix leaks immediately. These simple actions make a big difference in maintaining cleanliness. If you have floor tiles, gentle regular cleaning helps prevent deep stains. For more tips on general floor grout maintenance, you can check out articles on how to clean tile grout on floors.
Gentle Cleaners for Maintenance: Many commercial tile and grout cleaners are safe for sealed grout. Always choose products that state they are pH-neutral. You can also use a mixture of warm water and a small amount of mild dish soap. Apply it with a soft sponge. Always rinse thoroughly with clean water after cleaning. This removes any soap residue. By following these simple maintenance steps, your grout will stay vibrant and clean for many years.
FAQ Section
Q: How long should I wait to clean grout after tiling? A: Wait for the grout to fully cure. This is typically 24 to 48 hours for cement-based grout. Check the specific grout manufacturer’s instructions. Cleaning too early can damage the fresh grout lines and affect their strength.
Q: Can I use vinegar to clean new grout? A: You can use a diluted white vinegar solution (50/50 with water) on cement-based grout once it is cured. However, avoid vinegar on natural stone tiles. Always test in an inconspicuous area first to ensure it does not cause discoloration.
Q: What is grout haze? A: Grout haze is a dull, cloudy film that appears on tiles after grouting. It is dried residue from the grout that was wiped away during installation. It needs to be removed to show the true color and shine of the tiles.
Q: How often should I clean newly tiled grout? A: For general maintenance, clean your newly tiled grout as part of your regular home cleaning routine, perhaps weekly or bi-weekly. In high-moisture areas like showers, clean more frequently. This prevents buildup and maintains appearance.
Q: Is it okay to use a power washer on new grout? A: No, do not use a power washer on new grout. The high pressure can easily damage the fresh grout lines. It can also strip away the grout or push water behind the tiles. Stick to gentle scrubbing methods.
Q: When should I seal new grout? A: Seal new grout only after it has fully cured and all haze is removed. This usually means waiting 48 to 72 hours after cleaning, or as per the grout manufacturer’s specific guidelines. The grout must be completely dry.
Conclusion
Cleaning grout after tiling is a crucial step for a perfect finish. It transforms your newly installed tiles from good to outstanding. By understanding grout haze and using the correct methods, you can easily remove this common problem. Remember to wait for proper curing, use the right tools, and clean gently.
Sealing your grout after it is clean and dry adds an essential layer of protection. This step defends against stains and moisture. It keeps your grout looking fresh for many years. Regular, gentle maintenance ensures the lasting beauty of your tile work. With these tips, you are ready to tackle the task of cleaning grout after tiling. Enjoy your beautifully clean and protected surfaces!
- grout cleaning
- tile installation
- grout haze removal
- post-tiling cleanup