· Smart Home Maintenance · 12 min read
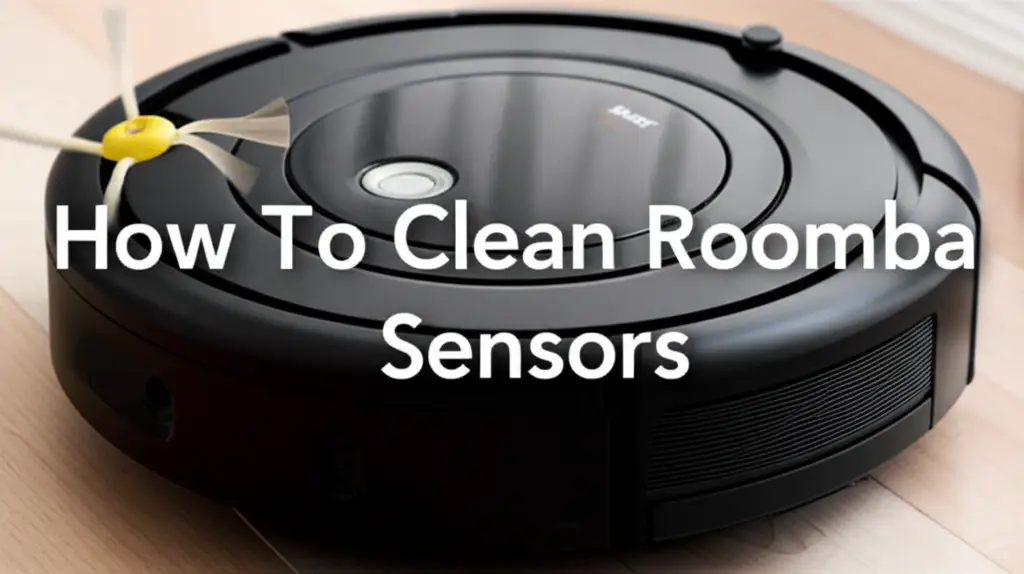
How To Clean Roomba Charging Contacts
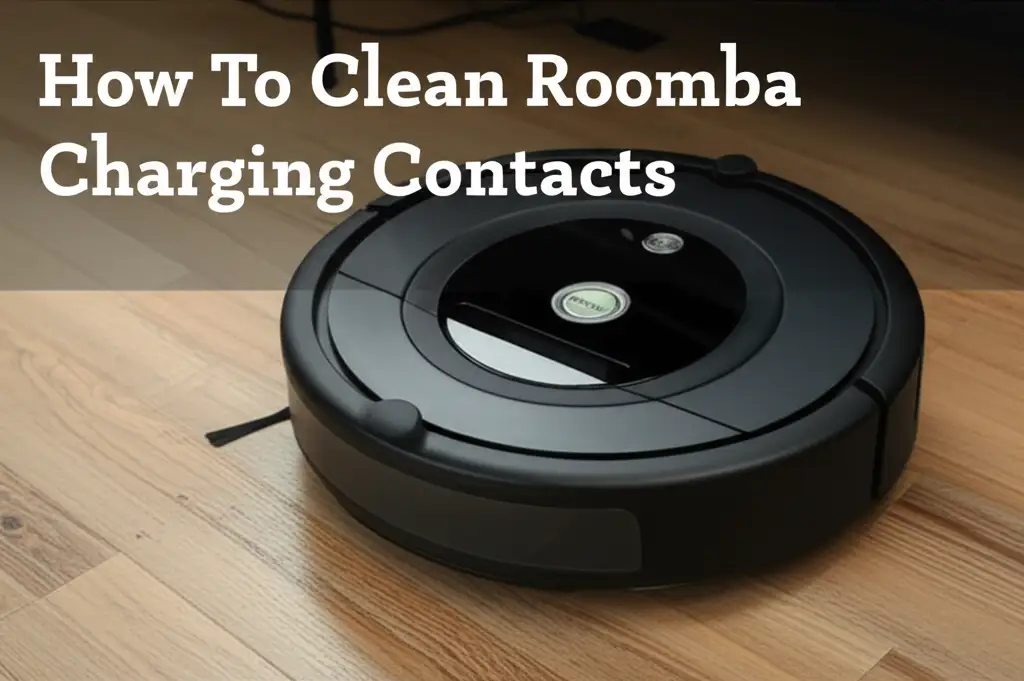
Restore Roomba Charging: Clean Contacts Today
Is your Roomba struggling to charge? A common culprit is dirty charging contacts. Over time, dust, grime, and debris can build up on these vital connection points. This buildup prevents your Roomba from getting the power it needs. Cleaning these contacts is a simple and effective maintenance task. I will guide you through the process, ensuring your Roomba stays ready to clean.
Takeaway
- Always power off and unplug your Roomba and Home Base before cleaning.
- Use a dry microfiber cloth first to remove loose debris.
- Apply 99% isopropyl alcohol with a cotton swab for stubborn grime.
- Allow contacts to dry completely before reassembling and charging.
- Regular cleaning prevents charging issues and extends Roomba life.
Direct Answer
To clean Roomba charging contacts, first power off and unplug the robot and its Home Base. Use a dry microfiber cloth to wipe both sets of contacts. For tougher grime, dampen a cotton swab with 99% isopropyl alcohol. Gently scrub the contacts. Allow them to air dry fully before reconnecting and charging your Roomba.
Why Your Roomba Needs Clean Contacts
Your Roomba works hard, picking up dust and debris from your floors. This daily operation exposes it to a lot of particles. These particles are not just on the floor. They can also settle on the Roomba’s charging contacts. Dirty contacts are a major reason for charging problems.
The charging contacts are small metal plates. They sit on the bottom of your Roomba and on the Home Base. When the Roomba docks, these plates connect. This connection allows electricity to flow. It charges the Roomba’s battery.
Over time, dust, hair, and even residue from cleaning solutions can accumulate on these contacts. This buildup creates a barrier. It prevents a solid electrical connection. Your Roomba might show a charging error. It may also simply fail to charge.
A poor connection can also lead to other issues. Your Roomba might not complete its cleaning cycles. Its battery life could seem shorter. Regular cleaning of these contacts ensures efficient power transfer. It helps your Roomba perform its best. Ignoring dirty contacts can damage the battery over time.
Essential Tools for Cleaning Roomba Charging Contacts
Cleaning your Roomba’s charging contacts requires only a few simple items. You likely have most of these at home already. Using the correct tools ensures a safe and effective cleaning process. I always make sure to have these on hand before starting.
First, you will need a clean, dry microfiber cloth. This cloth is gentle. It will not scratch the delicate contact surfaces. It is excellent for wiping away loose dust and light grime. A soft cloth is key for this job.
Next, get some 99% isopropyl alcohol. This type of alcohol is crucial because it evaporates quickly. It leaves no residue behind. Avoid using water or household cleaners. These can damage electronic components. This kind of alcohol is safe for electronics.
You will also need cotton swabs. These are perfect for precise cleaning. They can reach small crevices. They also help apply the alcohol directly to the contacts. Cotton swabs allow for detailed work.
Optionally, you might want a small, soft-bristled brush. An old toothbrush works well for this. This brush can help dislodge stubborn debris. Use it gently to avoid damage. Compressed air can also clear dust from hard-to-reach areas.
Before you begin, always unplug the Roomba and its Home Base from the wall outlet. Safety comes first when working with electronics. Make sure everything is powered down. This prevents any accidental shocks or damage.
Step-by-Step Guide to Cleaning Your Roomba’s Contacts
Cleaning the Roomba charging contacts is straightforward. Follow these steps carefully for the best results. I find this routine simple and effective. It keeps my Roomba running smoothly.
Cleaning the Roomba’s Underside Contacts
Power Off and Unplug: First, turn your Roomba off. Remove it from its Home Base. Unplug the Home Base from the wall outlet. This step is vital for your safety.
Locate the Roomba’s Contacts: Turn the Roomba over. Look for two small, metallic strips on its underside. These are the charging contacts. They are usually flat or slightly raised.
Wipe with a Dry Cloth: Take your dry microfiber cloth. Gently wipe the metallic contacts on the Roomba. This removes any loose dust, hair, or surface grime. Sometimes, this is all that is needed.
Apply Isopropyl Alcohol (If Needed): If the contacts still look dirty, dampen a cotton swab with 99% isopropyl alcohol. Do not soak the swab. Just make it damp. Gently rub the alcohol-dampened swab over the Roomba’s contacts. You might see dirt transferring onto the swab. This means it is working. The alcohol cleans away sticky residues or oxidation. Cleaning charging ports on other devices, like phones, uses a similar method. Learn how to clean a phone charging port.
Allow to Dry: Let the Roomba contacts air dry completely. Isopropyl alcohol evaporates quickly. This usually takes only a few minutes. Do not put the Roomba back on the base until the contacts are fully dry.
Cleaning the Home Base Charging Strips
Locate Home Base Contacts: Find the two metallic charging strips on the Home Base. These are the points that touch the Roomba’s contacts. They are often prominent on the front of the base.
Wipe with a Dry Cloth: Use a fresh, dry microfiber cloth. Wipe down the Home Base contacts. Remove any visible dust or debris. These strips can also collect significant amounts of dirt.
Apply Isopropyl Alcohol (If Needed): If dirt remains, use a new cotton swab. Dampen it with 99% isopropyl alcohol. Gently scrub the Home Base contacts. Pay attention to any discolored areas. Stubborn grime can build up here. Many charging ports, like those for USB-C devices, benefit from alcohol cleaning too. Discover how to clean a USB-C charging port.
Allow to Dry: Ensure the Home Base contacts are completely dry before plugging it back in. Again, the alcohol will evaporate fast. This short waiting period is important for safety.
Once both sets of contacts are dry, plug the Home Base back into the wall. Place your Roomba onto the Home Base. It should now charge properly. Observing the charging indicator lights confirms success. This simple cleaning routine makes a big difference.
Advanced Tips for Stubborn Roomba Charging Contact Issues
Sometimes, a basic cleaning might not fully resolve your Roomba’s charging problems. Stubborn grime or minor corrosion can be tricky. I have found these advanced tips helpful when basic steps are not enough. They can tackle more persistent issues.
First, consider the type of residue. If it is more than just dust, like sticky spills or oxidized areas, you need a bit more effort. After using isopropyl alcohol, gently scrub with more pressure. Use a fresh cotton swab for each pass. Keep cleaning until no more dirt transfers to the swab. This focused approach often dislodges tougher buildup.
For very stubborn, dark spots, you might use a non-abrasive item. A pencil eraser can sometimes lift light corrosion. Rub it very gently over the contact. Follow up immediately with an alcohol-dampened swab. Never use metal tools or abrasive materials. They can scratch or damage the contacts. This damage can worsen the charging issue. It can even make it permanent.
Inspect the contacts closely for any physical damage. Are they bent or deeply scratched? Sometimes, a contact might be slightly recessed. This prevents a proper connection. If you see visible damage, cleaning may not fix the problem. In such cases, the issue might be mechanical. This calls for different solutions.
If your Roomba still struggles after thorough cleaning, consider other factors. Check the battery itself. Older batteries can lose their ability to hold a charge. Also, check the Roomba’s firmware. Ensure it is updated. Software glitches can sometimes affect charging. I make sure my Roomba’s software is current.
Remember, patience is key with advanced troubleshooting. Do not force anything. If you suspect an internal problem, or if physical damage is present, professional help might be needed. Sometimes, the problem goes beyond simple contact cleaning. Just like cleaning an iPhone charging port, deep issues require care. Learn more about cleaning an iPhone charging port with alcohol.
Preventing Future Roomba Charging Contact Problems
Proactive maintenance is easier than reactive repairs. Preventing future buildup on your Roomba’s charging contacts saves you time and frustration. I follow a few simple practices to keep my Roomba charging reliably. These tips extend the life of your device.
First, establish a regular cleaning schedule for the contacts. I recommend cleaning them at least once a month. If you have pets or a very dusty home, do it more often. A quick wipe-down prevents significant buildup. This simple habit keeps connections strong. It also gives you a chance to check the Roomba’s general condition.
Consider where you place your Home Base. Place it in an area with good airflow. Avoid dusty corners or carpets that shed a lot of fibers. An area prone to dust accumulation will inevitably lead to dirtier contacts. A clean environment around the base helps. This reduces the amount of airborne debris settling on the contacts.
Regularly clean the area around the Home Base. Sweep or vacuum around it. This prevents dust and pet hair from reaching the contacts. A tidy charging station environment benefits your Roomba. It makes sure less grime gets onto the charging surfaces.
Pay attention to your Roomba’s overall cleanliness. Empty the dustbin frequently. Clean the brushes and filters regularly. A clean Roomba is less likely to transfer dirt to its charging contacts. This holistic approach to maintenance helps. It ensures optimal performance across the board.
If you notice any unusual behavior during charging, address it promptly. Do not wait for a complete charging failure. Early intervention can prevent minor issues from becoming major problems. This keeps your Roomba operational and extends its lifespan. Just as a clean Mac charging port ensures consistent power, regular Roomba contact cleaning does the same. Explore how to clean a Mac charging port.
When to Seek Professional Help for Roomba Charging
While many charging issues stem from dirty contacts, some problems require professional attention. Knowing when to stop DIY attempts can save you money and prevent further damage. I understand that sometimes, a problem is beyond my ability to fix.
If you have thoroughly cleaned both sets of contacts and the Roomba still won’t charge, it is time to consider other causes. The issue might not be the contacts themselves. The battery could be faulty. Roomba batteries have a finite lifespan. If your Roomba is several years old, a new battery might be necessary. This is a common wear-and-tear item.
Another possibility is an internal component failure. The charging circuit inside the Roomba or the Home Base could be damaged. These components are complex. They are not meant for user repair. Attempting to fix internal electronics can be dangerous. It can also void any remaining warranty.
Check your Roomba’s error codes or indicator lights. The specific blinking patterns or messages can point to the problem. Consult your Roomba’s manual or the iRobot support website for these codes. Understanding the error can guide your next step. Sometimes, it directly tells you if a component is broken.
If your Roomba is still under warranty, contact iRobot customer support. They can provide troubleshooting steps. They may also offer repair or replacement services. Do not try to open the Roomba yourself if it is under warranty. This action will void the warranty.
For out-of-warranty devices, you might seek an authorized repair center. Weigh the cost of repair against the cost of a new Roomba. Sometimes, especially with older models, buying a new one is more economical. A professional can diagnose the exact issue. They can advise you on the best course of action.
FAQ Section
Q1: How often should I clean my Roomba charging contacts?
I recommend cleaning Roomba charging contacts at least once a month. For homes with pets or high dust levels, clean them every two weeks. Regular cleaning prevents dirt buildup. This maintains a strong connection. It helps ensure consistent charging and optimal performance for your robot vacuum.
Q2: Can I use water to clean Roomba contacts?
No, do not use water to clean Roomba charging contacts. Water can cause corrosion and damage electronic components. Always use 99% isopropyl alcohol. It evaporates quickly and leaves no residue. This ensures a safe and effective cleaning process.
Q3: Why is my Roomba not charging after cleaning the contacts?
If your Roomba still doesn’t charge after cleaning the contacts, the issue might be elsewhere. The battery could be old or faulty. The Home Base power adapter might be defective. There could also be internal damage to the Roomba’s charging circuit. Check your Roomba’s error messages for clues.
Q4: What if the Home Base contacts are dirty?
Dirty Home Base contacts are just as problematic as dirty Roomba contacts. They also need regular cleaning. Use a dry microfiber cloth first. Then, use a cotton swab dampened with 99% isopropyl alcohol. Ensure they are completely dry before plugging the base back in.
Q5: Does cleaning contacts improve battery life?
Cleaning Roomba charging contacts improves the efficiency of charging, not necessarily the battery’s inherent lifespan. A proper connection ensures the battery receives its full charge every time. This prevents undercharging, which can stress the battery. Over time, consistent full charges help maintain battery health, but it won’t make an old battery new again.
Conclusion
Keeping your Roomba’s charging contacts clean is a simple yet crucial maintenance task. It directly impacts your robot vacuum’s performance and longevity. By following these straightforward steps, you ensure your Roomba always gets the power it needs. A clean connection means less hassle for you. It means a consistently clean home.
I have found that regular cleaning prevents many common charging issues. It ensures my Roomba is always ready for its next cleaning cycle. This proactive approach saves time and avoids frustration. A well-maintained Roomba is a reliable cleaning partner.
Take a few minutes each month to inspect and clean these vital contact points. Use the right tools: a microfiber cloth and 99% isopropyl alcohol. This small effort goes a long way. It extends the life of your valuable smart home device. Keep your Roomba charging contacts pristine. Enjoy a consistently clean home, effortlessly.
- Roomba cleaning
- charging contacts
- robot vacuum maintenance
- Roomba troubleshooting
- battery care