· Beauty & Self-Care · 17 min read
How To Clean Tanning Mitt
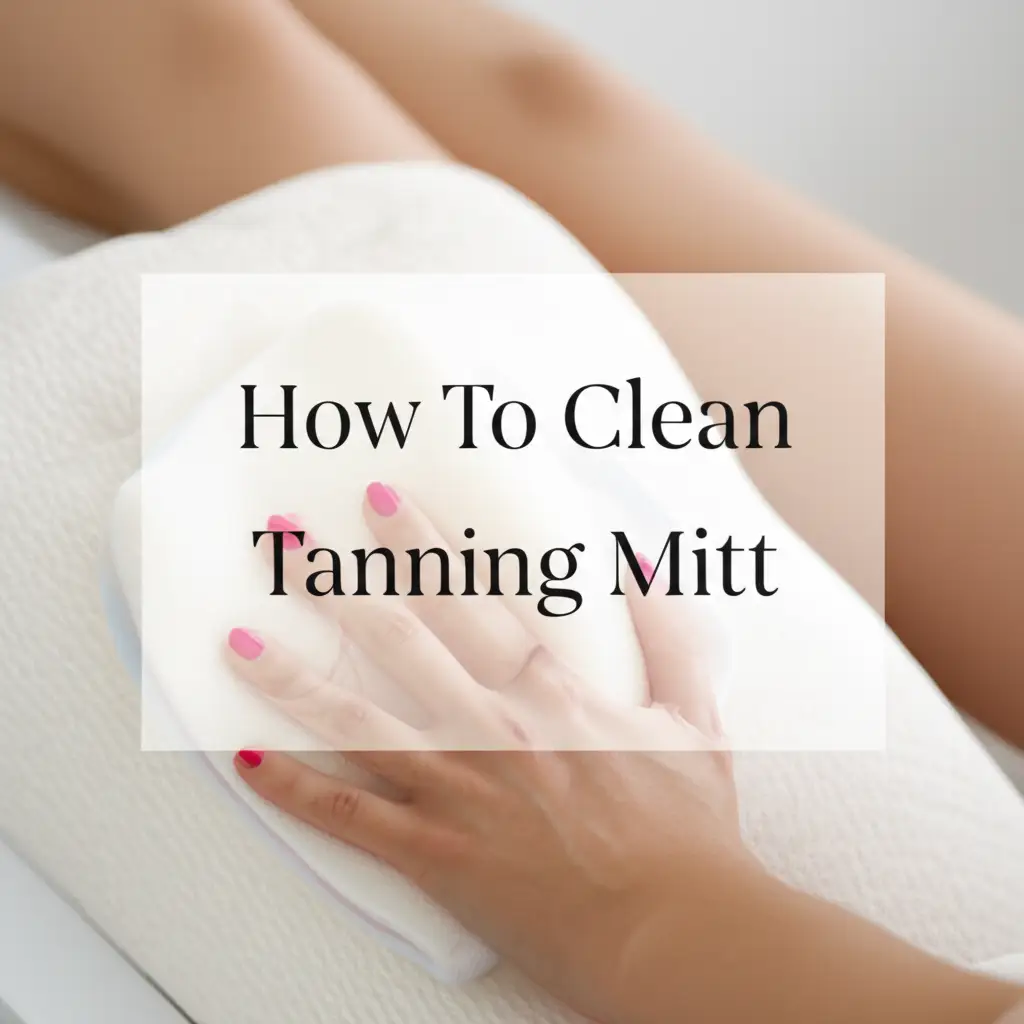
Keep Your Glow: How to Clean Your Tanning Mitt Effectively
Have you ever reached for your self-tanning mitt, only to find it stiff, stained, and smelling less than fresh? I know the feeling. A dirty tanning mitt can ruin your perfect glow, leaving streaks and uneven patches on your skin. It also becomes a breeding ground for bacteria, which is certainly not what you want on your skin. Fortunately, learning how to clean a tanning mitt is a simple task that makes a big difference.
Properly cleaning your tanning mitt ensures a flawless, streak-free application every time you use it. It also extends the lifespan of your mitt, saving you money in the long run. In this comprehensive guide, I will share the best methods for how to clean tanning mitts, from simple handwashing techniques to tackling stubborn stains. Get ready to keep your tanning accessory in top condition and achieve that beautiful, natural-looking tan you desire.
Takeaway
- Clean your tanning mitt immediately after each use.
- Handwash with mild soap and warm water for best results.
- Air dry completely to prevent mold and mildew growth.
- Address stubborn stains with gentle pre-soaking or vinegar solutions.
How do you clean a tanning mitt?
You clean a tanning mitt by handwashing it immediately after each use with warm water and a mild soap or shampoo. Gently rub the mitt to loosen tanning residue. Rinse thoroughly until the water runs clear. Squeeze out excess water and allow the mitt to air dry completely before storing.
Why Cleaning Your Tanning Mitt Matters for a Perfect Tan
Many people overlook the importance of cleaning their tanning mitt. I used to be guilty of this too. However, a clean tanning mitt is crucial for achieving a flawless self-tan. When you use a dirty mitt, old product residue builds up on the surface. This buildup can create uneven patches and streaks during your next application. It makes getting that smooth, natural-looking finish much harder.
Beyond aesthetics, hygiene is a significant concern. Tanning products, especially when left on a damp mitt, can encourage bacterial growth. Applying a mitt with bacteria to your skin is not ideal. It can lead to skin irritation or breakouts. A clean mitt ensures a more hygienic and safer tanning experience for your skin. Think of your tanning mitt as a beauty tool, just like a makeup brush. You wouldn’t use a dirty makeup brush on your face, right? The same principle applies here.
Finally, cleaning your mitt properly extends its life. Dried self-tanner makes the mitt stiff and less effective. Regular washing keeps the fibers soft and pliable, ensuring it glides smoothly over your skin. This means you won’t need to replace your mitt as often. Investing a few minutes to clean your tanning mitt pays off in better tanning results and a longer-lasting accessory.
Essential Supplies for Cleaning Your Tanning Mitt
Before you start cleaning your tanning mitt, gather a few basic supplies. You probably already have most of these items around your house. Using the right products makes the cleaning process easier and more effective. It also helps protect the integrity of your mitt. I find that having everything ready saves time and ensures I don’t skip this important step.
You will need warm water. This helps loosen and dissolve the tanning product. A mild soap or shampoo is also essential. Gentle hand soap, baby shampoo, or even a mild dish soap works well. Harsh detergents can damage the mitt’s fibers, so avoid them. Some people use specialized mitt cleansers, but they are not always necessary. I typically stick to what I have on hand.
For stubborn spots, a soft brush or an old toothbrush can be useful. This helps gently scrub away dried-on residue without damaging the mitt. A clean towel is good for blotting excess water. Having these simple tools ready ensures a smooth and efficient cleaning session. Prepare your cleaning area, whether it’s your bathroom sink or a basin, before you begin.
Step-by-Step Guide: Hand Washing Your Tanning Mitt
Hand washing is often the best and gentlest method for cleaning your tanning mitt. This approach allows you to focus on stained areas and ensures thorough cleaning without damaging the mitt’s delicate fibers. I always recommend washing your mitt immediately after each use. This prevents the self-tanner from drying and setting into the fabric, making future cleaning much easier. The fresher the stain, the easier it is to remove.
Here are the simple steps I follow to hand wash my tanning mitt:
- Rinse Immediately: As soon as you finish applying self-tanner, take your mitt to the sink. Rinse it under warm running water. This initial rinse removes much of the fresh product before it can dry. You will see the brown water running off as you do this.
- Apply Soap: Put a small amount of mild soap, like hand soap or baby shampoo, directly onto the mitt. Work the soap into the mitt’s surface with your fingers. Gently rub the mitt against itself to create a lather. Focus on areas with visible product buildup.
- Massage and Rinse: Continue massaging the mitt, working the soap into all areas. You should see the tanning solution being released. Rinse the mitt thoroughly under warm water, squeezing it gently to help the water penetrate and flush out the soap and residue. Keep rinsing and squeezing until the water runs completely clear. This ensures all the product and soap are removed. You can also do this in your shower after tanning, which can help clean your shower floor at the same time.
- Squeeze Out Excess Water: Once the water runs clear, gently squeeze out as much excess water as possible. Do not wring the mitt aggressively, as this can stretch or damage the material. You want it damp, not dripping.
- Air Dry: Lay the mitt flat on a clean towel or hang it up to air dry. Ensure it is in a well-ventilated area, away from direct sunlight or heat. Allowing it to air dry completely is crucial to prevent mildew or bacterial growth. Never put your tanning mitt in a machine dryer, as high heat can damage the material and cause it to shrink or melt.
Following these steps will keep your tanning mitt soft, clean, and ready for your next perfect application.
Machine Washing Your Tanning Mitt: When and How
While hand washing is the preferred method for daily maintenance, you might wonder if you can machine wash your tanning mitt for a deeper clean. The answer is yes, but with some precautions. Machine washing can be a convenient option, especially if your mitt is particularly soiled or if you prefer less hands-on cleaning. However, it is not suitable for all types of tanning mitts. Always check the care instructions that came with your specific mitt. Some delicate materials might not hold up well in a washing machine.
If your mitt is suitable for machine washing, here’s how to do it safely:
- Pre-Rinse: Before tossing it in the machine, give your mitt a quick hand rinse under warm water. This helps remove excess fresh product and prevents it from transferring to other laundry items. It also helps pre-treat the mitt for a more effective machine wash.
- Use a Laundry Bag: Place your tanning mitt inside a mesh laundry bag. This protects the mitt from snagging or getting damaged by other clothes in the wash. It also prevents the mitt from getting lost inside the washing machine drum. This step is important for preserving the mitt’s shape and material.
- Choose the Right Setting: Select a delicate or gentle cycle on your washing machine. Use cold or lukewarm water, as hot water can cause the mitt to shrink or deform. Add a small amount of mild laundry detergent. Avoid using bleach or fabric softener, as these can be too harsh for the mitt’s material and may leave residue that affects future tanning applications.
- Wash Separately or with Like Colors: It’s best to wash your tanning mitt separately or with a small load of dark-colored items that won’t be stained by any residual self-tanner. Avoid washing it with whites or light-colored laundry, just in case some tint remains.
- Air Dry Only: After the wash cycle, remove the mitt from the laundry bag. Never put your tanning mitt in the dryer. The high heat can melt the internal foam or synthetic fibers, ruining the mitt’s texture and effectiveness. Instead, lay it flat on a clean towel or hang it to air dry completely in a well-ventilated area.
Machine washing can be a good option for a deeper clean, but always prioritize gentle care and air drying to keep your tanning mitt in optimal condition.
Dealing with Stubborn Stains and Buildup
Sometimes, despite your best efforts, your tanning mitt can develop stubborn stains and heavy product buildup. This usually happens if you don’t clean it immediately after use or if you’ve used it multiple times without a thorough wash. Don’t worry; these stains are not impossible to remove. I’ve found a few tricks that work well for tackling even the toughest discoloration. These methods often involve a little extra soaking and gentle scrubbing.
Here are some strategies for dealing with stubborn stains:
- Pre-Soaking: For heavily stained mitts, a pre-soak can work wonders. Fill a basin with warm water and add a few drops of mild soap or a small amount of laundry pre-soak solution. Submerge the mitt and let it soak for 15-30 minutes. This helps soften and loosen the dried tanning product, making it easier to wash away. After soaking, proceed with your regular hand washing steps.
- Vinegar Power: White vinegar is a fantastic natural cleaner that can help break down stubborn self-tanner residue. I often use it for tough cleaning jobs around the house, like when I clean with vinegar in my bathroom. Mix equal parts white vinegar and warm water in a bowl. Soak your tanning mitt in this solution for about 10-15 minutes. The acidity of the vinegar helps dissolve the stains. After soaking, gently scrub the mitt, focusing on the stained areas. You can use an old toothbrush for this. Rinse thoroughly with clean water afterward to remove any vinegar smell. If you are worried about the smell, a final rinse with soapy water will help.
- Baking Soda Paste: Baking soda is another excellent natural abrasive and deodorizer. Make a paste by mixing a small amount of baking soda with just enough water to form a thick consistency. Apply this paste directly onto the stubborn stains on your tanning mitt. Gently rub it in with your fingers or a soft brush. Let the paste sit for about 5-10 minutes. Then, rinse the mitt thoroughly under warm water, scrubbing gently as you rinse. This can help lift the most embedded stains.
Always be gentle when scrubbing. Too much force can damage the mitt’s fibers. With a little patience and the right approach, you can restore your tanning mitt to a much cleaner state. These methods can also be useful if you need to clean mold with vinegar on other surfaces, showing the versatility of these cleaning agents.
Drying and Storing Your Tanning Mitt Properly
Once you have meticulously cleaned your tanning mitt, the drying and storage steps are just as important. Improper drying can lead to several problems, including mildew growth, a musty smell, and damage to the mitt’s material. You want your mitt to be completely dry before you put it away. This ensures it stays hygienic and ready for your next tanning session.
Here’s how I ensure my tanning mitt dries and stores correctly:
- Gentle Squeeze: After rinsing, gently squeeze out as much excess water as possible from the mitt. Avoid twisting or wringing aggressively, as this can distort its shape or damage the internal foam. You just want it to be damp, not soaking.
- Air Dry Completely: This is the most crucial step. Lay your tanning mitt flat on a clean, dry towel, or hang it in a well-ventilated area. A clothesline or a drying rack works perfectly. Ensure good airflow around the mitt. Avoid direct sunlight or using a hairdryer, as high heat can damage the material and cause it to shrink or become stiff. It can also melt the foam inner layer. Depending on humidity, it might take several hours or even overnight for the mitt to dry completely. Feel the mitt all over to make sure there are no damp spots before storing.
- Prevent Mold and Mildew: If a mitt remains damp, it becomes a perfect breeding ground for mold and mildew. These can cause unpleasant odors and degrade the material. Making sure the mitt is bone dry is your best defense against this. If you notice any musty smells or spots, re-wash the mitt immediately, perhaps using a vinegar solution, and ensure it dries properly this time. This is similar to how you would prevent mold in other damp areas, like when you clean mold in your shower.
- Proper Storage: Once your tanning mitt is completely dry, store it in a clean, dry place. A breathable bag or a drawer works well. Avoid sealing it in an airtight container if there’s any residual dampness, as this traps moisture and encourages mildew. Keeping it in a designated spot helps prevent it from getting dirty or lost between uses. Proper storage means it’s ready and fresh for your next streak-free self-tanning application.
By following these simple drying and storage tips, you will ensure your tanning mitt remains in excellent condition, always ready to help you achieve that perfect glow.
How Often Should You Clean Your Tanning Mitt?
One common question I get asked is about the frequency of cleaning a tanning mitt. The simple answer is: clean it after every single use. This might sound like a lot, but it truly makes the biggest difference in maintaining your mitt and getting the best tanning results. Think of it like this: if you apply self-tanner, residue is left on the mitt. If that residue dries, it becomes much harder to remove later.
When you clean your tanning mitt immediately after use, the self-tanner is still wet. This makes it incredibly easy to rinse away with just warm water and a little soap. It takes only a minute or two to do a quick rinse and squeeze. This proactive cleaning prevents buildup and stubborn stains from forming in the first place. It ensures that the mitt’s fibers remain soft and free of hardened product, which is essential for smooth, streak-free application.
Delaying cleaning allows the tanning solution to fully dry and bond with the mitt’s fabric. This leads to stiff, stained, and less effective mitts. If you only clean it once every few uses, you’ll find yourself needing to perform deep cleans more often, which takes more time and effort. Plus, a frequently used but rarely cleaned mitt can harbor bacteria, which is definitely not ideal for your skin.
So, make it a habit: as soon as you finish your tanning session, head to the sink and give your mitt a quick wash. This small habit will save you time and frustration in the long run. It will also ensure your tanning mitt is always clean, hygienic, and ready to deliver a flawless tan whenever you need it. Regular, immediate cleaning truly is the key to tanning mitt longevity and performance.
Common Tanning Mitt Cleaning Mistakes to Avoid
Even with the best intentions, it’s easy to make a few mistakes when cleaning your tanning mitt. Avoiding these common errors will help you extend the life of your mitt and ensure it performs optimally every time. I’ve learned these lessons through trial and error myself, so I want to share them with you. Knowing what not to do is just as important as knowing what to do.
Here are some common tanning mitt cleaning mistakes you should try to avoid:
- Delaying the Clean: This is perhaps the biggest mistake. Waiting too long to clean your mitt after use allows the self-tanner to dry and set into the fibers. Once it’s dry, it becomes significantly harder to remove, leading to stubborn stains and a stiff mitt. Always clean your mitt immediately after each tanning session.
- Using Harsh Chemicals or Bleach: While you might be tempted to use strong cleaners for tough stains, harsh chemicals, bleach, or abrasive cleaners can severely damage the mitt’s delicate material. They can break down the fibers, making the mitt less effective, or even leave residue that affects your skin during the next application. Stick to mild soaps and natural solutions like vinegar.
- Machine Drying the Mitt: Never, ever put your tanning mitt in a machine dryer. The high heat from a tumble dryer can melt the foam interior, shrink the fabric, or cause the mitt to lose its shape and softness. Always air dry your mitt completely, laying it flat or hanging it in a well-ventilated area.
- Aggressive Scrubbing or Wringing: While you want to remove all the product, excessive scrubbing with a stiff brush or vigorously wringing the mitt can damage its fibers and stitching. Be gentle during the washing process. Squeeze out water instead of twisting or wringing. The goal is to clean it, not destroy it.
- Not Rinsing Thoroughly: Leaving soap residue in the mitt can make it feel stiff and less effective. It can also potentially react with your self-tanner, affecting the color or application. Always rinse your mitt thoroughly under running water until the water runs completely clear and you feel no more suds.
- Storing While Damp: Putting away a tanning mitt that is still even slightly damp is a recipe for disaster. Moisture trapped in the mitt creates a perfect environment for mold and mildew to grow, leading to unpleasant odors and damage. Always ensure your mitt is bone dry before storing it.
By avoiding these common mistakes, you can ensure your tanning mitt remains a reliable and long-lasting tool for achieving your desired glow. A little care goes a long way.
FAQ Section
Q1: Can I put my tanning mitt in the washing machine?
Yes, you can machine wash some tanning mitts, but with caution. Always check the care label first. If allowed, place it in a mesh laundry bag and wash on a delicate cycle with cold water and mild detergent. Never put it in a machine dryer; always air dry to prevent damage.
Q2: How do I get rid of orange stains on my mitt?
To remove orange stains, try pre-soaking your mitt in warm, soapy water for 15-30 minutes. For stubborn stains, a mixture of equal parts white vinegar and warm water can be effective. Gently scrub the stained areas with an old toothbrush. Rinse thoroughly afterward.
Q3: What if my tanning mitt smells bad?
A bad smell usually indicates mildew or bacteria growth, often from improper drying. Re-wash the mitt thoroughly with warm water and mild soap. Consider adding a splash of white vinegar to the wash water to neutralize odors. Ensure the mitt is completely air dried in a well-ventilated area before storing.
Q4: How long does a tanning mitt last?
With proper care, a good quality tanning mitt can last for many months, sometimes even a year or more. Regular, immediate cleaning after each use and proper air drying are key. Avoiding harsh chemicals and machine drying significantly extends its lifespan.
Q5: Can I use regular soap to clean my tanning mitt?
Yes, regular mild soap is perfectly fine for cleaning your tanning mitt. Hand soap, baby shampoo, or a gentle dish soap works well. Avoid harsh detergents, bleach, or abrasive cleaners, as these can damage the mitt’s material and affect future tanning applications.
Q6: Is it bad to not clean your tanning mitt?
Yes, not cleaning your tanning mitt is bad. Product buildup leads to streakier, uneven tan applications. A dirty mitt can also harbor bacteria, potentially causing skin irritation or breakouts. Furthermore, dried product makes the mitt stiff and shortens its overall lifespan, meaning you replace it more often.
Conclusion
Keeping your tanning mitt clean is a simple yet vital step for anyone who loves self-tanning. We have covered why a clean mitt is essential for a flawless, streak-free application and good skin hygiene. We also explored the supplies you need and walked through the best hand washing techniques. Remember, immediate cleaning after each use is your best defense against stubborn stains and buildup.
While machine washing is an option for some mitts, air drying remains paramount to prevent damage and mildew. By following these easy steps, you will extend the life of your tanning mitt and ensure it’s always ready to help you achieve that perfect, natural-looking glow. Make cleaning your tanning mitt a regular part of your beauty routine, and enjoy consistently beautiful tanning results every time. Keep your mitt clean, and keep your tan flawless!
- tanning mitt
- clean mitt
- self-tanner
- tanning accessories
- streak-free tan
- beauty tools