· Home Maintenance · 14 min read
How To Clean Vaulted Ceilings
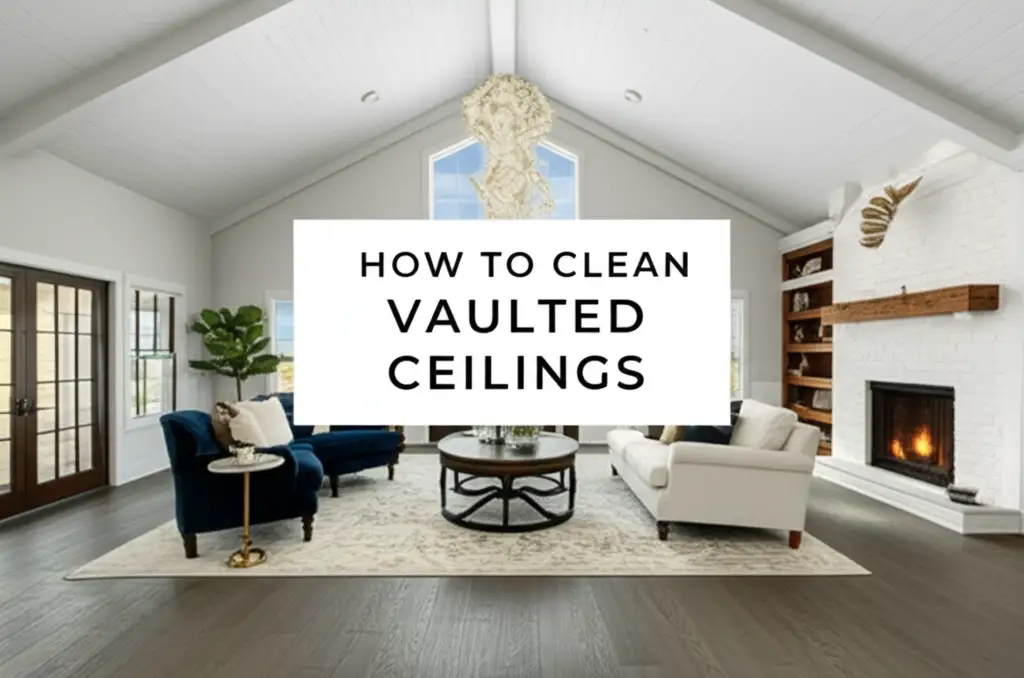
How to Clean Vaulted Ceilings: A Comprehensive Guide
Vaulted ceilings add a grand feeling to any room. Their high design creates a sense of openness and space. However, these beautiful features also present a unique cleaning challenge. Dust, cobwebs, and even stains can accumulate in hard-to-reach areas.
Cleaning vaulted ceilings might seem like a huge task. It requires the right tools and a smart approach. This guide helps you tackle dust, grime, and mold effectively. We will cover safety, essential equipment, and step-by-step instructions. You can keep your high ceilings looking pristine.
Takeaway
- Gather all necessary tools like extension poles, microfiber dusters, and safety gear before starting.
- Prioritize safety by using stable ladders, scaffolding, or professional help for very high areas.
- Start with dry cleaning methods like dusting and vacuuming to remove loose debris.
- Address specific stains or mold with appropriate cleaning solutions and spot treatment.
- Maintain cleanliness with regular, lighter dusting to prevent heavy buildup.
To clean vaulted ceilings, begin by clearing the area and ensuring safety with a stable ladder or extension pole. Use a duster or vacuum with an extension to remove loose dust and cobwebs. For stains, apply a mild cleaner with a damp cloth, spot-treating carefully, and then dry.
Why Clean Your Vaulted Ceilings?
You might wonder why it is important to clean those high, hard-to-reach ceilings. They collect more than just dust over time. Vaulted ceilings, with their expansive surfaces, can become silent collectors of various airborne particles. Regular cleaning improves air quality.
Dust, allergens, and pet dander float upwards and settle. These particles can trigger allergies or respiratory issues. A clean ceiling means cleaner air for everyone in your home. This makes your living space healthier.
Beyond health, a dirty ceiling affects your home’s appearance. Cobwebs hanging from corners or dark spots can make a room look neglected. Regular cleaning brightens your space. It maintains the crisp, clean look your vaulted ceilings are designed to provide. A clean ceiling makes the whole room feel fresh.
Ignoring ceiling cleaning can lead to bigger problems. Mold and mildew thrive in damp, dusty areas. These can damage your ceiling’s surface. They can also release spores that affect your health. Preventing mold requires consistent cleaning efforts. It helps maintain the structural integrity of your home.
Think of ceiling cleaning as part of your overall home maintenance. It keeps your living environment healthy. It also protects your home’s aesthetic appeal and value. A clean ceiling is a sign of a well-cared-for home. It helps you breathe easier.
Essential Tools and Supplies for Cleaning High Ceilings
Cleaning vaulted ceilings requires more than just a regular broom. You need specific tools to reach high spots safely and effectively. Gathering everything beforehand saves you time and effort. It also makes the job much smoother.
First, consider your reach. An extension pole is a must-have item. These poles extend many feet, letting you reach high corners without a ladder. Look for a sturdy, lightweight pole that locks securely at different lengths. Some poles connect to various cleaning attachments.
Next, you need cleaning attachments for your pole. A microfiber duster head is excellent for picking up dust and cobwebs. Its fibers trap debris instead of just pushing it around. A vacuum cleaner with a hose attachment and an extension wand can also work well. This setup sucks up dust directly, preventing it from falling onto your floors. You can also use a soft brush attachment for delicate surfaces.
For stains or tougher grime, prepare cleaning solutions. A bucket of warm water with a mild, all-purpose cleaner is a good start. For specific issues like mold, you might need a solution of white vinegar and water. Always have plenty of clean microfiber cloths or sponges on hand. You will use these for applying solutions and wiping surfaces.
Do not forget safety equipment. Safety glasses protect your eyes from falling debris. A face mask can prevent you from inhaling dust and cleaning fumes. Gloves protect your hands from cleaning solutions. Finally, a stable, tall step ladder or a platform ladder is essential for stability. If your ceilings are very high, consider renting scaffolding. This offers a wider, safer working area. Always ensure your ladder is rated for your weight and is placed on a stable, level surface. You need to gather all tools before you begin.
Safety First: Preparing for Your Ceiling Cleaning Project
Cleaning high ceilings can be dangerous if you do not take safety seriously. Preparing properly ensures your safety and protects your home. Do not rush this step. It is the most important part of the entire cleaning process.
Start by clearing the area below where you will work. Move furniture, rugs, and decorations out of the way. If you cannot move large items, cover them completely with drop cloths or old sheets. This protects your belongings from dust, debris, and any cleaning solutions that might drip. Covering floors is also wise to avoid slips or damage.
Next, focus on your access equipment. If using a ladder, make sure it is tall enough to reach the ceiling comfortably. A ladder that is too short forces you to overextend, which is risky. Always check that the ladder is stable on a flat, even surface. Have someone spot you if possible, especially when working at high elevations. Avoid using wobbly chairs or makeshift stacks of boxes; these are extremely unsafe. For very high vaulted ceilings, renting scaffolding provides a much more stable and secure platform. It allows you to move freely and safely across a wider area.
Wear appropriate personal protective equipment (PPE). Safety glasses shield your eyes from falling dust, cobwebs, or cleaning solution drips. A dust mask or respirator prevents you from breathing in airborne particles or chemical fumes. Gloves protect your hands from cleaning agents. Dress in comfortable clothing that allows for full range of motion.
Ensure good ventilation in the room. Open windows and doors if weather permits. This helps disperse dust and fumes from cleaning products. Keep children and pets out of the cleaning area. They could get in the way or be exposed to falling debris or chemicals. Taking these steps makes your cleaning project safer. It also helps you work more efficiently.
Step-by-Step Guide to Dusting and Removing Cobwebs
Once you have your tools ready and safety measures in place, you can start the actual cleaning. The first step for vaulted ceilings is always dry cleaning. This removes loose dust and cobwebs. It prepares the surface for any wet cleaning that might follow.
Begin with a long extension pole fitted with a microfiber duster or a soft brush attachment. Start at the highest point of your vaulted ceiling. Work your way down in sections. Use gentle, sweeping motions to collect cobwebs and dust. The microfiber traps particles effectively. Try to overlap your strokes slightly to ensure you do not miss any spots. Pay special attention to corners, light fixtures, and ceiling fans. These areas collect a lot of dust.
For a more thorough dry clean, use your vacuum cleaner with an extension wand and a brush attachment. This method is excellent because it sucks up the dust directly. It prevents it from falling onto your floors and furniture. Move the vacuum attachment slowly across the ceiling surface. Ensure you cover all areas. This is especially useful for textured ceilings where dust can embed itself. This method helps to avoid dust falling on the floors. Remember to work methodically from one end of the room to the other.
As you work, periodically check your duster head or vacuum attachment. Clean them as needed to maintain effectiveness. Shake out dusters outdoors or vacuum them with a handheld vacuum. This keeps them from spreading dust back onto your ceiling. For detailed guidance on similar surfaces, consider how to clean all kinds of ceilings, including textured ones, by checking out how to clean a ceiling. This article offers more insights into different ceiling types.
After you finish dusting and vacuuming the entire vaulted ceiling, let any remaining airborne dust settle. Then, vacuum your floors and wipe down any surfaces below. This collects any dust that fell during the process. Your ceiling is now ready for the next step, if needed.
Tackling Stains and Grime on Vaulted Ceilings
After dusting, you might notice stubborn stains or grime on your vaulted ceiling. These often come from grease, smoke, or general household buildup. Addressing these requires a wet cleaning approach. Always test your cleaning solution in a small, hidden spot first. This checks for any discoloration or damage.
For general grime and light stains, mix a mild all-purpose cleaner with warm water in a bucket. Dampen a clean microfiber cloth with this solution. Wring out the cloth very well so it is barely damp. You do not want excess moisture dripping onto your ceiling or floor. Attach the damp cloth to your extension pole’s universal head or a flat mop head. Carefully blot the stained area. Avoid rubbing too hard, as this can spread the stain or damage the ceiling surface.
Grease stains, especially near kitchens, need a degreasing cleaner. You can also use a mixture of warm water and a few drops of dish soap. Apply this gently with a barely damp cloth. For smoke stains, a solution of warm water and a small amount of white vinegar can be effective. Vinegar is a great natural cleaner for many surfaces, including walls. You can find more tips on using vinegar for cleaning various surfaces, like by reading our guide on how to clean walls with vinegar. This can give you additional ideas for preparing cleaning solutions.
For tougher spots, you might need a slightly stronger approach. Consider a magic eraser, but use it with extreme caution and very light pressure. These can remove paint or texture if used too aggressively. After applying any cleaning solution, go back over the area with a clean cloth dampened only with plain water. This rinses away any cleaner residue. Finally, dry the area immediately with a clean, dry microfiber cloth. This prevents water spots and protects the ceiling material. Work in small sections to prevent the solution from drying before you can wipe it off. Taking care with wet cleaning prevents new problems.
Addressing Mold and Mildew on High Ceilings
Finding mold or mildew on your vaulted ceiling needs prompt attention. These fungi can spread quickly and pose health risks. Mold often appears as black, green, or fuzzy patches. Mildew looks like a powdery gray or white growth. Address mold with specific solutions and safety measures.
First, identify the cause of the mold. Mold grows where moisture is present. Check for leaks in the roof, plumbing, or condensation issues. Fixing the moisture problem is crucial. If you do not stop the water source, the mold will return. This is the most important step for lasting mold removal.
For small, superficial mold spots, a simple solution can often work. Mix equal parts white vinegar and water in a spray bottle. Vinegar is a natural antifungal agent. For more information on using vinegar for mold removal, you can check out our article on how to clean mold with vinegar. This provides detailed steps for various applications. Spray the moldy area thoroughly with the vinegar solution. Let it sit for about an hour. Then, gently wipe the area with a clean, damp cloth attached to your extension pole.
For larger mold infestations or if the mold appears to be deeply embedded, wear more protective gear. Use an N-95 respirator mask, safety glasses, and gloves. You might need a stronger commercial mold cleaner. Always follow the product instructions carefully. Some strong mold cleaners contain bleach. Bleach can lighten ceiling paint or texture. Always test a small, hidden area first. When cleaning mold, avoid scrubbing too hard, as this can release spores into the air. Instead, blot and wipe gently. For similar mold issues on other surfaces, like walls, our guide on how to clean mold off walls can provide additional context and methods.
If the mold covers a large area, returns frequently, or appears to be a structural issue, call a professional. Mold remediation specialists can safely remove mold. They can also address underlying moisture problems. Your safety is most important. Do not hesitate to seek expert help when needed.
Maintaining Cleanliness and Preventing Buildup
Cleaning vaulted ceilings can be a big job. The best way to make it easier in the future is through regular maintenance. Consistent, lighter cleaning prevents heavy buildup. This saves you time and effort down the line. A few simple habits can keep your high ceilings looking fresh.
Make a habit of dusting your vaulted ceilings periodically. Once every two to three months is a good starting point. You can do this with your extension pole and a clean microfiber duster. This quick pass removes newly settled dust and prevents cobwebs from forming. It is much easier to dust a lightly soiled ceiling than to tackle a heavily neglected one. This simple step maintains air quality and appearance.
Improve your home’s ventilation. Good airflow helps reduce moisture and airborne particles that settle on ceilings. Use exhaust fans in bathrooms and kitchens. Open windows when possible to create cross-ventilation. This is especially helpful during activities that create a lot of moisture or grease, like cooking. Proper ventilation limits the conditions mold and mildew need to grow. It also helps air circulation throughout the room.
Consider using an air purifier with a HEPA filter. These devices capture airborne dust, pollen, and other particles before they can settle on your ceilings. Running an air purifier, especially in rooms with vaulted ceilings, can significantly reduce the amount of dust that accumulates. This also benefits overall indoor air quality.
Finally, deal with spills or moisture issues immediately. If you notice a leak or excessive condensation, fix it at once. Prompt action prevents water damage and mold growth on your ceilings. Regular checks, especially after heavy rains, can help you catch problems early. By adopting these maintenance habits, you keep your vaulted ceilings cleaner for longer. This makes future deep cleaning much less daunting. For comprehensive cleaning strategies that apply to both walls and ceilings, you might find useful tips in our article on how to clean walls and ceilings.
FAQ Section
How often should I clean my vaulted ceilings?
You should dust your vaulted ceilings every two to three months. A deeper clean for stains or grime is usually needed once or twice a year. This depends on factors like pets, cooking habits, and local air quality. Regular dusting prevents major buildup.
What is the best tool to reach high vaulted ceilings?
The best tool is a sturdy extension pole with various attachments. Attachments include microfiber dusters, soft brushes, and vacuum hose adapters. For very high ceilings, a stable platform ladder or scaffolding provides the safest reach.
Can I use a regular vacuum cleaner for vaulted ceilings?
Yes, you can use a regular vacuum cleaner. Attach an extension wand and a brush or crevice tool. This allows you to reach high areas and effectively suck up dust and cobwebs. It is a very efficient way to clean.
How do I remove black spots on my vaulted ceiling?
Black spots often mean mold or mildew. For small spots, use a spray bottle with equal parts white vinegar and water. Spray the area, let it sit for an hour, then wipe clean. For larger or persistent mold, consider hiring a professional.
Is it safe to use bleach on painted vaulted ceilings?
Using bleach on painted vaulted ceilings can be risky. Bleach may lighten or damage paint and can leave discoloration. Test a small, hidden area first. For mold, a vinegar solution is a safer alternative. For tough stains, use gentle, diluted cleaners.
When should I hire a professional to clean my vaulted ceilings?
Hire a professional if your ceilings are extremely high and you lack proper equipment. Also consider professionals for extensive mold growth, hard-to-remove stains, or if you feel unsafe doing the work yourself. They have specialized tools and expertise.
Conclusion
Cleaning vaulted ceilings does not have to be an overwhelming task. By understanding the specific challenges and having the right approach, you can keep these architectural features looking their best. We covered everything from essential tools and crucial safety measures to effective techniques for dusting, tackling stains, and addressing mold. Preparing your space and using the right equipment are key for a successful and safe cleaning experience.
Regular maintenance is your best friend when it comes to vaulted ceiling cleanliness. Consistent, light dusting helps prevent heavy accumulation. It makes future deep cleaning much simpler. Remember, a clean ceiling contributes significantly to a healthier and more inviting home environment. Do not let dust and grime diminish the beauty of your high ceilings any longer. Equip yourself, plan your attack, and enjoy the satisfaction of a sparkling clean vaulted ceiling. Start your vaulted ceiling cleaning project today and enjoy a fresher, brighter home.
- vaulted ceiling cleaning
- high ceiling maintenance
- dust removal
- ceiling cleaning tools
- home deep cleaning