· Home Improvement · 15 min read
How To Clean Walls After Sanding
Prep Your Walls: How to Clean After Sanding
Have you just finished sanding your walls? You likely see a fine layer of dust everywhere. This dust is more than just unsightly. It affects your paint job. Learning how to clean walls after sanding is an essential step for any successful painting project.
Proper wall cleaning makes sure your new paint sticks well. It helps achieve a smooth, professional finish. Ignoring this step can lead to paint peeling or an uneven look. This article will guide you through the process. We will cover the tools you need and the steps for a perfectly clean surface. You will be ready for painting.
Takeaway:
- Remove all sanding dust to ensure proper paint adhesion.
- Use a combination of dry and wet cleaning methods for best results.
- Allow walls to dry completely before applying any paint.
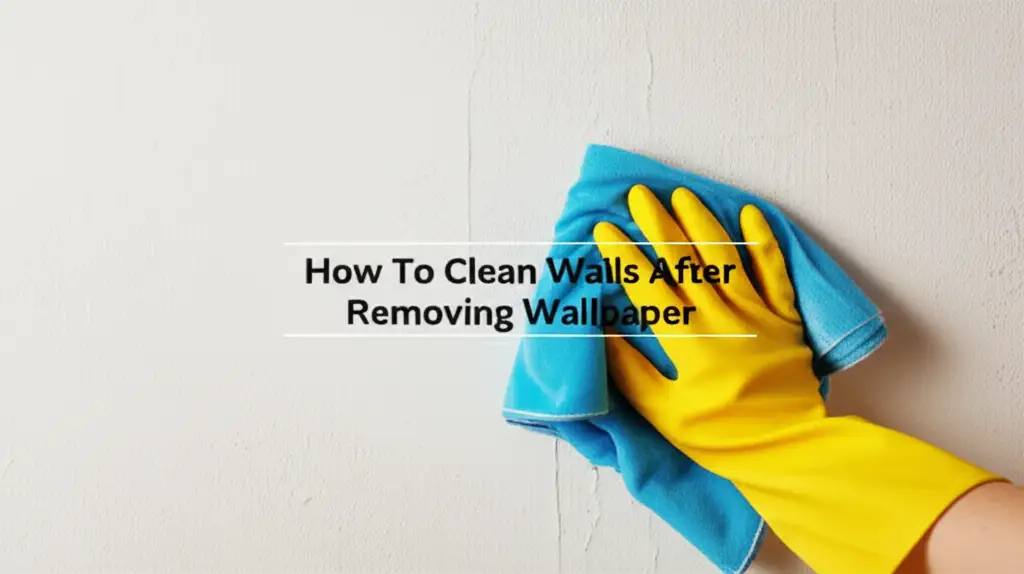
To clean walls after sanding, first remove loose dust with a vacuum or microfiber cloth. Then, use a damp, clean cloth with a mild cleaner like TSP substitute or dish soap solution. Wipe from top to bottom, rinsing frequently, ensuring all residue is gone for optimal paint adhesion and a smooth finish.
Why Cleaning Walls After Sanding Matters for Your Project
You just spent time sanding your walls. Now, you might feel tempted to just start painting. This is a common mistake. Cleaning walls after sanding is a critical step. It directly impacts your paint job.
Sanding creates a lot of fine dust. This dust settles on every surface. It is invisible at times, but it is there. If you paint over this dust, your paint will not stick. The dust creates a barrier. It prevents a strong bond. Your paint job will look bad quickly. It might even peel off.
The Hidden Dangers of Dust
Fine sanding dust is very sneaky. It gets into everything. When it settles on your walls, it creates a rough surface. Paint needs a smooth, clean surface to adhere properly. If dust remains, your paint will look gritty. It will feel rough to the touch. This ruins the hard work you put into sanding.
Dust also traps moisture. This can lead to issues like bubbling. It can cause mildew growth under the paint over time. I once skipped this step, and my paint started bubbling within weeks. It was a frustrating lesson. A clean surface is key to avoiding these problems.
Ensuring Optimal Paint Adhesion
Paint adhesion is how well paint sticks to a surface. Proper adhesion means your paint job lasts for years. It resists chips and scratches. Sanding roughs up the surface. This creates tiny grooves. Paint fills these grooves and bonds with the wall material.
Dust prevents this bonding process. It fills those grooves instead. When you remove the dust, the wall is perfectly prepared. It allows the paint to truly grip the surface. This ensures a durable and beautiful finish. Taking the time to clean ensures your efforts pay off. You will have a wall that looks professionally done. It will last longer too.
Essential Tools and Supplies for Dust-Free Walls
Preparing to clean walls after sanding requires the right equipment. Having everything ready saves time. It makes the cleaning process more effective. You do not want to stop in the middle to find a forgotten item. Gather all your supplies before you start.
This includes basic cleaning items. It also includes protective gear. Sanding dust is harmful to breathe. It also irritates skin and eyes. My experience taught me that protection is not optional. It is a must for your health.
Basic Cleaning Arsenal
You will need several key items for effective dust removal. Start with a good vacuum cleaner. Make sure it has a brush attachment. This helps loosen and suck up dust. A shop vac works best for large amounts of dust. It has strong suction.
Next, get plenty of microfiber cloths. These cloths trap dust well. They do not just push it around. You will need several for dry dusting and wet wiping. A bucket for water and cleaner is also essential. Choose a mild detergent. A TSP substitute works well. Dish soap is another good option. It cleans without leaving a greasy film.
Protective Gear for Your Safety
Safety comes first when cleaning sanding dust. Wear a dust mask or a respirator. This protects your lungs from fine particles. These particles can cause breathing problems. I always wear a high-quality N95 mask. It makes a big difference.
Eye protection is also important. Goggles or safety glasses prevent dust from irritating your eyes. Long sleeves and gloves protect your skin. Dust can cause itching or rashes. Cover your hair with a cap or bandana. This keeps dust out of your hair. Proper protection allows you to work safely and comfortably. It helps prevent health issues down the road.
Step-by-Step Guide to Initial Dust Removal
The first stage of cleaning walls after sanding is dry removal. This step gets rid of the bulk of the dust. It sets the stage for wet cleaning. Do not skip this part. Dry removal prevents muddy messes later. It also makes the wet cleaning more effective.
Start from the top of the wall. Dust falls downwards. Working from top to bottom ensures you capture everything. Be thorough. This initial pass is crucial for a clean foundation. It helps you see what areas need more attention.
Vacuuming Techniques for Walls
A vacuum cleaner is your best friend here. Use a shop vac if you have one. They have powerful suction. Attach a brush or wide nozzle to your vacuum hose. This helps you cover more area. It also prevents scratching your walls.
Begin at the top of the wall near the ceiling. Move the vacuum attachment slowly. Work your way down the wall in sections. Overlap each pass slightly. Pay special attention to corners. Also, check trim and baseboards. Dust loves to collect in these spots. I find that a gentle, sweeping motion works best. It lifts the dust efficiently. Then the vacuum sucks it up.
Microfiber Cloth Efficiency
After vacuuming, fine dust might still remain. This is where microfiber cloths shine. They are excellent at trapping tiny particles. Take a clean, dry microfiber cloth. Fold it into a manageable pad. This gives you more surface area to work with.
Start at the top of the wall again. Gently wipe down the wall in overlapping sections. Use a light touch. Do not press too hard. You want to pick up dust, not smear it. As the cloth collects dust, refold it to a clean section. Replace the cloth with a fresh one when it gets too dirty. This step ensures you get the smallest dust particles. Your walls will feel smoother. They will look cleaner. This prepares them for the next stage of cleaning.
Washing Walls: Wet Cleaning Techniques
After removing most of the loose dust, it is time for wet cleaning. This step removes any remaining dust particles. It also gets rid of residues. Sanding leaves a fine film. Wet cleaning ensures a truly clean surface. This prepares your walls for painting or priming.
Choose your cleaning solution carefully. Too strong a cleaner can damage walls. Too weak a cleaner leaves residue. Always test your cleaner in a hidden spot first. This prevents surprises. It ensures you protect your wall finish.
Choosing the Right Cleaning Solution
For most walls, a mild cleaning solution works best. A TSP (trisodium phosphate) substitute is a popular choice. It cuts through grime and dust effectively. You can find it at hardware stores. Follow the product instructions for mixing. Always use gloves when handling TSP substitute. It can irritate skin.
Another excellent option is a simple dish soap solution. Mix a few drops of mild dish soap into a bucket of warm water. This solution is gentle. It is also effective for removing fine dust. I often use this method for my projects. It works well and is easy to use. For specific cleaning tasks, you can learn more about how to clean dirt off walls. This general guide offers helpful insights for various wall cleaning needs.
Proper Washing Method
You will need two buckets. Fill one with your cleaning solution. Fill the other with clean rinse water. Dip a clean, soft sponge or microfiber cloth into the cleaning solution. Wring out most of the excess liquid. The cloth should be damp, not dripping wet. Too much water can damage drywall.
Start washing from the top of the wall. Work in small sections. Use gentle, overlapping strokes. Do not scrub hard. You are wiping away dust, not scrubbing stains. After cleaning a section, rinse your cloth in the clean water bucket. Wring it out well. Then, wipe the just-cleaned section with the damp, rinsed cloth. This removes any soap residue. Change the rinse water often. It gets dirty quickly. This method helps prevent streaks. For broader cleaning projects, consider how to clean walls and ceilings together. This helps maintain consistency across large surfaces. This meticulous process ensures a perfectly clean surface for your next steps.
Tack Cloths and Final Inspection for a Pristine Surface
You have vacuumed and washed your walls. Now comes the final, crucial step: using a tack cloth. Many people skip this part. It is a mistake. Tack cloths pick up any lingering dust. They ensure your surface is truly dust-free. This is important for a flawless paint finish.
After the tack cloth stage, perform a final inspection. Look closely at every part of the wall. Check for any missed spots or lingering dust. This is your last chance to fix things. A perfect surface ensures perfect paint.
The Role of Tack Cloths
Tack cloths are special, sticky cloths. They are designed to pick up fine dust. They grab particles that brushes or damp cloths miss. You can buy them at any hardware store. They are usually pre-treated with a sticky resin. This resin makes them effective.
Unfold a tack cloth. Lightly wipe it over the entire wall surface. Work from top to bottom. Do not press hard. Let the cloth do the work. It feels slightly tacky. This stickiness grabs the dust. As the cloth fills with dust, refold it to a clean section. Replace it when it is no longer tacky. Using a tack cloth is essential for painting. It ensures no dust gets stuck in your fresh paint. For advice on preparing walls before painting, explore resources like how to clean walls before painting. This provides comprehensive guidance for ideal surface preparation.
Last Checks Before Painting
After using tack cloths, your walls should feel smooth and clean. Now, it is time for a thorough final inspection. Stand back and look at the wall from different angles. Use a bright light if possible. A flashlight held parallel to the wall can highlight imperfections. It reveals any dust or debris you missed.
Run your hand over the entire surface. Does it feel perfectly smooth? Check corners, edges, and near outlets. These are common spots for missed dust. Make sure the wall is completely dry. Any moisture can cause paint issues. If you find any dust, repeat the tack cloth step. This final check is worth the effort. It guarantees your walls are ready. You can then confidently apply paint. This leads to a beautiful, long-lasting finish.
Common Mistakes to Avoid When Cleaning Walls
Cleaning walls after sanding seems simple. However, specific errors can ruin your efforts. Avoiding these mistakes saves you time. It also prevents rework. Knowing what not to do is as important as knowing what to do. Pay attention to moisture levels and thoroughness.
I have seen many DIY projects go wrong because of these common oversights. My personal experiences taught me these lessons. Learning from others’ mistakes is wise. This ensures your project goes smoothly.
Over-Wetting Walls
One common mistake is using too much water. When wet cleaning, your cloth should be damp, not soaking. Excess water can damage drywall. It can cause drywall to swell. It can also lead to mold growth behind the wall. This is especially true if the walls do not dry properly.
Too much water also leaves streaks. These streaks become visible under paint. It is frustrating to see them after you have painted. Wring out your cloth thoroughly. If you see dripping water on the wall, you used too much. Always use minimal moisture. This protects your walls. It also helps achieve a streak-free finish.
Skipping Steps
Another big mistake is skipping steps. Some people vacuum but do not wet clean. Others wet clean but skip the tack cloth. Each step in the process has a purpose. Vacuuming removes the bulk. Wet cleaning removes fine dust and residues. Tack cloths pick up the last microscopic particles.
Skipping a step means you leave something behind. This compromises your paint job. Dust left behind causes paint to peel. Residue creates an uneven surface. A small shortcut now can lead to major headaches later. Follow all steps carefully. This ensures a clean surface. It guarantees a durable and beautiful paint finish. This includes methods like those discussed for cleaning painted walls without leaving streaks. Each step works together for the best outcome.
Specific Considerations for Different Wall Surfaces
Not all walls are the same. Different wall materials require specific care. Cleaning walls after sanding varies slightly based on the surface. Understanding these differences helps you avoid damage. It also ensures effective cleaning. Pay attention to the material of your walls.
This tailored approach ensures the best results. It protects your investment. Whether it is drywall, plaster, or wood, each needs its own method. I always identify the wall type first. Then, I adjust my cleaning plan.
Drywall and Plaster
Drywall and plaster are common wall materials. They are both porous. This means they can absorb water. When cleaning these surfaces, be cautious with moisture. Over-wetting can cause issues. It can soften drywall. It can damage plaster.
For drywall and plaster, use a damp cloth. Never use a dripping wet one. A gentle cleaner is best. TSP substitute or mild dish soap works well. Rinse the cloth often. Change the rinse water frequently. Allow ample drying time. Ensure the wall is completely dry before painting. This prevents bubbling or peeling. Proper care ensures a smooth, lasting finish on these surfaces.
Wood Walls
Wood walls require a slightly different approach. Wood is durable but can swell with too much moisture. Sanding wood creates fine wood dust. This dust can embed itself in the grain. This makes thorough cleaning essential.
After sanding wood walls, vacuum meticulously. Use a brush attachment to get dust out of the grain. For wet cleaning, use a very lightly damp cloth. A mild wood cleaner or a little dish soap in water is fine. Do not soak the wood. Wipe with the grain. Dry quickly with a clean, dry cloth. Ensure the wood is completely dry before sealing or painting. This prevents warping. It also helps the finish adhere properly. For more specific guidance, see how to clean wood after sanding before painting. This provides detailed steps for preparing wooden surfaces.
FAQ Section
Q1: Why is it crucial to clean walls after sanding?
Cleaning walls after sanding is crucial for paint adhesion. Sanding creates fine dust. This dust acts as a barrier between the wall and new paint. If you paint over dust, the paint will not stick properly. It can peel, flake, or appear uneven. A clean surface ensures a smooth, durable finish.
Q2: Can I just use a dry cloth to clean walls after sanding?
No, a dry cloth alone is not enough. Dry dusting removes loose particles. However, fine sanding dust often clings to surfaces. It also leaves behind a residue. A damp cloth with a mild cleaner is necessary. This step removes embedded dust and any oily films. It ensures a truly clean surface for painting.
Q3: What cleaning solutions are best for walls after sanding?
Mild cleaning solutions are best for walls after sanding. A TSP (trisodium phosphate) substitute is highly effective. It cuts through dust and grime. Alternatively, a few drops of mild dish soap mixed in warm water work well. Avoid harsh chemicals. They can damage your wall surface. Always test your chosen solution in a hidden area first.
Q4: How long should walls dry after wet cleaning before painting?
Walls should dry completely after wet cleaning. This usually takes 2-4 hours. Drying time depends on humidity and ventilation. Use fans or open windows to speed up drying. Touching the wall should not feel cool or damp. Painting over a wet surface causes bubbles, poor adhesion, and potential mold growth.
Q5: Is it necessary to wear protective gear?
Yes, wearing protective gear is necessary. Sanding creates fine dust particles. Inhaling these particles can harm your lungs. Always wear a dust mask or respirator. Eye protection, like safety glasses or goggles, is also vital. This prevents dust from entering your eyes. Gloves protect your hands from dust and cleaning solutions.
Conclusion
You have learned how to clean walls after sanding. This task is not just about aesthetics. It is a fundamental step for any successful painting project. Removing all dust and debris ensures your new paint adheres perfectly. It creates a smooth, lasting finish that you will be proud of. From initial vacuuming to the final tack cloth wipe, each step serves a vital purpose.
Remember to gather your tools beforehand. Use proper cleaning solutions. Take care with moisture, especially on drywall and plaster. Always wear protective gear for your safety. Following these guidelines will prevent common painting problems. It helps you achieve professional-looking results. Take the time to clean your walls properly. This investment in preparation pays off with a beautiful, durable paint job. Start your project with confidence, knowing your walls are truly ready.
- cleaning walls
- wall preparation
- sanding dust
- painting prep
- dust removal
- surface cleaning