· Automotive Maintenance · 14 min read
How To Clean Cylinder Walls
Unlock Engine Power: How to Clean Cylinder Walls
Ever wonder what keeps your engine running smoothly? It is often the little things, like clean cylinder walls. These critical surfaces need proper care. I understand the importance of maintaining your engine’s health. Cleaning cylinder walls prevents carbon buildup and ensures peak performance. This guide provides a clear path to get your engine block back in top shape. We will discuss tools, steps, and important tips.
Takeaway
- Gather Tools: Collect specialized brushes, solvents, and safety gear.
- Disassemble Carefully: Remove components to access cylinder walls.
- Clean Thoroughly: Use a brush and solvent to remove carbon and glaze.
- Hone if Needed: Restore cross-hatch pattern for proper ring seal.
- Inspect and Reassemble: Check everything before putting the engine back together.
To clean cylinder walls, first disassemble the engine to access the cylinders. Then, use a specialized cylinder cleaning brush with a suitable solvent, like engine degreaser or carburetor cleaner, to scrub away carbon deposits and glaze. Finally, wipe the walls clean and consider honing to restore the cross-hatch pattern for optimal piston ring seating.
Understanding Cylinder Walls and Why They Get Dirty
Cylinder walls are the inner surfaces of an engine’s cylinders. Pistons move up and down within these walls. This movement creates the power for your vehicle. The walls must be smooth and free of obstructions. A fine cross-hatch pattern typically covers the surface. This pattern holds oil, which lubricates the piston rings.
Over time, carbon deposits form on these walls. Combustion byproducts cause this buildup. Engine oil can also burn onto the surface. This creates a hard, glassy layer called cylinder glaze. Carbon and glaze cause many problems. They reduce engine efficiency and power. Piston rings cannot seal properly against a dirty wall. This leads to reduced compression and oil consumption. Oil can pass into the combustion chamber. Fuel efficiency decreases. Your engine may feel sluggish. Cleaning these walls restores proper function.
The engine’s environment is harsh. High temperatures and pressures contribute to dirt. Fuel impurities add to the problem. Every combustion cycle leaves some residue. This residue accumulates over many miles. Ignoring this buildup harms your engine. Regular cleaning or maintenance checks prevent major issues. This practice extends engine life. A clean engine runs better and lasts longer.
Essential Tools and Materials for Cylinder Wall Cleaning
Cleaning cylinder walls requires specific tools. General cleaning supplies do not work for this task. You need items designed for engine work. Having the right tools makes the job easier and safer. I always prepare my workspace before starting. This ensures I have everything on hand.
First, you need personal protective equipment. Safety glasses protect your eyes from chemicals and debris. Gloves guard your hands from harsh solvents. A respirator mask keeps you from inhaling fumes. This is important for your health.
Next, gather cleaning agents. An engine degreaser or carburetor cleaner works well. These products dissolve carbon and oil. Some people use specialized cylinder cleaning solvents. Always choose a product safe for engine metals. You might also need fine grit sandpaper or Scotch-Brite pads for tougher spots.
For physical cleaning, a cylinder bore brush is essential. These brushes have stiff bristles. They fit snugly inside the cylinder. Honing tools are also crucial if you plan to recondition the surface. These tools restore the cross-hatch pattern. Honing oil is necessary for the honing process. This special oil prevents clogging and provides lubrication. Finally, gather lint-free cloths or paper towels. These absorb dirt and solvents without leaving fibers. A shop vac can help remove debris.
- Personal Protective Equipment: Safety glasses, chemical-resistant gloves, respirator mask.
- Cleaning Solvents: Engine degreaser, carburetor cleaner, or specialized cylinder cleaning solvent.
- Cleaning Tools: Cylinder bore brush (nylon or brass), fine grit sandpaper (e.g., 2000-grit), Scotch-Brite pads.
- Honing Equipment (if needed): Cylinder hone (ball hone or rigid hone), honing oil.
- Cleanup Supplies: Lint-free cloths, paper towels, shop vacuum.
Having these items ready saves time. It ensures a complete and proper cleaning process. You want to avoid interruptions once you begin.
Preparing Your Engine for Cylinder Wall Cleaning
Proper preparation is vital before cleaning cylinder walls. You cannot simply spray cleaner into a running engine. The engine must be disassembled to access the cylinders. This involves several steps. Following them ensures safety and effectiveness.
First, disconnect the battery. This prevents accidental engine starting. It also avoids electrical shorts. Safety is always my top priority. Next, drain all fluids from the engine. This includes engine oil and coolant. You do not want these mixing with cleaning solvents. Proper disposal of used fluids is also important.
Remove engine components that block access to the cylinder walls. This usually means removing the cylinder head. You might also need to remove the oil pan. This gives you better access to the crankshaft area. Clearly label all parts as you remove them. Take pictures if it helps. This makes reassembly much easier later. For more on related engine components, consider learning how to clean cylinder head without removing valves.
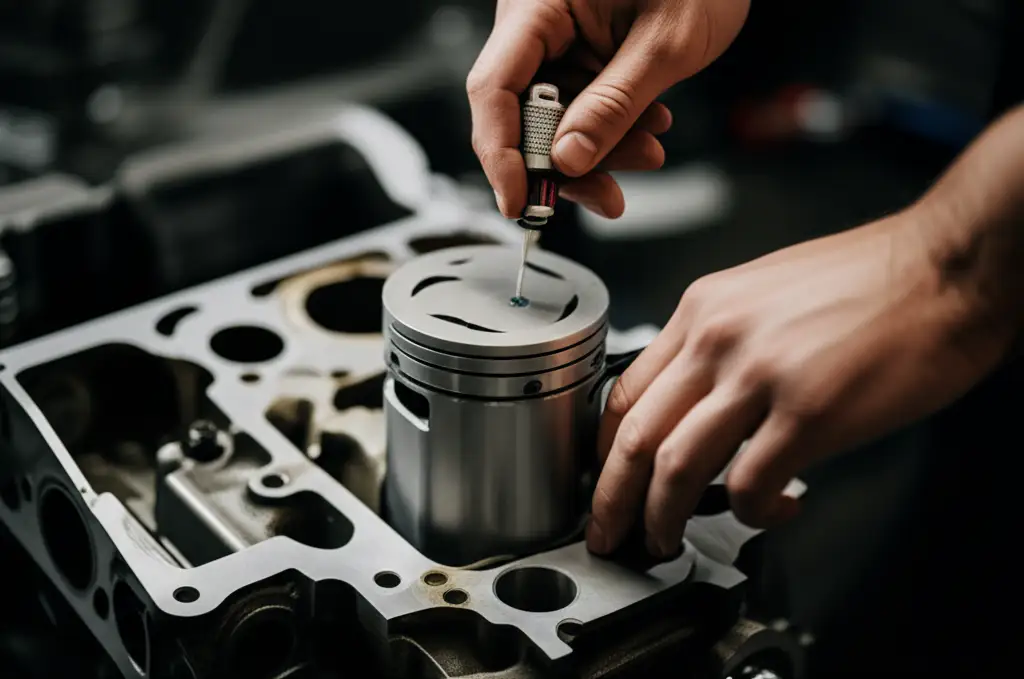
Once the cylinder head is off, remove the pistons. Pistons are connected to the connecting rods. The connecting rods attach to the crankshaft. Carefully unbolt the connecting rod caps. Push the pistons out from the top of the cylinders. Be gentle to avoid scratching the cylinder walls or piston skirts. Lay out all piston components neatly. Keep track of which piston came from which cylinder. Many engines require pistons to return to their original cylinder. This is important for proper balance and wear patterns.
Cover any open engine passages. Use plastic bags or rags. This stops debris from falling into oil galleries or coolant passages. You do not want any cleaning residue to enter these areas. A clean working environment is key to a successful job. Think of it like preparing a surface before a big project; for example, how to clean walls before painting involves similar preparation for a smooth finish.
Step-by-Step Guide: Cleaning Cylinder Walls Effectively
With your engine ready, you can now clean cylinder walls. This process needs patience and care. Rushing can damage engine surfaces. I follow these steps for a thorough clean.
First, visually inspect the cylinder walls. Look for any large carbon chunks or scoring. Use a scraper to remove heavy carbon deposits. Be gentle to avoid scratching the metal. You are only trying to remove loose material.
Apply your chosen cleaning solvent. Spray it directly onto the cylinder walls. Let the solvent sit for a few minutes. This allows it to penetrate and dissolve the grime. For general dirt removal, this might seem similar to how to clean dirt off walls in your home, but engine grime is much tougher.
Now, use your cylinder bore brush. Insert the brush into the cylinder. Work it up and down with a rotating motion. Make sure the bristles contact the entire surface. Apply moderate pressure. The goal is to scrub away the dissolved carbon and glaze. Pay attention to the top and bottom of the cylinder, where deposits are often heaviest. Repeat this scrubbing action several times for each cylinder.
After scrubbing, wipe the cylinder walls clean. Use lint-free cloths or paper towels. Wipe until no more residue comes off. You want the surface to be visibly clean. You might need to reapply solvent and scrub again for very stubborn areas. Repeat the process until the walls are clean. Look for a dull, clean metal surface.
Remove all debris from the engine block. Use a shop vacuum to suck out any loose particles. Ensure no cleaning solution or carbon remains inside the engine block. This is critical before moving to the next stage. A truly clean block is ready for honing or reassembly.
Honing Cylinder Walls: Why and How
Honing is a critical step after cleaning cylinder walls. It is not just about making them shiny. Honing restores the cross-hatch pattern on the cylinder walls. This pattern is essential for engine function. It holds lubricating oil and helps the piston rings seat properly. Without a good cross-hatch, oil consumption can increase. Piston rings may not seal well. This leads to lost compression and power.
Before honing, ensure the cylinder walls are completely clean. Any leftover carbon or debris will ruin the honing stones. Choose the right hone for your cylinder size. Ball hones are common for light re-glazing. Rigid hones are for more precise work. Select the correct grit of honing stones. Finer grits are for light re-glazing. Coarser grits are for deeper scratches or significant wear.
Apply honing oil liberally to the cylinder walls. This specialized oil lubricates the stones. It also carries away debris. Do not use engine oil or solvent for honing. They do not work properly and can damage the hone or surface. Start the hone spinning slowly. Insert it into the cylinder. Move it up and down at a steady pace. This creates the desired cross-hatch pattern. The goal is a 45-degree cross-hatch angle. Look for overlapping Xs.
Maintain consistent speed and pressure. Do not stop the hone in one spot. This can create an uneven surface. Work each cylinder for a specific number of strokes. This ensures even wear and pattern. Once done, remove the hone carefully.
After honing, clean the cylinder walls again. Honing leaves behind microscopic metal particles. These particles are abrasive. They must be removed completely. Use soap and hot water to wash the walls. Scrub them with a stiff brush. Rinse thoroughly. Immediately dry the walls to prevent rust. Then apply a thin coat of clean engine oil. This protects the freshly honed surface. This final cleaning step is as important as the honing itself.
Post-Cleaning: Inspection, Assembly, and Maintenance Tips
After cleaning and honing cylinder walls, careful inspection is necessary. This step ensures everything is ready for reassembly. Proper reassembly prevents future engine problems. I take my time here to avoid mistakes.
Inspect the cylinder walls closely. Look for any remaining scratches or imperfections. The cross-hatch pattern should be visible and even. If you see deep grooves or uneven wear, professional machining might be needed. Also, inspect the piston rings. Ensure they are not broken or excessively worn. New piston rings are often recommended after a significant cylinder cleaning and honing. They will seat better against the newly prepared walls.
Clean all other engine parts before reassembly. This includes pistons, connecting rods, and the cylinder head. Any dirt or old gasket material can cause leaks or damage. For example, ensuring your engine parts are free of grime is like addressing how to clean stains off walls in a home, where a complete clean prevents future issues. Use new gaskets and seals during reassembly. Never reuse old ones. They will likely leak. Torque all bolts to the manufacturer’s specifications. This is crucial for proper engine function. Overtightening or undertightening can cause major issues.
Fill the engine with new oil and coolant. Perform an initial startup carefully. Listen for any unusual noises. Check for leaks. Allow the engine to reach operating temperature. Monitor oil pressure and coolant temperature gauges. Some break-in procedure might be needed for new piston rings. Consult your engine’s service manual for specific recommendations.
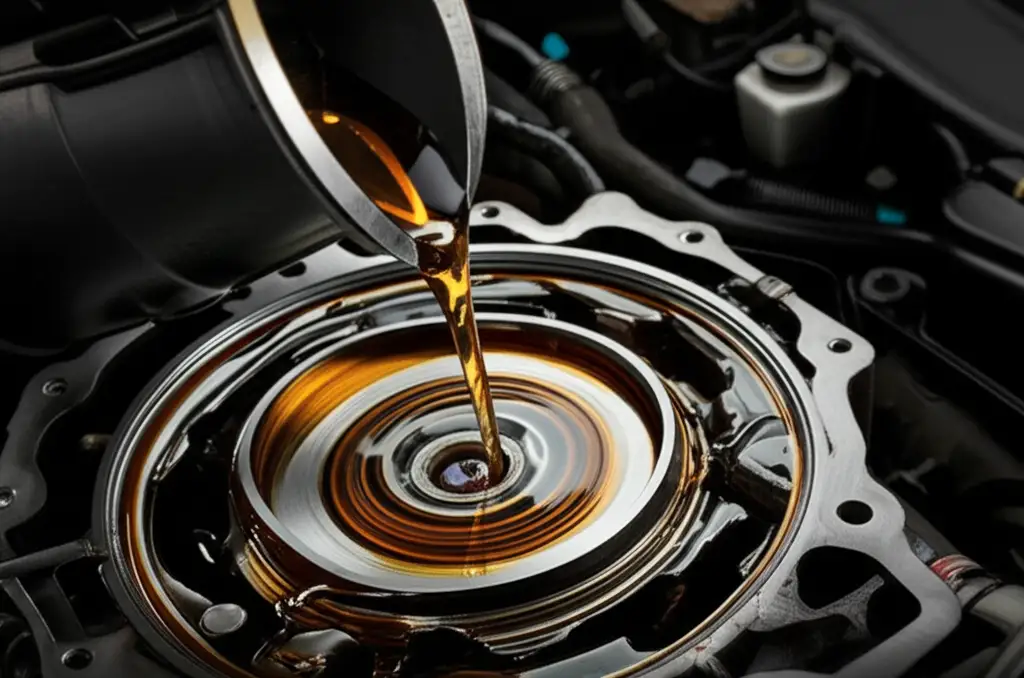
Ongoing maintenance is key to keeping cylinder walls clean. Use quality engine oil. Change it regularly. This prevents carbon buildup. Consider using fuel additives that clean injectors and combustion chambers. Regular air filter replacement also helps. A clean air filter prevents dirt from entering the engine. These simple steps keep your engine healthy. They prolong the life of your freshly cleaned cylinder walls. Maintaining your engine is a continuous process, much like keeping your workspace tidy; consider advice on how to clean garage walls for general cleanliness.
Common Mistakes to Avoid When Cleaning Cylinder Walls
Cleaning cylinder walls improves engine health. However, mistakes can cause damage. Avoiding common pitfalls saves time and money. I learned these lessons through experience.
One common mistake is using the wrong cleaning agent. Harsh, unapproved chemicals can corrode engine metals. Always use solvents specifically designed for engine components. Never use abrasive cleaners not intended for this purpose. They can scratch the finely machined surfaces.
Another error is not fully disassembling the engine. Cleaning cylinder walls with pistons still in place is difficult. It can push debris into crucial engine passages. This can clog oil ways or damage bearings. Proper access is essential for a thorough and safe clean.
Failing to remove all debris is a major problem. After cleaning, microscopic particles remain. These particles are highly abrasive. If left behind, they will quickly wear down new piston rings. They can also score the cylinder walls. Always wash and dry cylinder walls completely after cleaning and honing. A final wipe with a clean, oil-soaked cloth helps.
Improper honing is another pitfall. Using the wrong hone size or grit damages the surface. Inconsistent up-and-down motion creates an uneven pattern. Not using honing oil causes stones to load up with debris. This makes them ineffective. The result is a poor cross-hatch pattern or damaged walls. A bad hone job negates the cleaning effort. It can lead to poor ring seal and oil consumption.
Finally, neglecting post-cleaning inspection and maintenance is a mistake. Skipping checks for wear or damage means you might reassemble a faulty engine. Reusing old gaskets and seals guarantees leaks. Ignoring regular oil changes and filter replacements allows carbon to build up again quickly. Consistent maintenance protects your investment. It keeps your engine performing its best. Avoid these errors for successful cylinder wall cleaning.
FAQ Section
Q1: How often should I clean cylinder walls?
A1: You typically clean cylinder walls during an engine rebuild or significant engine work. This is not a routine maintenance task. It is done when you see signs of performance loss due to carbon buildup or wear. The need arises when performing other deep engine services.
Q2: Can I clean cylinder walls without removing the engine from the car?
A2: Yes, you can clean cylinder walls with the engine in the car. You must still remove the cylinder head and pistons for proper access. This avoids pushing debris into other engine parts. It allows for thorough cleaning and honing.
Q3: What is the cross-hatch pattern on cylinder walls?
A3: The cross-hatch pattern consists of fine, intersecting lines on the cylinder wall surface. It is created by honing. This pattern holds lubricating oil. It helps piston rings seal properly. A good cross-hatch is crucial for engine compression and oil control.
Q4: What happens if I do not clean cylinder walls?
A4: If you do not clean cylinder walls, carbon and glaze build up. This leads to reduced engine compression and power. It increases oil consumption. Your engine will become less fuel-efficient. Long-term neglect can cause premature wear and engine failure.
Q5: Is it necessary to hone cylinder walls after cleaning?
A5: Honing is necessary if you removed the pistons and the original cross-hatch pattern is worn or glazed. It restores the surface texture for new piston rings to seat correctly. If only light carbon removal occurred, honing may not be strictly required. Always assess the wall condition.
Q6: Can I use brake cleaner to clean cylinder walls?
A6: Brake cleaner can dissolve some grease, but it evaporates very quickly and leaves no residue. It is not ideal for dissolving heavy carbon or glaze effectively. It also does not provide the lubrication needed for scrubbing. Stick to engine-specific degreasers or carburetor cleaners.
Conclusion
Cleaning cylinder walls is a critical task for any engine rebuild or major service. It directly impacts engine performance and longevity. We explored why carbon and glaze form and the problems they cause. We then covered the essential tools you need for this job. You learned about preparing your engine carefully before cleaning. The step-by-step guide showed how to clean and hone these vital surfaces.
Remember, proper technique and thoroughness prevent damage. Honing restores the crucial cross-hatch pattern for piston ring seating. Final inspection and reassembly are just as important as the cleaning itself. By following these steps, you will ensure your engine performs at its best. Keep up with regular maintenance, like oil changes, to prevent future buildup. A well-maintained engine is a reliable engine. Take action now for a healthier engine. Your vehicle will thank you with improved power and efficiency.
- engine cleaning
- carbon removal
- cylinder honing